Enabling TPM-backed disk encryption on Linux
JUL 4, 2025 |
In the age of increasing digital threats, securing data stored on our computers has become paramount. Disk encryption is a crucial method of safeguarding sensitive information. On Linux, combining disk encryption with a Trusted Platform Module (TPM) provides enhanced security by ensuring that the decryption keys are securely stored and protected. This article explores how to enable TPM-backed disk encryption on Linux, offering a detailed guide and insights into its benefits.
Understanding TPM and Its Role in Encryption
A Trusted Platform Module (TPM) is a hardware chip embedded in many modern PCs and laptops. Its primary purpose is to secure hardware through integrated cryptographic keys. TPM can store encryption keys, ensuring they are protected from external software attacks. By leveraging TPM, Linux users can enhance their disk encryption strategies, making it harder for unauthorized entities to access protected data.
Setting Up TPM on Linux
Before integrating TPM with disk encryption, it's essential to ensure that your Linux system recognizes and is configured to use the TPM chip.
1. Verify TPM Presence:
Use the command `ls /dev/tpm*` to check if your system detects the TPM device. If it exists, you should see device files like `/dev/tpm0`.
2. Install the TPM Tools:
Depending on your distribution, you may need to install TPM tools. On Debian-based systems, use:
`sudo apt-get install tpm-tools`
For Red Hat-based distributions, use:
`sudo yum install tpm-tools`
3. Initialize the TPM:
Use the command `tpm_takeownership` to set ownership of the TPM, which involves setting a TPM owner password. This step is crucial for further configuration and use.
Configuring TPM-Backed Disk Encryption
With TPM set up, the next step is to integrate it with your disk encryption process. We will focus on using LUKS (Linux Unified Key Setup), which is the standard for Linux disk encryption.
1. Install Cryptsetup:
Ensure you have `cryptsetup` installed, as it's necessary for LUKS management:
`sudo apt-get install cryptsetup`
2. Create a LUKS Encrypted Partition:
Use the `cryptsetup` command to initialize a LUKS partition:
`sudo cryptsetup luksFormat /dev/sdX`
Replace `/dev/sdX` with your target partition.
3. Bind TPM with LUKS:
To enable TPM-backed decryption, integrate it with the LUKS partition using the `tpm2-tools` package. You'll need to seal the LUKS master key with the TPM. This involves creating a policy that dictates when TPM can release the key.
4. Automate Decryption at Boot:
Modify your boot scripts to include TPM-based unlocking. Edit the initramfs configuration to automatically call TPM for key retrieval during boot. This typically involves scripting the TPM key retrieval and passing it to the LUKS partition.
Enhancing Security with TPM Policies
An essential aspect of TPM-backed encryption is the ability to define policies. These policies determine under which conditions the TPM will release the stored keys. You can set policies based on system states, such as boot sequence integrity or specific software configurations. This ensures that any unauthorized change in system state prevents decryption, adding an extra layer of security.
Troubleshooting Common Issues
1. TPM Not Detected:
Ensure your BIOS/UEFI settings have TPM enabled. Some systems require manual activation in the BIOS menu.
2. Permission Errors:
Verify that you have the necessary permissions to access TPM devices. Running commands with `sudo` usually resolves permission issues.
3. Boot Failures:
If the system fails to boot after configuring TPM-backed encryption, double-check your initramfs scripts and ensure that the TPM modules are correctly invoked during boot.
Conclusion
Integrating TPM with disk encryption on Linux is a robust method to secure sensitive data. By following these steps, you can leverage TPM's hardware-based security features, reducing the risk of unauthorized access. As digital threats evolve, such proactive measures are vital in safeguarding data integrity and confidentiality.
Accelerate Breakthroughs in Computing Systems with Patsnap Eureka
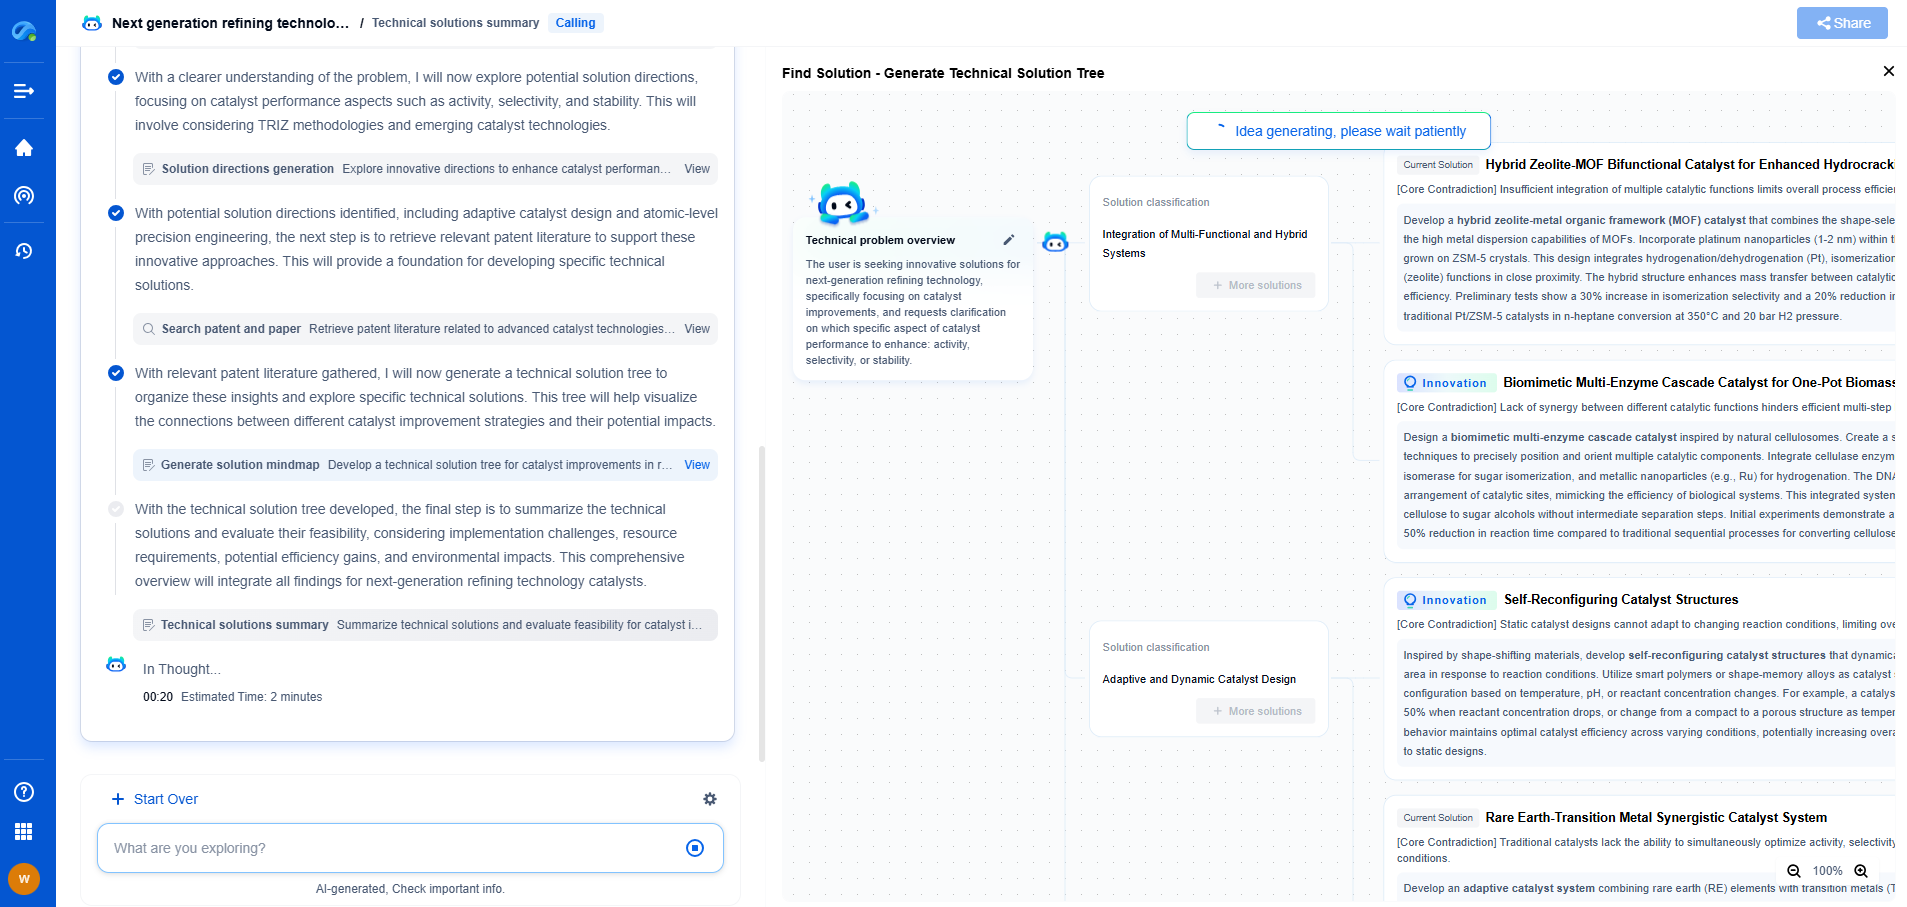
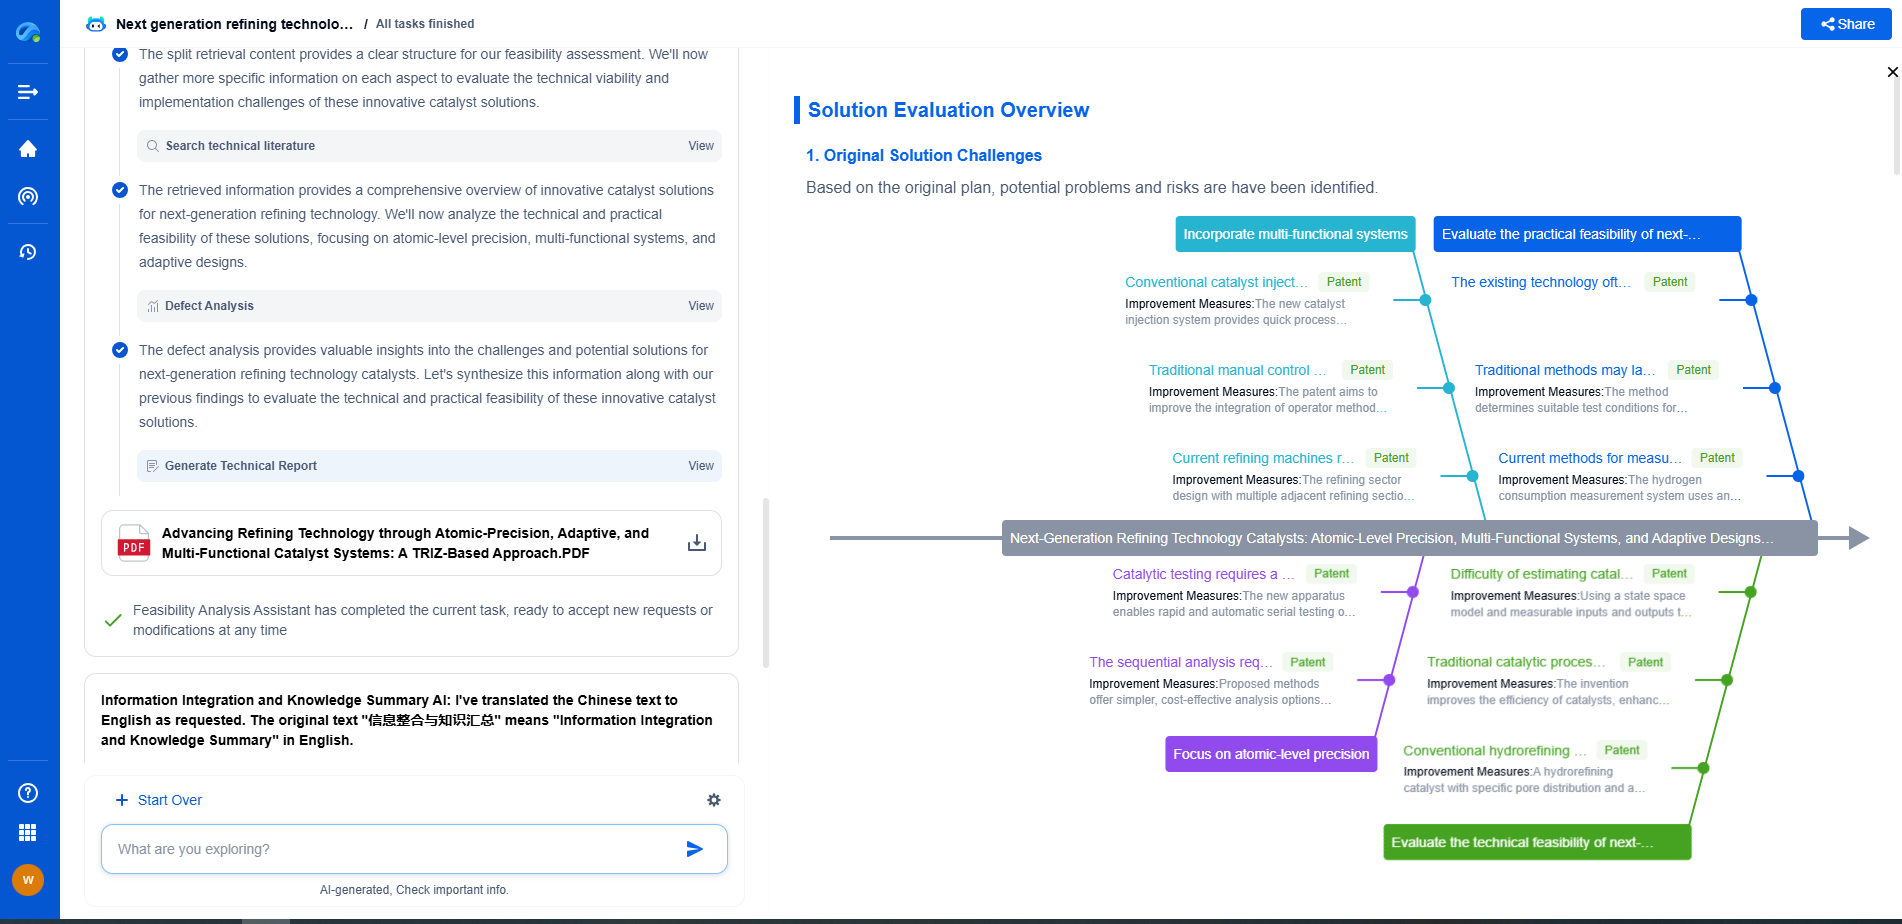
From evolving chip architectures to next-gen memory hierarchies, today’s computing innovation demands faster decisions, deeper insights, and agile R&D workflows. Whether you’re designing low-power edge devices, optimizing I/O throughput, or evaluating new compute models like quantum or neuromorphic systems, staying ahead of the curve requires more than technical know-how—it requires intelligent tools.
Patsnap Eureka, our intelligent AI assistant built for R&D professionals in high-tech sectors, empowers you with real-time expert-level analysis, technology roadmap exploration, and strategic mapping of core patents—all within a seamless, user-friendly interface.
Whether you’re innovating around secure boot flows, edge AI deployment, or heterogeneous compute frameworks, Eureka helps your team ideate faster, validate smarter, and protect innovation sooner.
🚀 Explore how Eureka can boost your computing systems R&D. Request a personalized demo today and see how AI is redefining how innovation happens in advanced computing.
- R&D
- Intellectual Property
- Life Sciences
- Materials
- Tech Scout
- Unparalleled Data Quality
- Higher Quality Content
- 60% Fewer Hallucinations
Browse by: Latest US Patents, China's latest patents, Technical Efficacy Thesaurus, Application Domain, Technology Topic, Popular Technical Reports.
© 2025 PatSnap. All rights reserved.Legal|Privacy policy|Modern Slavery Act Transparency Statement|Sitemap|About US| Contact US: help@patsnap.com

