Ultrasonic NDT vs. X-ray Inspection: Which Is Better for Crack Detection?
JUL 16, 2025 |
When it comes to crack detection in materials, especially in critical industries such as aerospace, construction, and manufacturing, ensuring the integrity of components is paramount. Non-destructive testing (NDT) methods are essential tools for identifying flaws without damaging the material. Two popular NDT techniques for crack detection are ultrasonic testing and X-ray inspection. Each method has its advantages and limitations, and the choice between them often depends on specific application requirements. This article explores these two methods in detail to help determine which might be better for crack detection.
Ultrasonic Testing: How It Works
Ultrasonic testing (UT) employs high-frequency sound waves to detect imperfections in materials. A transducer sends ultrasonic pulses into the material, which travel through until they hit a boundary or defect, reflecting back to the transducer. The time it takes for the echoes to return helps determine the presence, size, and location of the crack.
Advantages of Ultrasonic Testing
Ultrasonic testing offers several benefits that make it a preferred choice in many scenarios:
1. Deep Penetration: UT can penetrate thick materials, making it suitable for large components.
2. Precise Measurement: It provides accurate depth location and sizing of cracks.
3. Safety: As it doesn't involve radiation, ultrasonic testing is safe for operators and the environment.
4. Portability: The equipment is generally lightweight and portable, allowing for on-site inspections.
Limitations of Ultrasonic Testing
Despite its advantages, ultrasonic testing has some limitations:
1. Surface Preparation: The surface must be clean and smooth for effective testing.
2. Skill Requirement: Highly skilled operators are necessary to interpret results accurately.
3. Complex Geometries: UT may struggle with materials that have complex shapes or rough surfaces.
X-ray Inspection: An Overview
X-ray inspection involves using X-rays to capture images of an object's internal structure. The varying densities within the material affect how the X-rays are absorbed, producing a detailed image that can reveal cracks and other defects.
Advantages of X-ray Inspection
X-ray inspection offers unique benefits:
1. Comprehensive Imaging: Provides a visual representation of internal structures, useful for complex geometries.
2. No Contact: X-rays do not require contact with the material, preserving surface integrity.
3. Versatility: Suitable for a wide range of materials, including metals, composites, and ceramics.
Limitations of X-ray Inspection
However, X-ray inspection also has its downsides:
1. Safety Concerns: Involves ionizing radiation, requiring strict safety protocols.
2. Equipment Cost: Generally more expensive due to sophisticated equipment and setup.
3. Penetration Limits: Less effective for very thick materials compared to ultrasonic testing.
Comparative Analysis: Ultrasonic vs. X-ray
When weighing ultrasonic testing against X-ray inspection, several factors need consideration:
1. Material Thickness: UT is better suited for thicker materials, whereas X-ray is often used for thin or composite materials.
2. Safety: UT is safer as it does not involve radiation.
3. Detail and Complexity: X-ray provides better imaging for complex and detailed internal structures.
4. Cost and Accessibility: UT is generally more cost-effective and portable.
Choosing the Right Method
The choice between ultrasonic testing and X-ray inspection largely depends on specific application needs. For applications requiring deep penetration and where safety is a priority, ultrasonic testing may be the better option. Conversely, for materials with complex internal structures and where visual representation is crucial, X-ray inspection could be more advantageous.
Conclusion
Both ultrasonic testing and X-ray inspection are invaluable tools for crack detection, each with its distinct strengths. Understanding their differences and evaluating the specific requirements of an inspection task is key to selecting the right method. Ultimately, the decision should be guided by considerations of material characteristics, safety, cost, and the required level of detail in detection.
In the world of vibration damping, structural health monitoring, and acoustic noise suppression, staying ahead requires more than intuition—it demands constant awareness of material innovations, sensor architectures, and IP trends across mechanical, automotive, aerospace, and building acoustics.
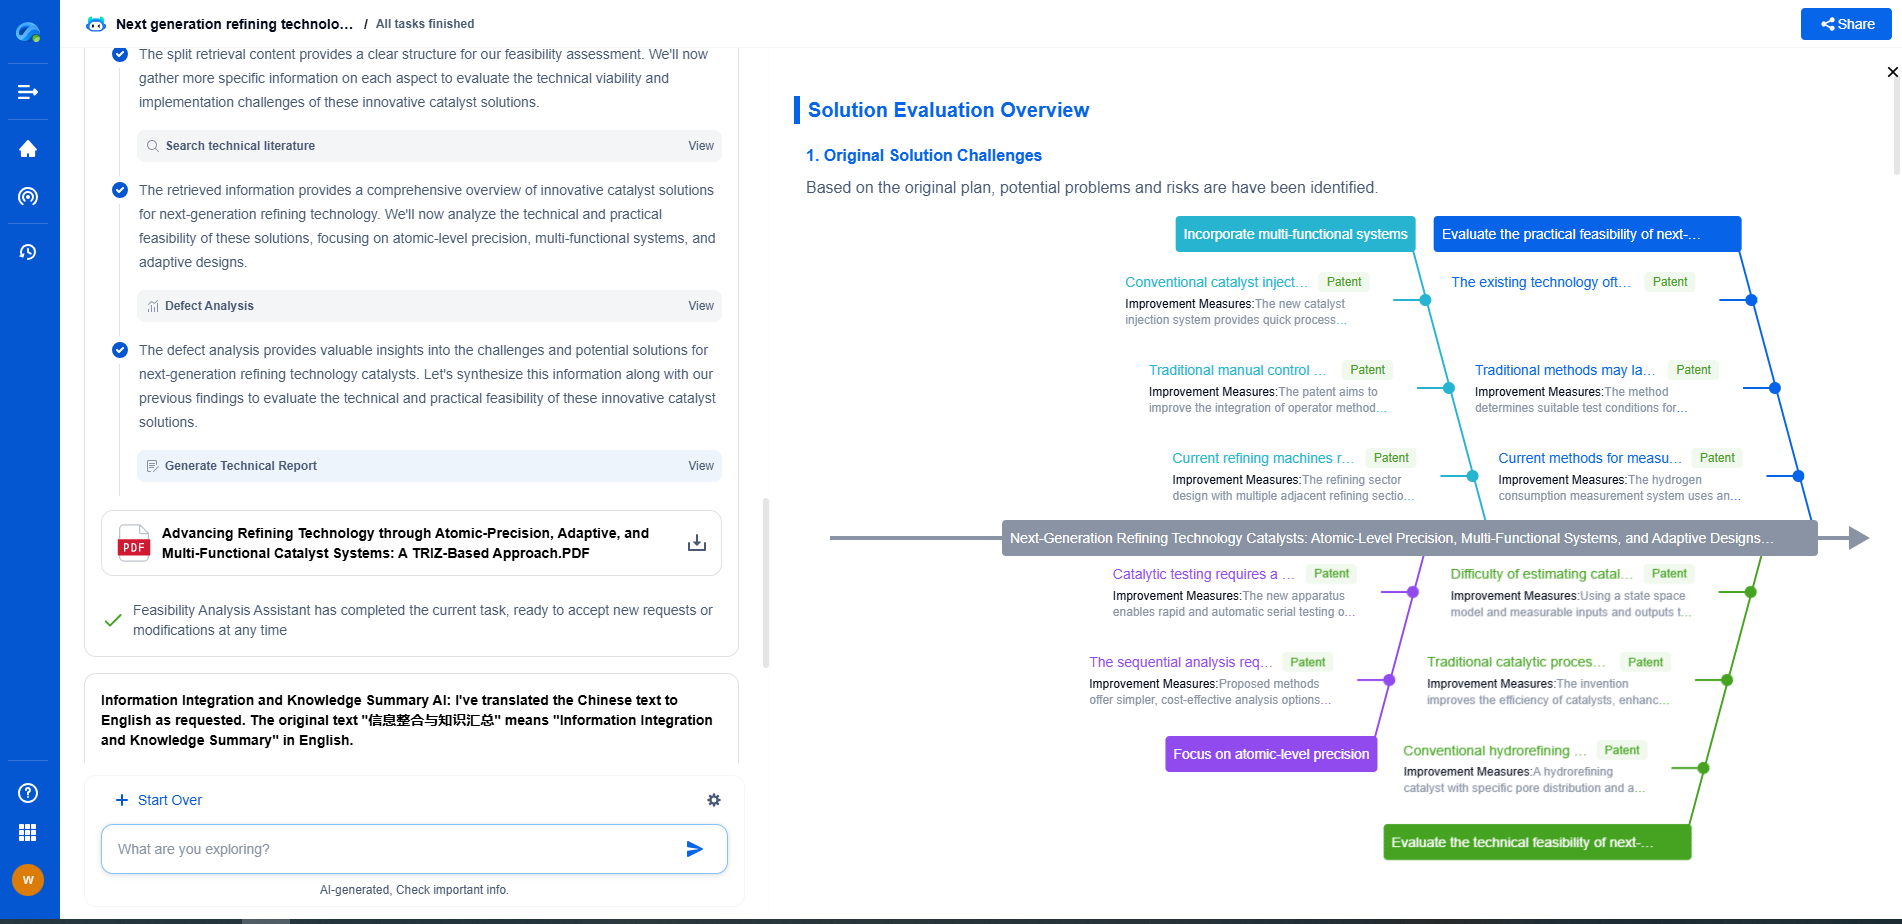
Patsnap Eureka, our intelligent AI assistant built for R&D professionals in high-tech sectors, empowers you with real-time expert-level analysis, technology roadmap exploration, and strategic mapping of core patents—all within a seamless, user-friendly interface.
⚙️ Bring Eureka into your vibration intelligence workflow—and reduce guesswork in your R&D pipeline. Start your free experience today.
- R&D
- Intellectual Property
- Life Sciences
- Materials
- Tech Scout
- Unparalleled Data Quality
- Higher Quality Content
- 60% Fewer Hallucinations
Browse by: Latest US Patents, China's latest patents, Technical Efficacy Thesaurus, Application Domain, Technology Topic, Popular Technical Reports.
© 2025 PatSnap. All rights reserved.Legal|Privacy policy|Modern Slavery Act Transparency Statement|Sitemap|About US| Contact US: help@patsnap.com

