A Processing Method for Small Diameter Precision Blind Holes
A processing method and small-diameter technology, applied in the field of mechanical processing, can solve problems such as out-of-tolerance hole diameter, and achieve the effect of improving processing quality, avoiding drill bit swing, and ensuring hole position.
- Summary
- Abstract
- Description
- Claims
- Application Information
AI Technical Summary
Problems solved by technology
Method used
Image
Examples
Embodiment 1
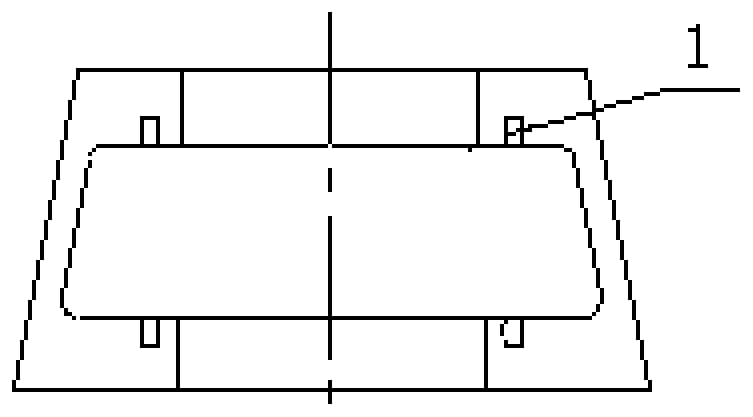
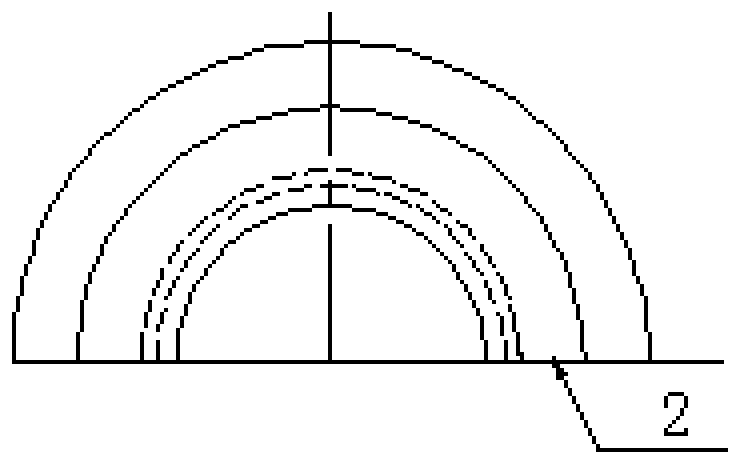
[0031] Example 1, see Figure 1a~1b , the schematic diagram of the structure of the aero-engine linkage half-ring, there are two T-shaped ring grooves with a width of 2 mm on the upper and lower ends of the annular groove of the half-ring, and two diameters are designed in the middle of the joint surface 2 of the half-ring and the T-shaped groove. φ3mm, 3mm deep blind hole 1.
[0032] The processing method is as follows:
[0033] 1) Countersink: use a φ2.8mm countersink (milling cutter) to countersink, and the depth of the countersink is 3.4mm;
[0034] 2) Boring: Boring diameter ф2.9mm, boring depth 3.3mm;
[0035] 3) Test reaming: Trial cutting on the test piece of the same material, and eliminate the over-tolerance of the aperture size caused by the out-of-tolerance of the diameter of the reamer;
[0036] 4) Reaming: use a reamer that has been tested for reaming, and the reaming depth is 3.2mm;
[0037] 5) Measure the pore diameter, using an inner dial gauge to measure ...
Embodiment 2
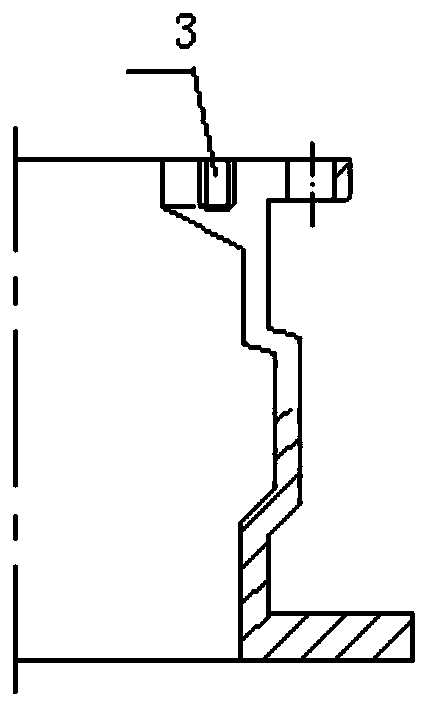
[0038] Example 2, see Figure 2a-2b , the schematic diagram of the blind hole structure in the inner casing of the aero-engine, there is an annular end face groove 3 with a width of 2.32mm designed on the large end face of the casing, and there are four blind holes 1 of φ3mm distributed in the middle of the annular end face groove 3. There are also 16 φ5mm holes designed on the side of the big end.
[0039] The processing method is as follows:
[0040] 1) Countersink: use a φ2.8mm countersink to countersink, and the depth of the countersink is 3.4mm;
[0041] 2) Boring: Boring diameter φ2.9mm, boring depth 3.3mm;
[0042] 3) Trial reaming: Trial cutting at the position of the φ5mm hole on the end surface of the part, and eliminate the out-of-tolerance hole size caused by the out-of-tolerance diameter of the reamer;
[0043] 4) Reaming: use a reamer that has been tested for reaming, and the reaming depth is 3.2mm;
[0044] 5) Measure the pore diameter, using an inner dial g...
Embodiment 3
[0045] Example 3, see Figure 3a~3c , a schematic diagram of the blind hole structure of the aero-engine compressor casing, the casing includes the upper half 4 and the lower half 5, in the middle of the T-shaped slot on the joint surface 6 of the upper half 4 of the casing, one φ3 needs to be processed +0. 015mm, depth 3 +0.5 The blind hole 1.
[0046] The processing method is as follows:
[0047] 1) Countersink: use a φ2.8mm countersink (milling cutter) to countersink, and the depth of the countersink is 3.4mm;
[0048] 2) Boring: Boring diameter φ2.9mm, boring depth 3.3mm;
[0049] 3) Test reaming: Trial cutting on the test piece of the same material, and eliminate the over-tolerance of the aperture size caused by the out-of-tolerance of the diameter of the reamer;
[0050] 4) Reaming: use a reamer that has been tested for reaming, and the reaming depth is 3.2mm;
[0051] 5) Measure the pore diameter, using an inner dial gauge to measure the pore diameter.
[0052] The ...
PUM
| Property | Measurement | Unit |
|---|---|---|
| width | aaaaa | aaaaa |
| diameter | aaaaa | aaaaa |
Abstract
Description
Claims
Application Information


