Deviation measuring and adjusting method for sintering machine
An adjustment method and technology of sintering machines, which are applied in the field of sintering machines, can solve problems affecting the output quality of sintering machines, increase the load on transmission parts, and aggravate the wear of slideways, etc., so as to reduce the consumption cost of spare parts, stabilize the running track, and increase the service life Effect
- Summary
- Abstract
- Description
- Claims
- Application Information
AI Technical Summary
Problems solved by technology
Method used
Image
Examples
Embodiment 1
[0022] A method for measuring and adjusting deviation of a sintering machine, specifically comprising the following steps:
[0023] Step 1: Put a reference line at the center of the 4 head and tail wheels of the sintering machine, and then place a parallel line at the axis of the head and tail of the sintering machine to check whether the slideways of the 4 head and tail wheels of the sintering machine are on the same reference line. The deviation of the level and elevation of the track and slideway, the specific measurement is shown in Table 1:
[0024] Table 1: Measurement locations
[0025]
[0026]
[0027] It can be seen from the table that the horizontal deviation of the track is not large, and the maximum is 5mm.
[0028] The measurement data shows that the error of the head and tail sliding to the track is greater than 4mm, and the horizontal elevation deviation of the track and slideway is large.
[0029] Step 2: The synchronicity measurement level elevation o...
Embodiment 2
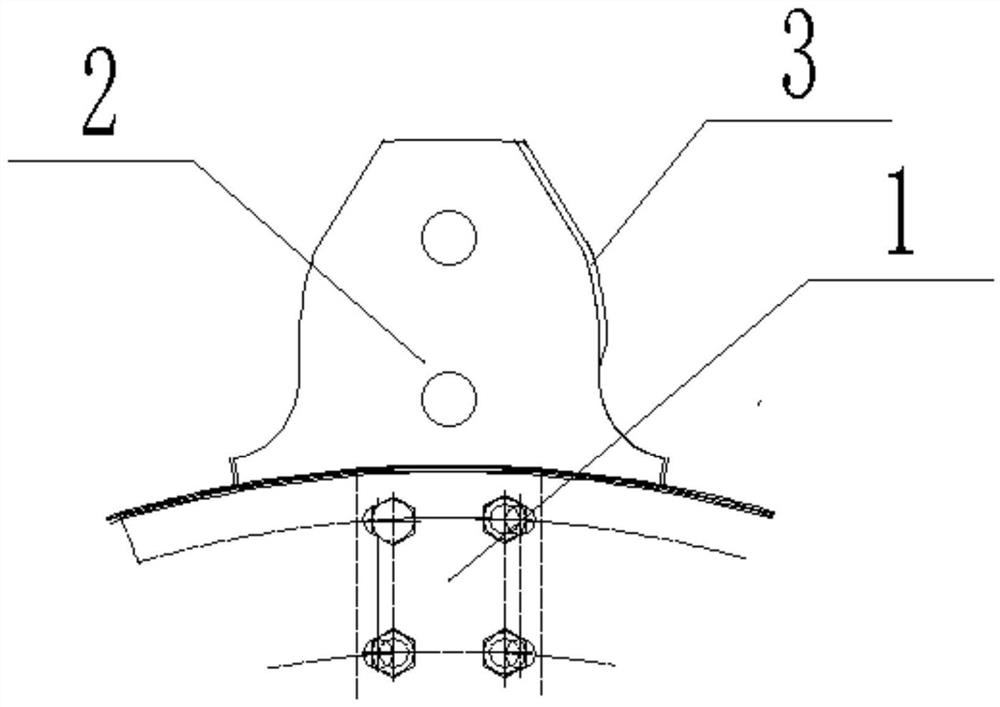
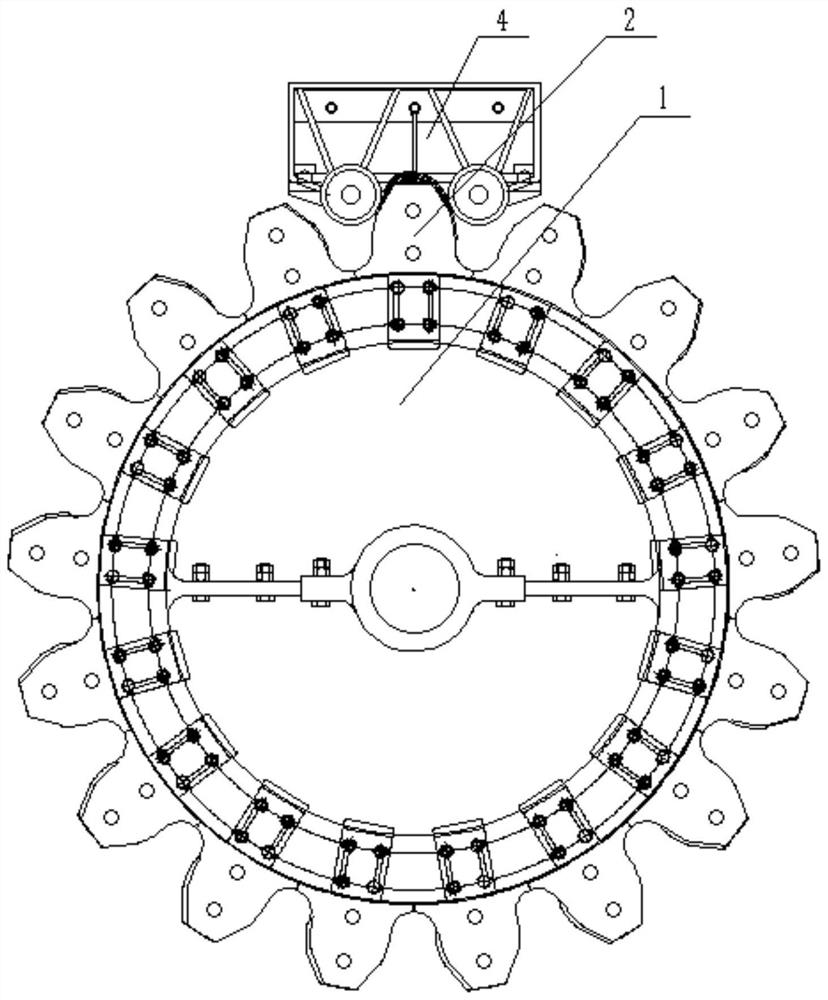
[0037] The difference from Example 1 is that the tooth plate 2 on the left side of the star wheel 1 at the head of the sintering machine 4 has an increased thickness 3 to 14mm toward the error side.
[0038] Contrast 1
[0039] The difference from Example 1 is that the tooth plate 2 on the left side of the star wheel 1 at the head of the sintering machine 4 increases the thickness 3 to the error side and is 16mm
[0040] The installation method of the sintering car and the head star wheel 1 is as follows: figure 2 As shown, in order to verify the feasibility of this scheme for the safety of equipment operation, the following debugging scheme is specially formulated. First use a belt to make an elastic pad with a thickness of 10mm. During the rotation of the sintering machine 4, use a person to pad the belt on the south tooth plate 2. After the trolley runs for 2 hours, the phenomenon of deviation is significantly reduced. Finally, when the thickness of the belt is increased ...
PUM
 Abstract
Description
Claims
Application Information


