Flat wire manufacturing method of manufacturing flat wire for ring gear
a manufacturing method and flat wire technology, applied in the field of flat wire manufacturing, can solve the problems of low dimensional accuracy of flat wire produced by cold rolling process, inability to produce flat wire with high dimensional accuracy, so as to suppress the development of cracks on the side surfaces, the effect of satisfying the dimensional accuracy
- Summary
- Abstract
- Description
- Claims
- Application Information
AI Technical Summary
Benefits of technology
Problems solved by technology
Method used
Image
Examples
example 1
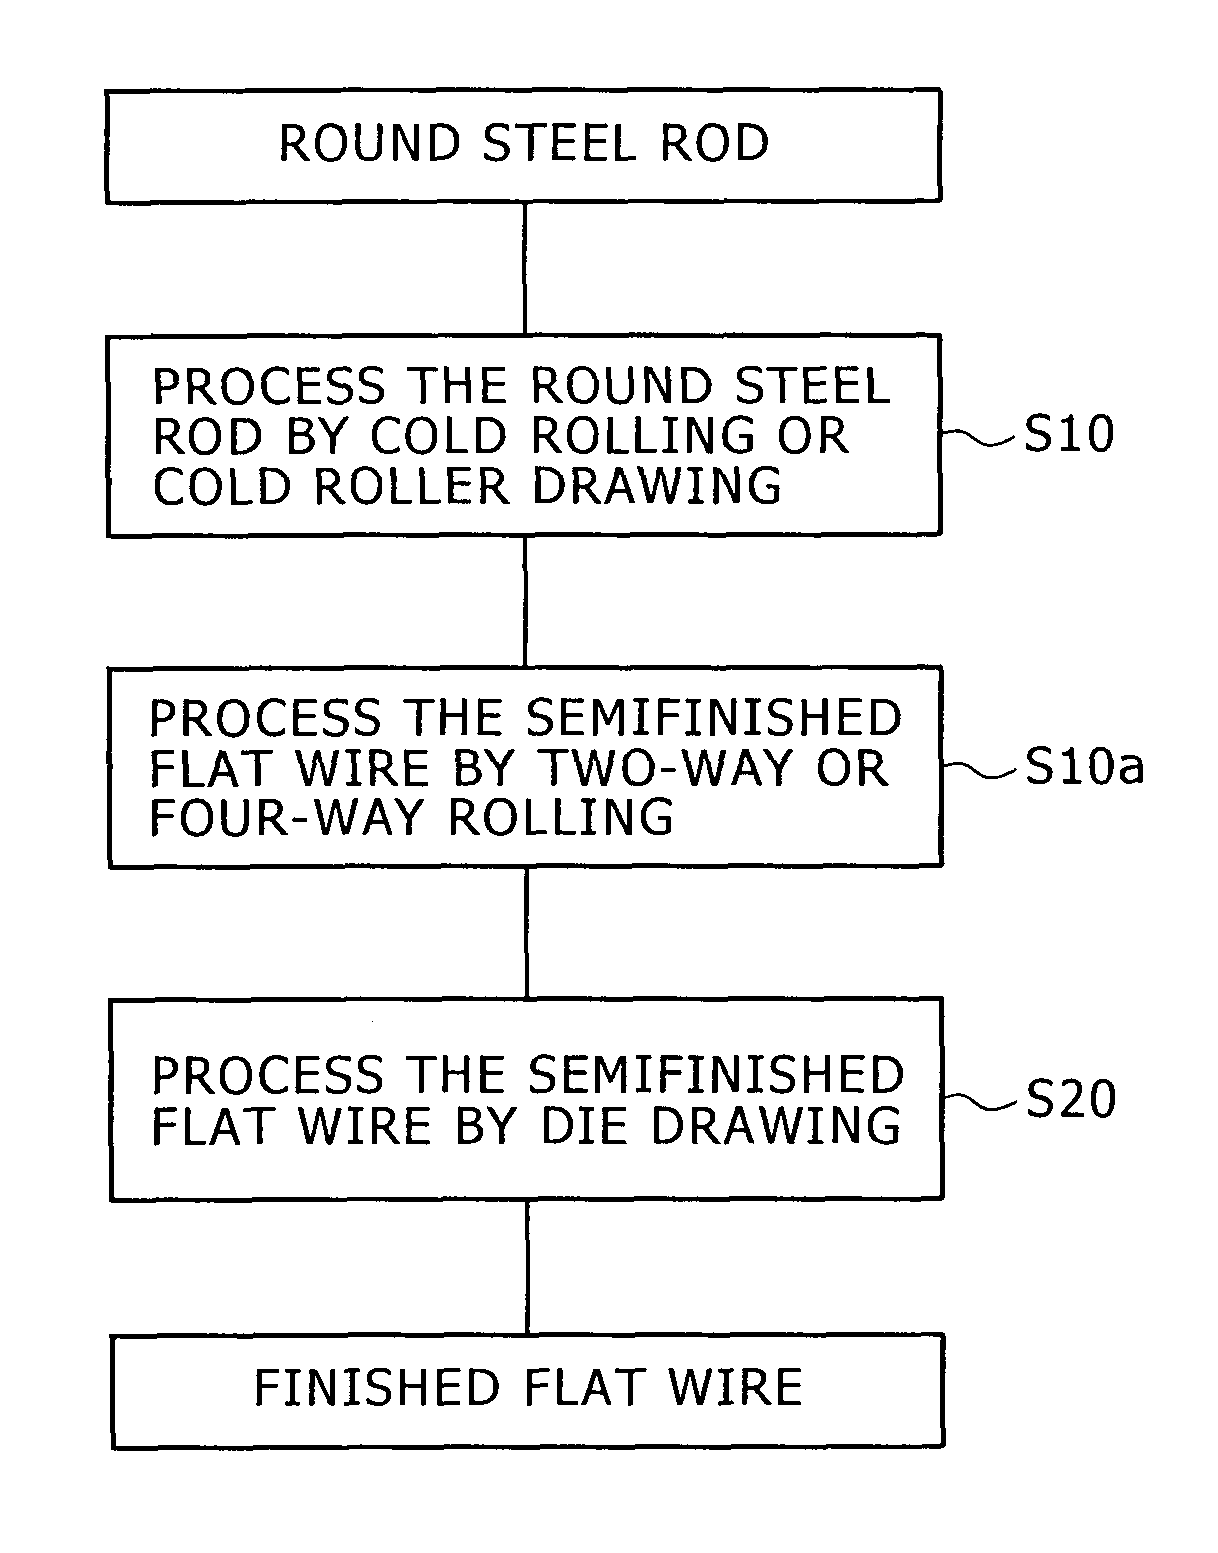
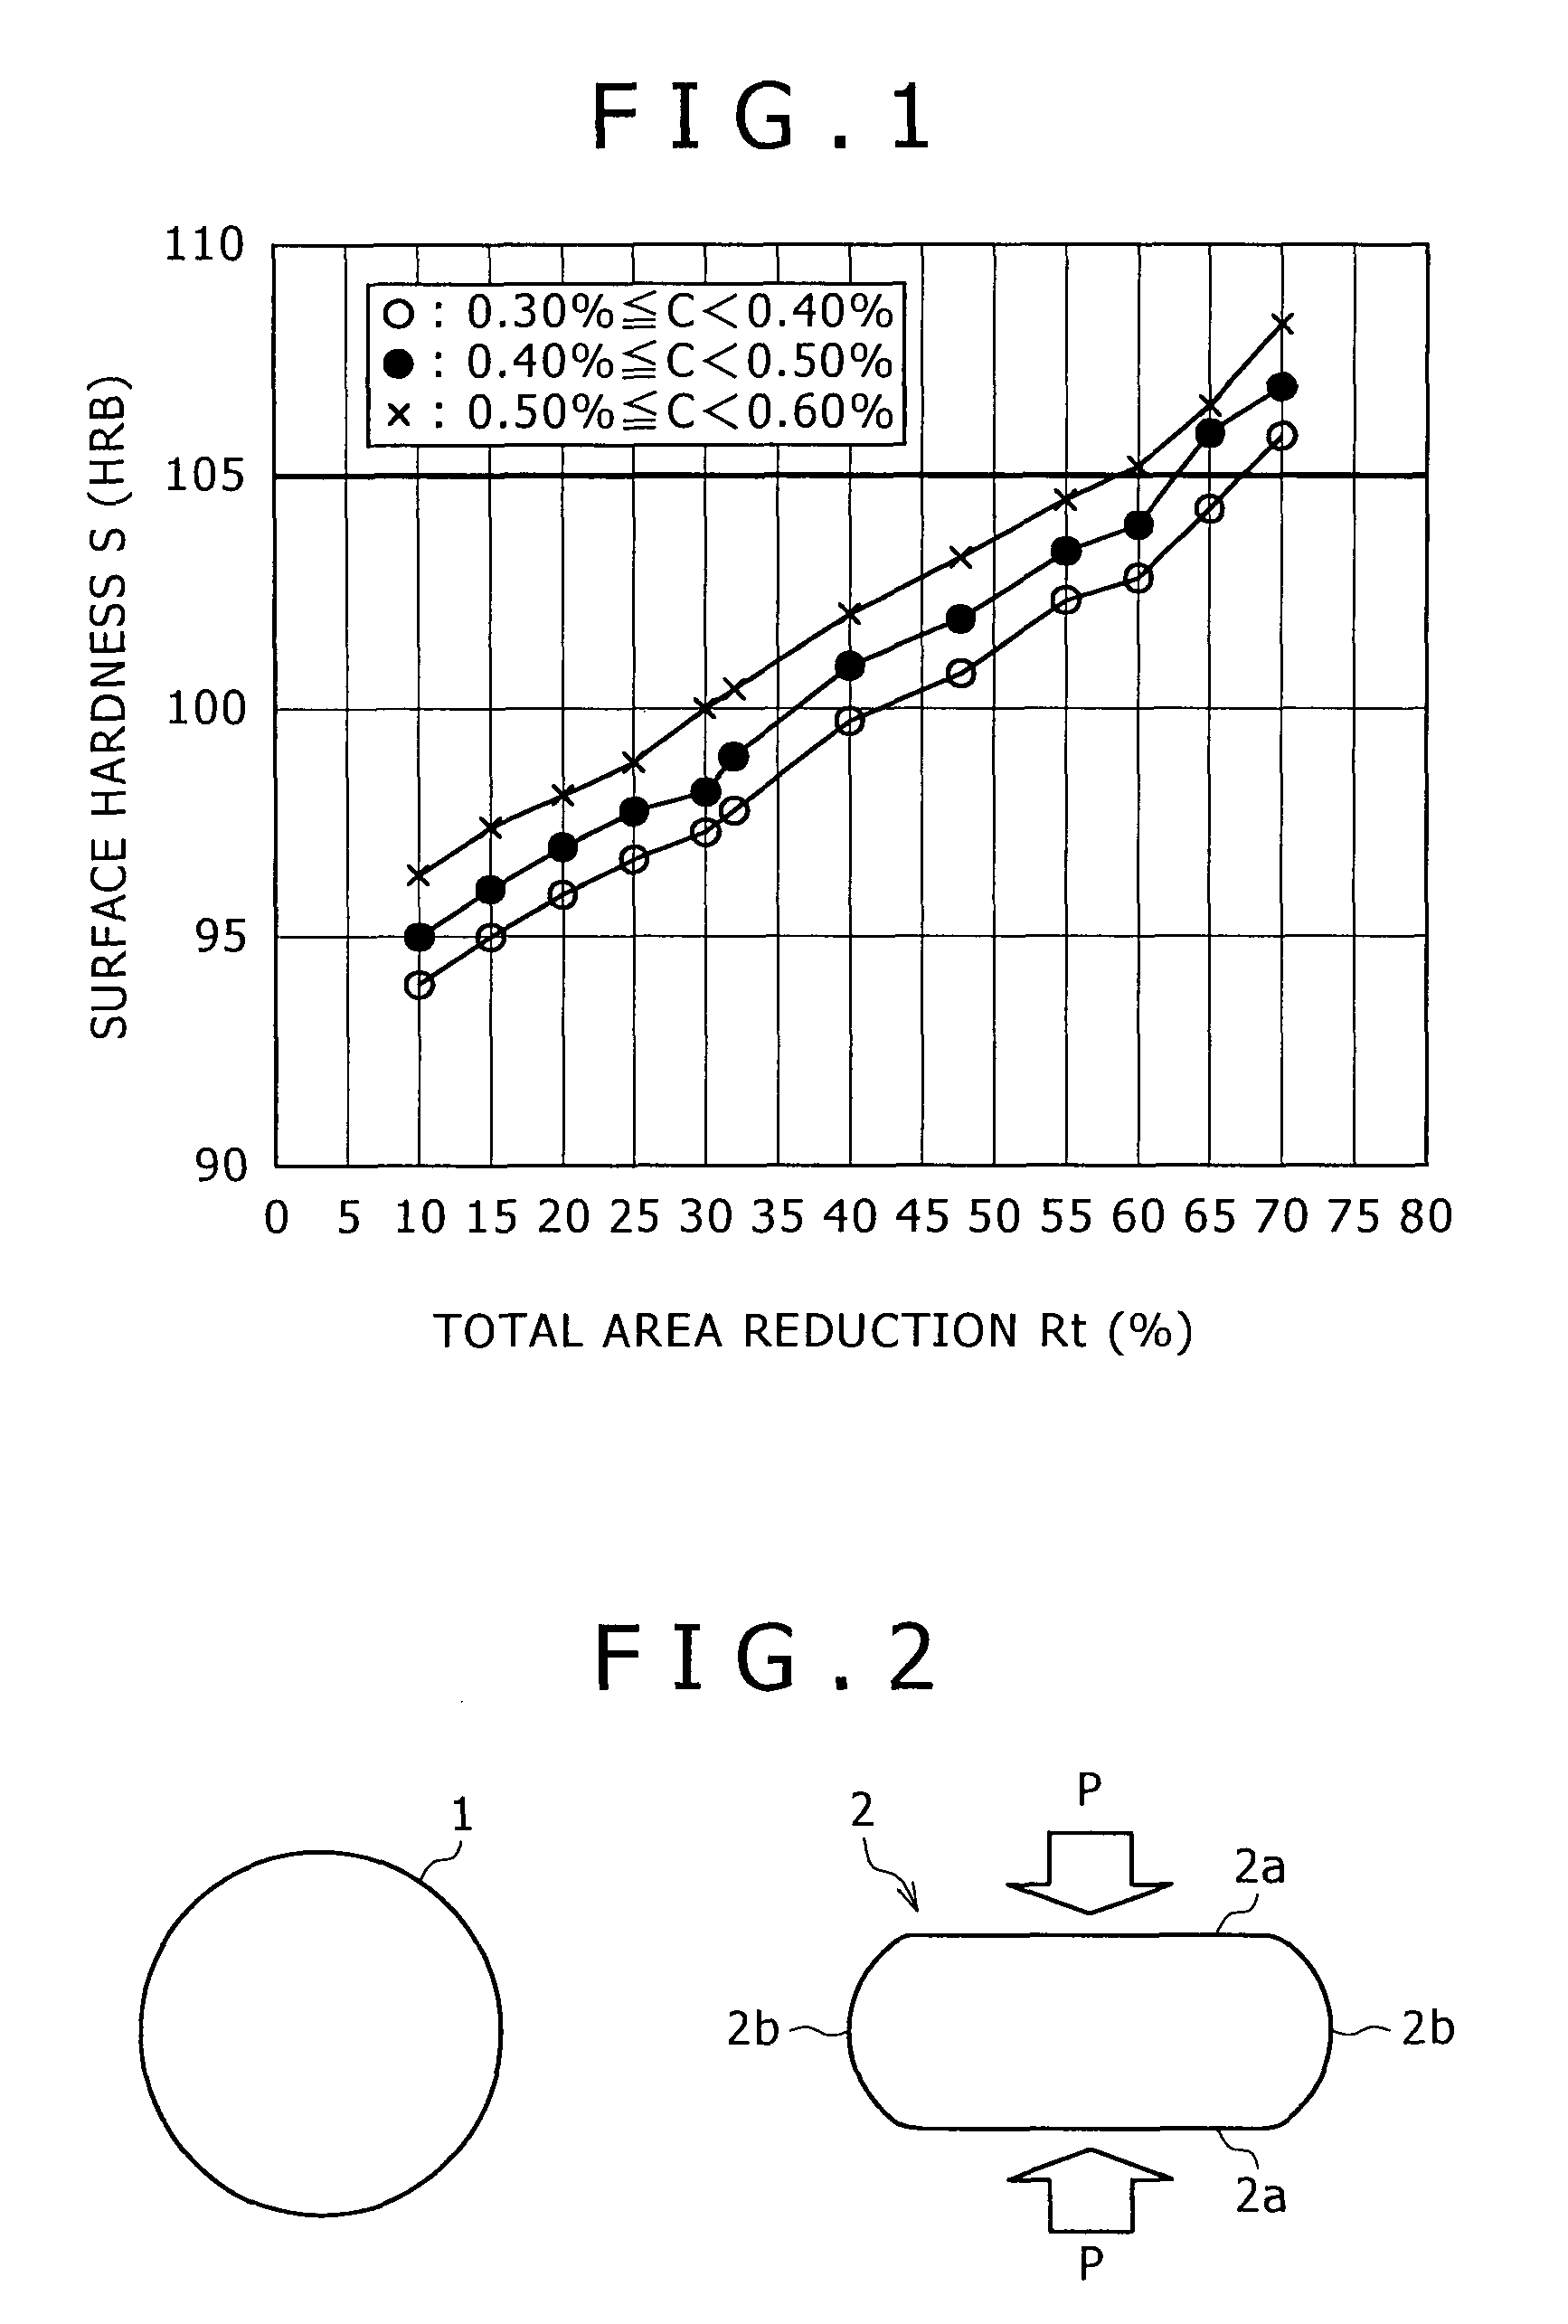
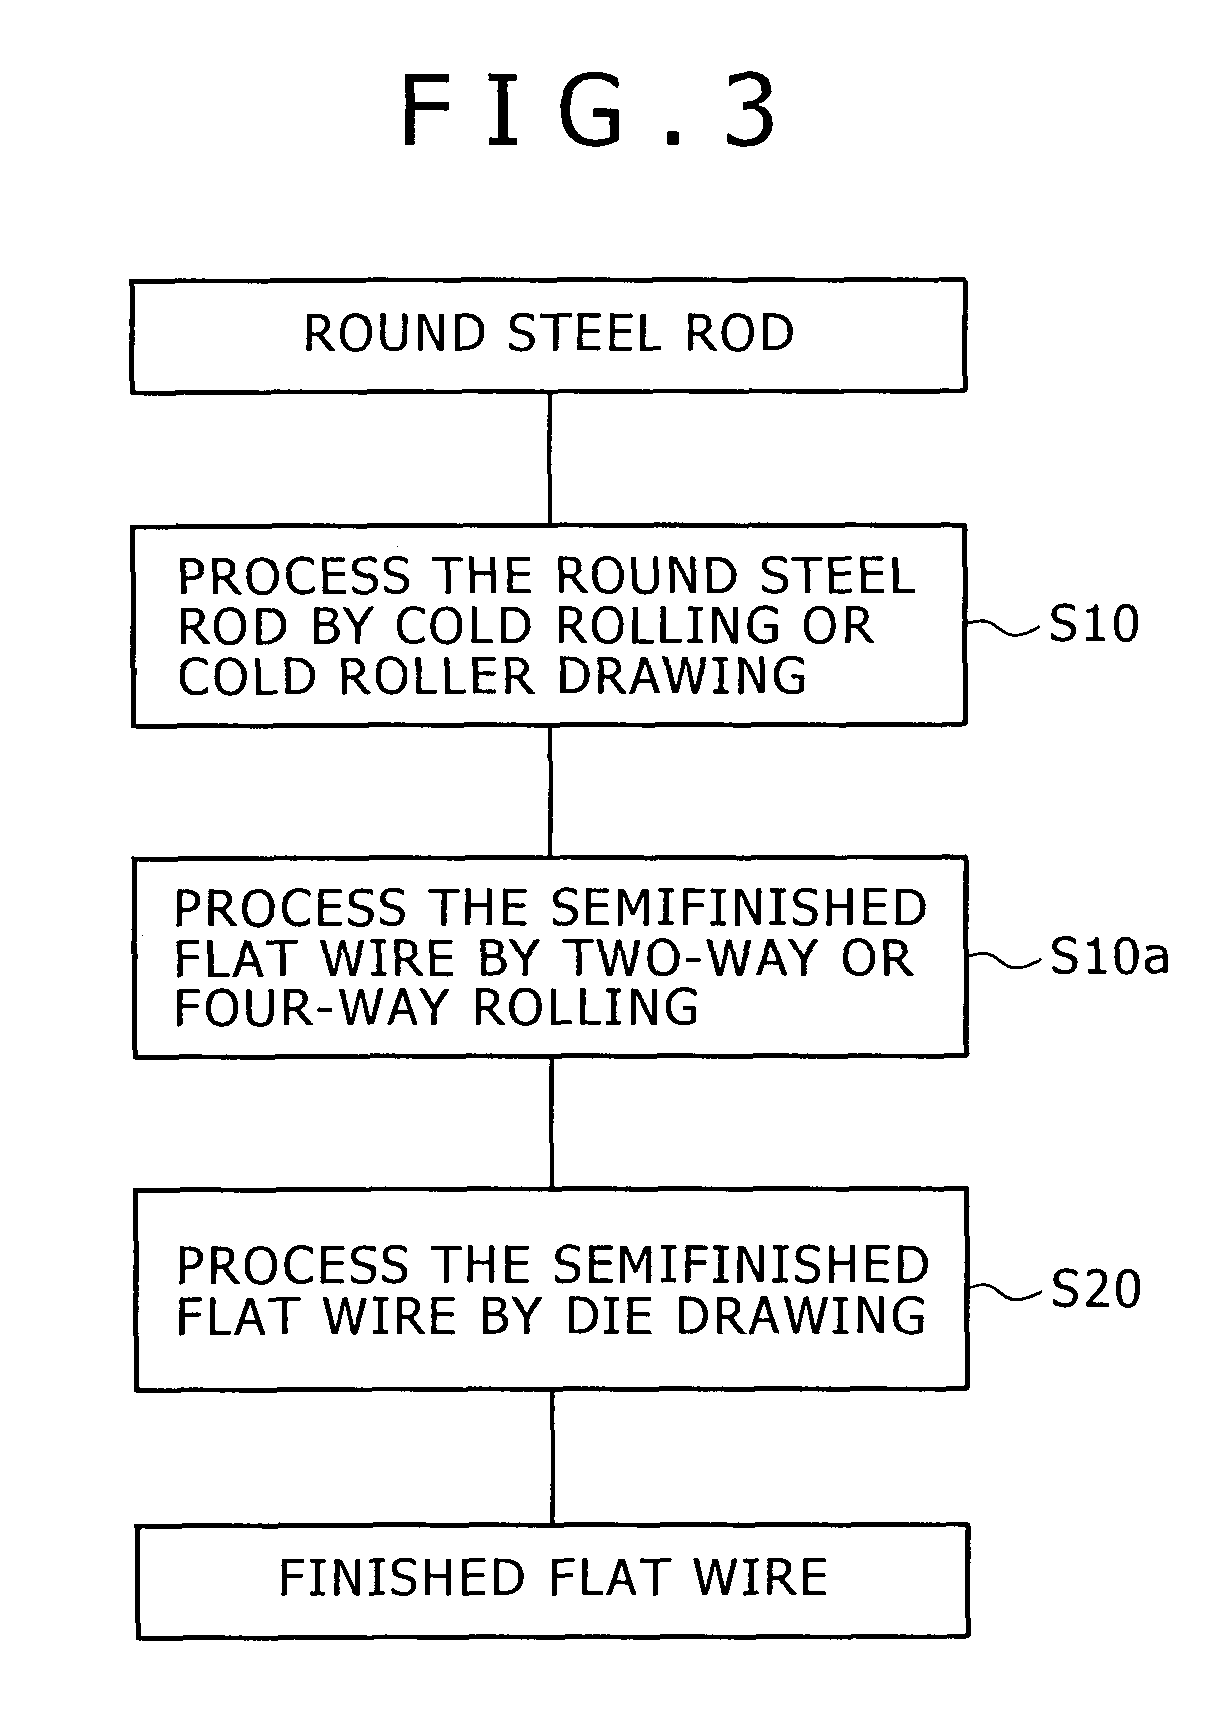
[0025]A round steel rod 1 of 15 mm in diameter having a carbon content of 0.48% was used as a workpiece. The workpiece was processed successively by rolling passes shown in FIGS. 4A to 4D. FIGS. 4A to 4E show sectional shapes of the workpiece at the exits of the passes, respectively. The upper and the lower surface 2a and the side surfaces 2b were rolled alternately by changing the rolling directions of the successive passes through 90° A semiconductor finished flat wire 2 of 11 mm in thickness and 14.5 mm in width was obtained by the four cold rolling passes. The semifinished flat wire 2 was finished by cold die drawing using a drawing die to obtain a finished flat wire 2 of 9 mm in thickness and 12 mm in width. The total area reduction of the cold working process was about 40%. Table 1 shows the surface hardnesses (HRB) of flat wires after being processed by the four rolling passes and those of flat wires finished by one drawing pass. In Table 1, “wide surfaces” are upper and lowe...
example 2
[0028]Parameters of the cold working process and total area reduction for working were adjusted to obtain flat wire of 9 mm in thickness and 12 mm width by processing round steel rods having a carbon content of 0.4%. Hardnesses, hardness dispersion, dimensional accuracy and surface quality of flat wires are shown in Table 2. The diameter of the rolling rolls of a two-way rolling mill was 270 mm. Total area reduction was changed by changing the diameters of the round steel rods. In Table 2, a circle in a column of ultimate hardness, namely, hardness of the finished flat wire, indicates a hardness of HRB 100 or below, a circle in a column of ultimate hardness dispersion indicates a difference of HRB 5 or below between the mean of hardnesses of three middle points in the side surface of the finished flat wire and the mean of hardnesses of three middle points in the upper surface (or the lower surface) of the finished flat wire, a circle in a column of dimensional accuracy indicates tha...
PUM
| Property | Measurement | Unit |
|---|---|---|
| Rockwell hardness | aaaaa | aaaaa |
| diameter | aaaaa | aaaaa |
| thickness | aaaaa | aaaaa |
Abstract
Description
Claims
Application Information


