High tower tube bending degree detection method based on three-dimensional laser scanning
A bending degree detection and three-dimensional laser technology, applied in the direction of measuring devices, optical devices, instruments, etc., can solve the problems of difficult control of precision, large data limitations, poor accuracy of target data, etc., with fast speed and easy acquisition of point cloud , high precision effect
- Summary
- Abstract
- Description
- Claims
- Application Information
AI Technical Summary
Problems solved by technology
Method used
Image
Examples
Embodiment 1
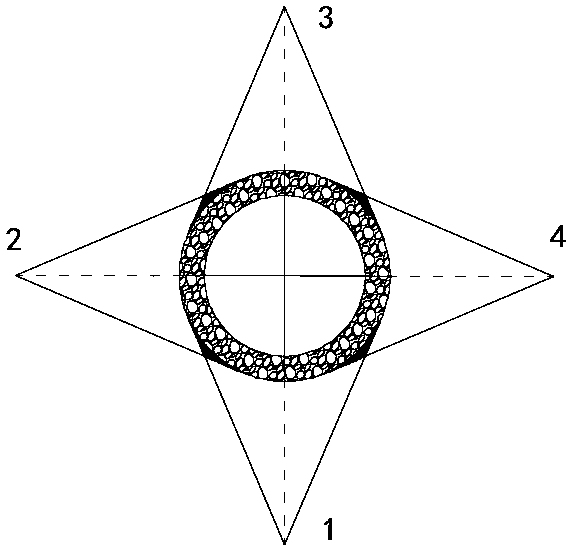
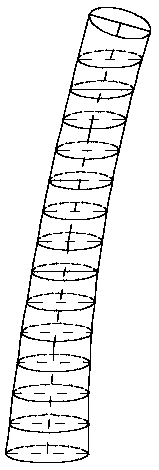
[0038] This embodiment provides a method for detecting the curvature of a tower tube based on three-dimensional laser scanning, combining figure 1 with figure 2 shown, including the following steps:
[0039] Step 1) Obtain point cloud data: set up a 3D laser scanner to obtain point cloud data of the tower body;
[0040] Step 2) Build a TIN model: preprocess the point cloud data obtained in step 1) to build a TIN model of the tower body;
[0041] Step 3) Select the tower section: select two tower horizontal contour sections in the TIN model obtained in step 2), and then determine m towers between the selected two tower horizontal contour sections according to the equal height interval The horizontal contour section of the barrel;
[0042] Step 4) Fitting the central axis of the tower tube: select n points on the perimeter of each tower tube section edge in step 3) in the counterclockwise or clockwise direction at random or at regular intervals, , determine and calculate t...
Embodiment 2
[0046] On the basis of Example 1, specifically, the step 1) meets the following requirements:
[0047] a) The retention points for erecting the 3D laser scanner should form symmetry around the tower, the number of retention should not be less than 4 points, and the horizontal distance between each point and the tower should not be less than 3 / 2 of the height of the tower, and should be complete Scan the entire tower body and height;
[0048] b) Use the compass to determine the direction of the first erection of the first station pointing to the north or a certain direction, and the starting position of the subsequent repeated erection of the scanner should be consistent with the first position;
[0049] c) Every time the scanner is fixed and erected, a centering and leveling device must be used to ensure the scanner is level;
[0050] d) Each scan first performs a fast panoramic rough scan, and then performs a fine scan of the target tower.
Embodiment 3
[0052] In the above two embodiments, the two tower sections selected in the step 3) are the upper and lower sections of the local tower whose curvature is to be measured. Select the horizontal contour section according to the partial tower to be measured, which should be the upper and lower sections of the partial tower to be measured.
[0053] If the tower section to be measured is the entire tower, then the two tower sections selected in step 3) are the top section and the bottom section of the tower, passing through the central axis between the top section and the bottom section and The data can be used to calculate the curvature of the entire tower.
PUM
 Abstract
Description
Claims
Application Information


