
Device and method for measuring shape deviations of a cylindrical workpiece and correcting steadying element and correcting follower for use therewith

a technology of cylindrical workpieces and steadying elements, which is applied in the direction of large fixed members, measurement/indication equipments, turning apparatuses, etc., can solve the problems of affecting the accuracy of its measurements, the device is not suitable for use in measuring large workpieces, and the device of this reference also has a major limitation

Inactive Publication Date: 2003-05-27
OBSCHESTVO S OGRANICHENNOI OTVETABTVENNOSTIJU TEKHNOMASH
View PDF10 Cites 115 Cited by
  • Summary
  • Abstract
  • Description
  • Claims
  • Application Information

AI Technical Summary

Benefits of technology

--more accurate measurement of deviations of form of cylindrical workpieces and more precise machining of cylindrical workpieces having a longitudinal central axis of rotation that is unsymmetrical and / or unstable with respect to a cutting or other machining tool is possible with the apparatus and method of the present invention;
--the apparatus of the present invention provides relative stabilization of the position of the axis of a rotating workpiece by use of multi-stepped, self-adjusting inverted V-type supports;
One advantage of the apparatus of the present invention is the ability to perform workpiece form measurements without taking the piece off the grinding or turning machine. Workpiece machining is performed on the same machine using specially designed follower and correcting steadying rests that are based on multi-stepped, self-adapting support elements.
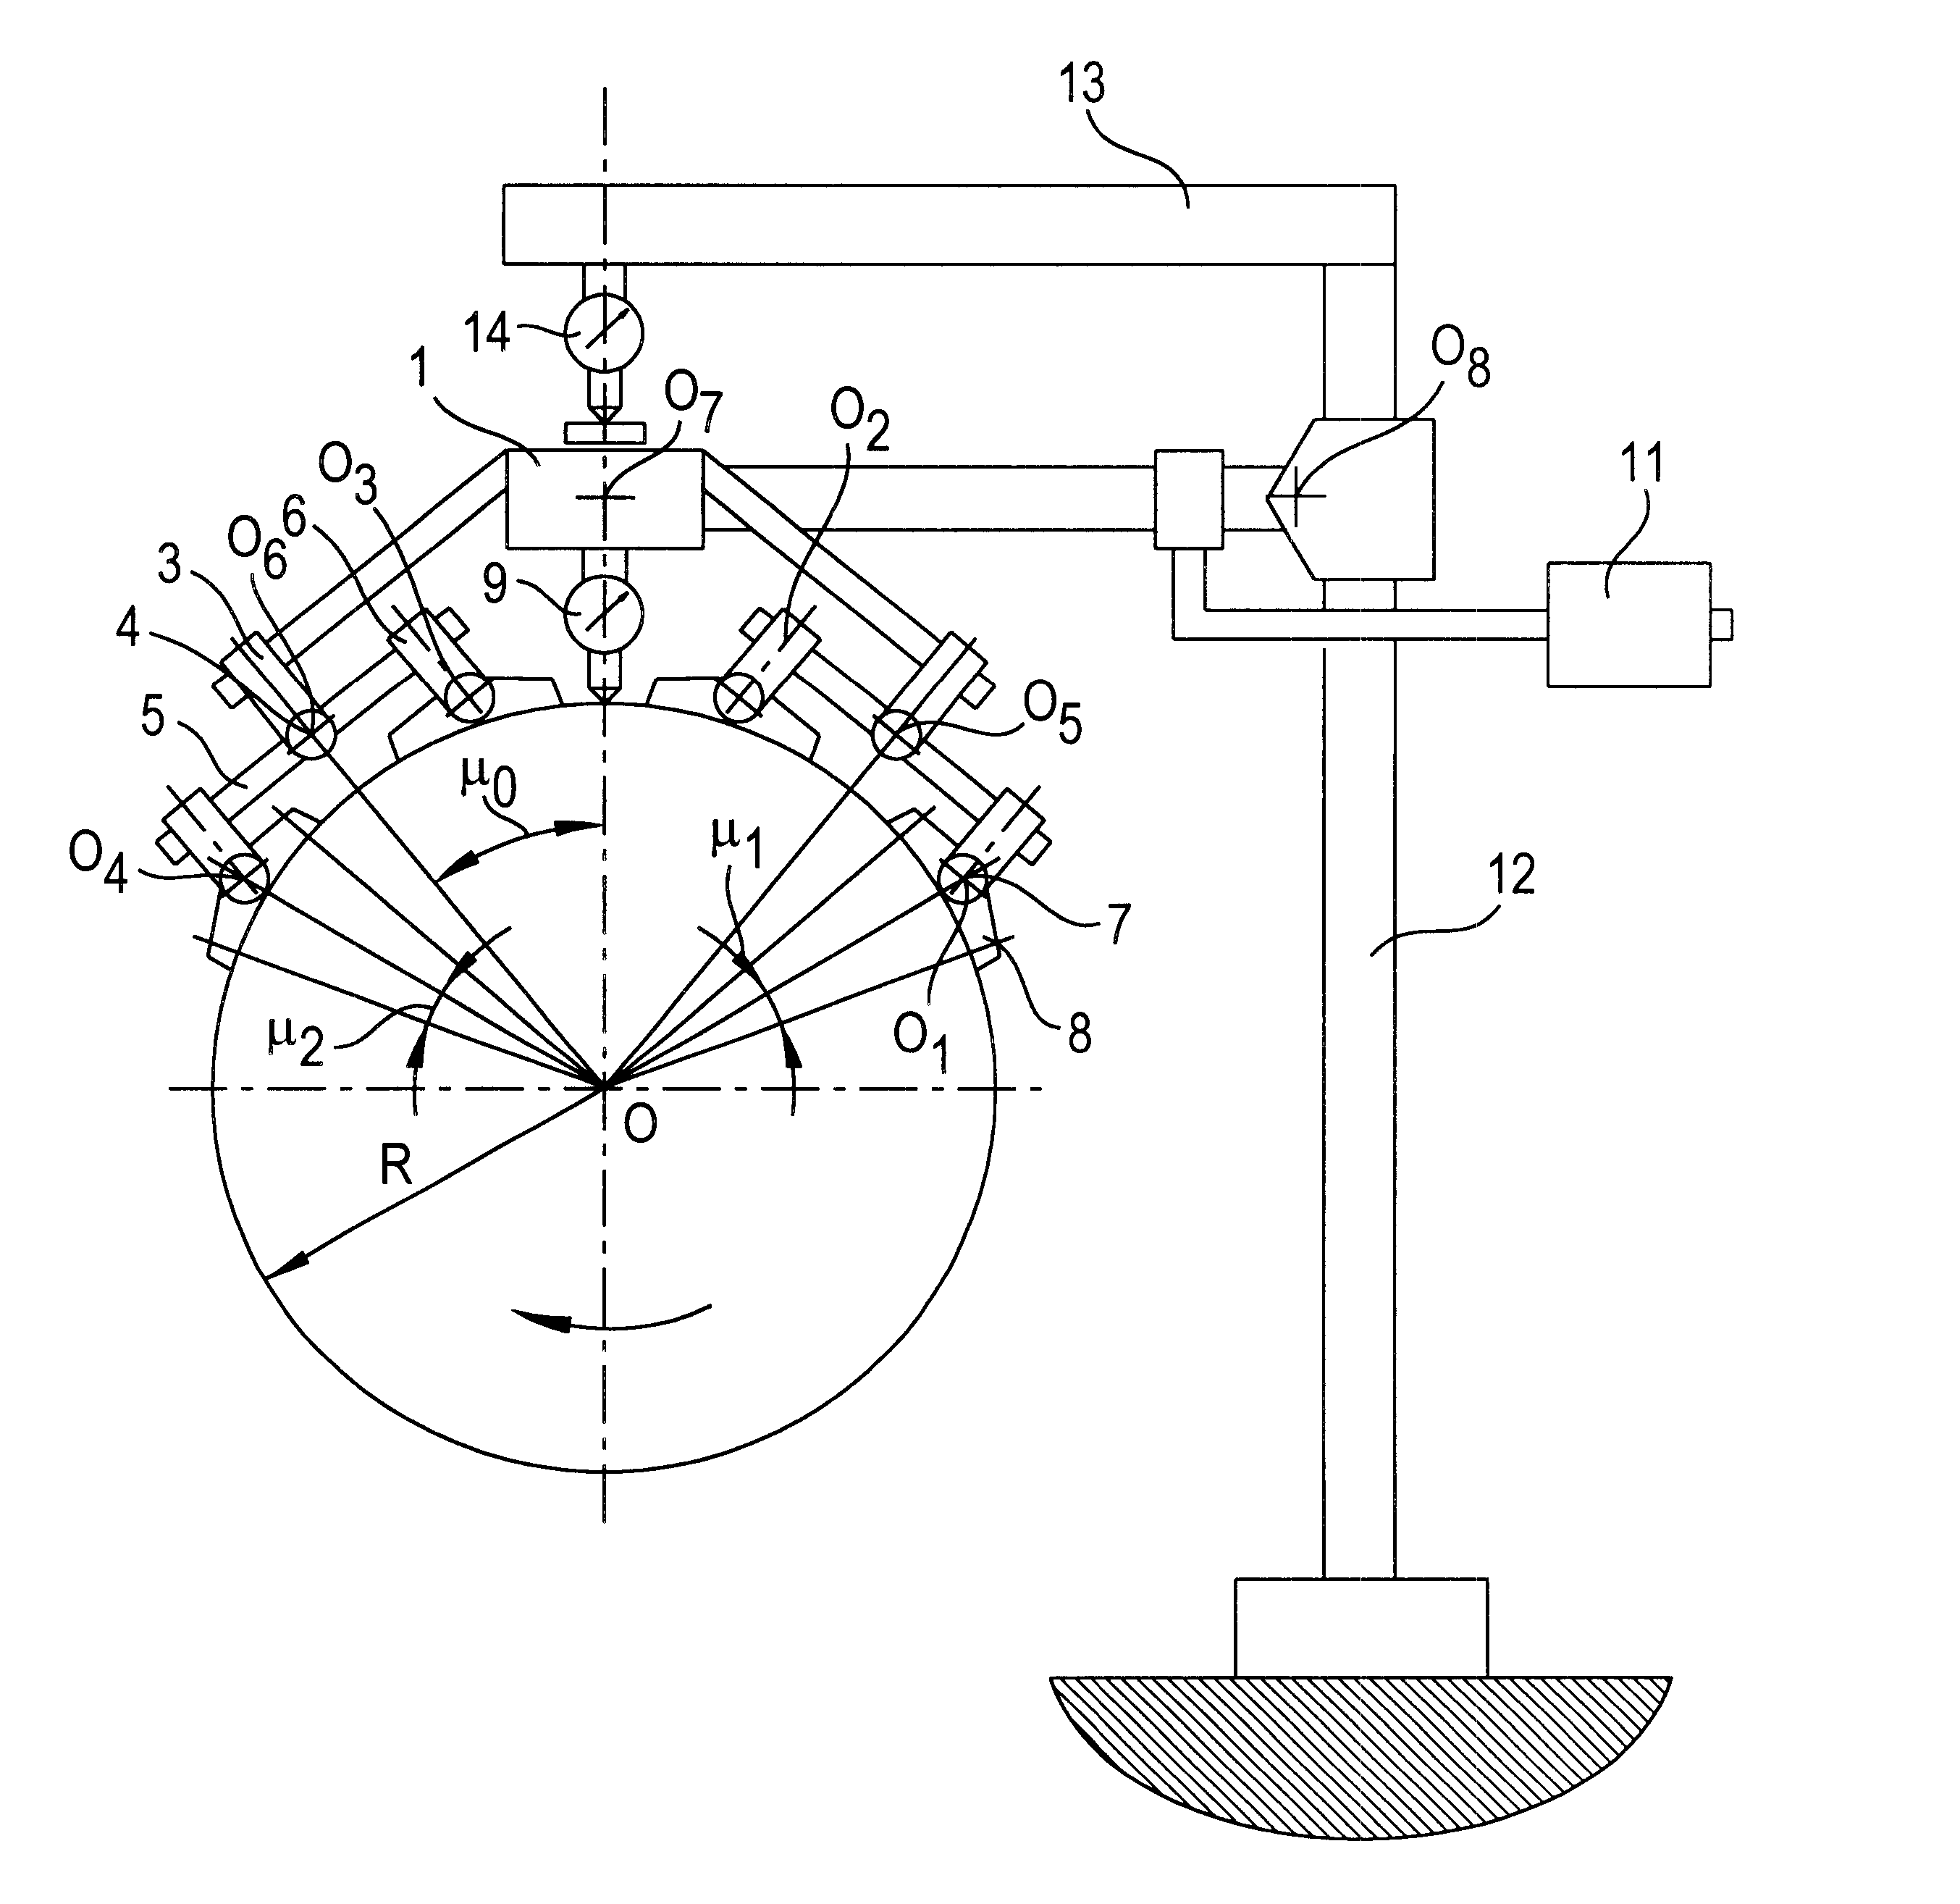
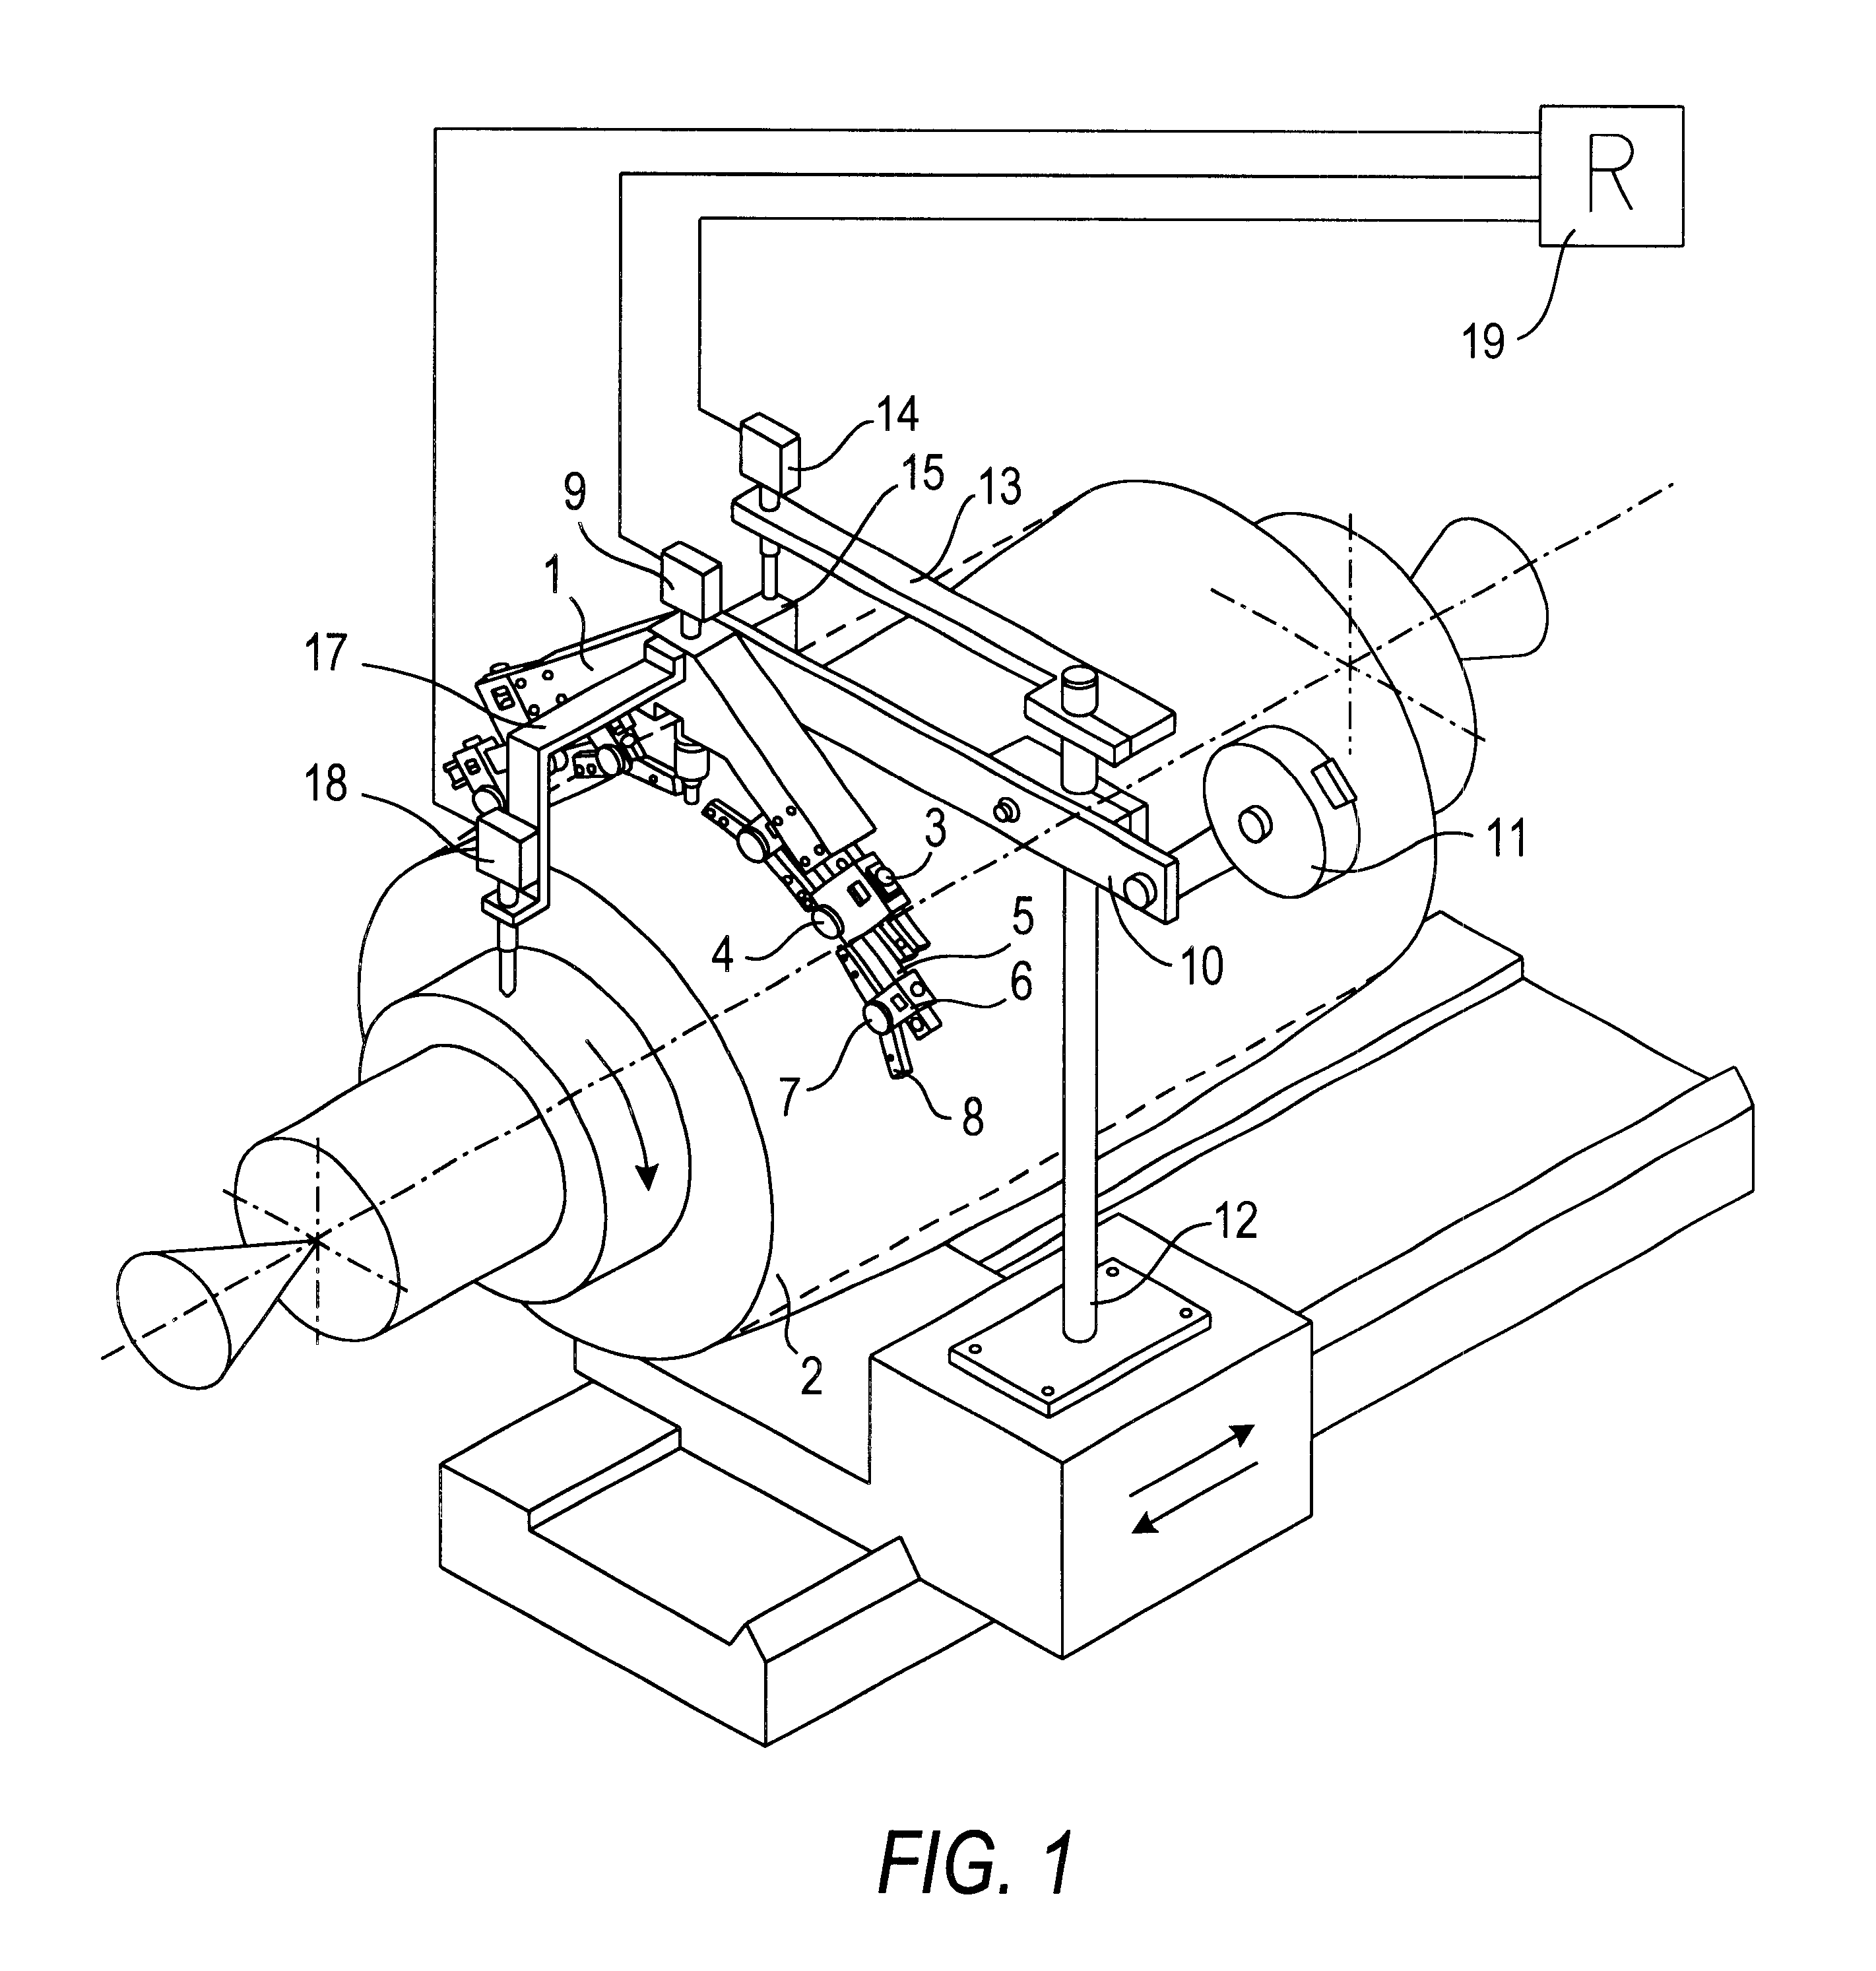
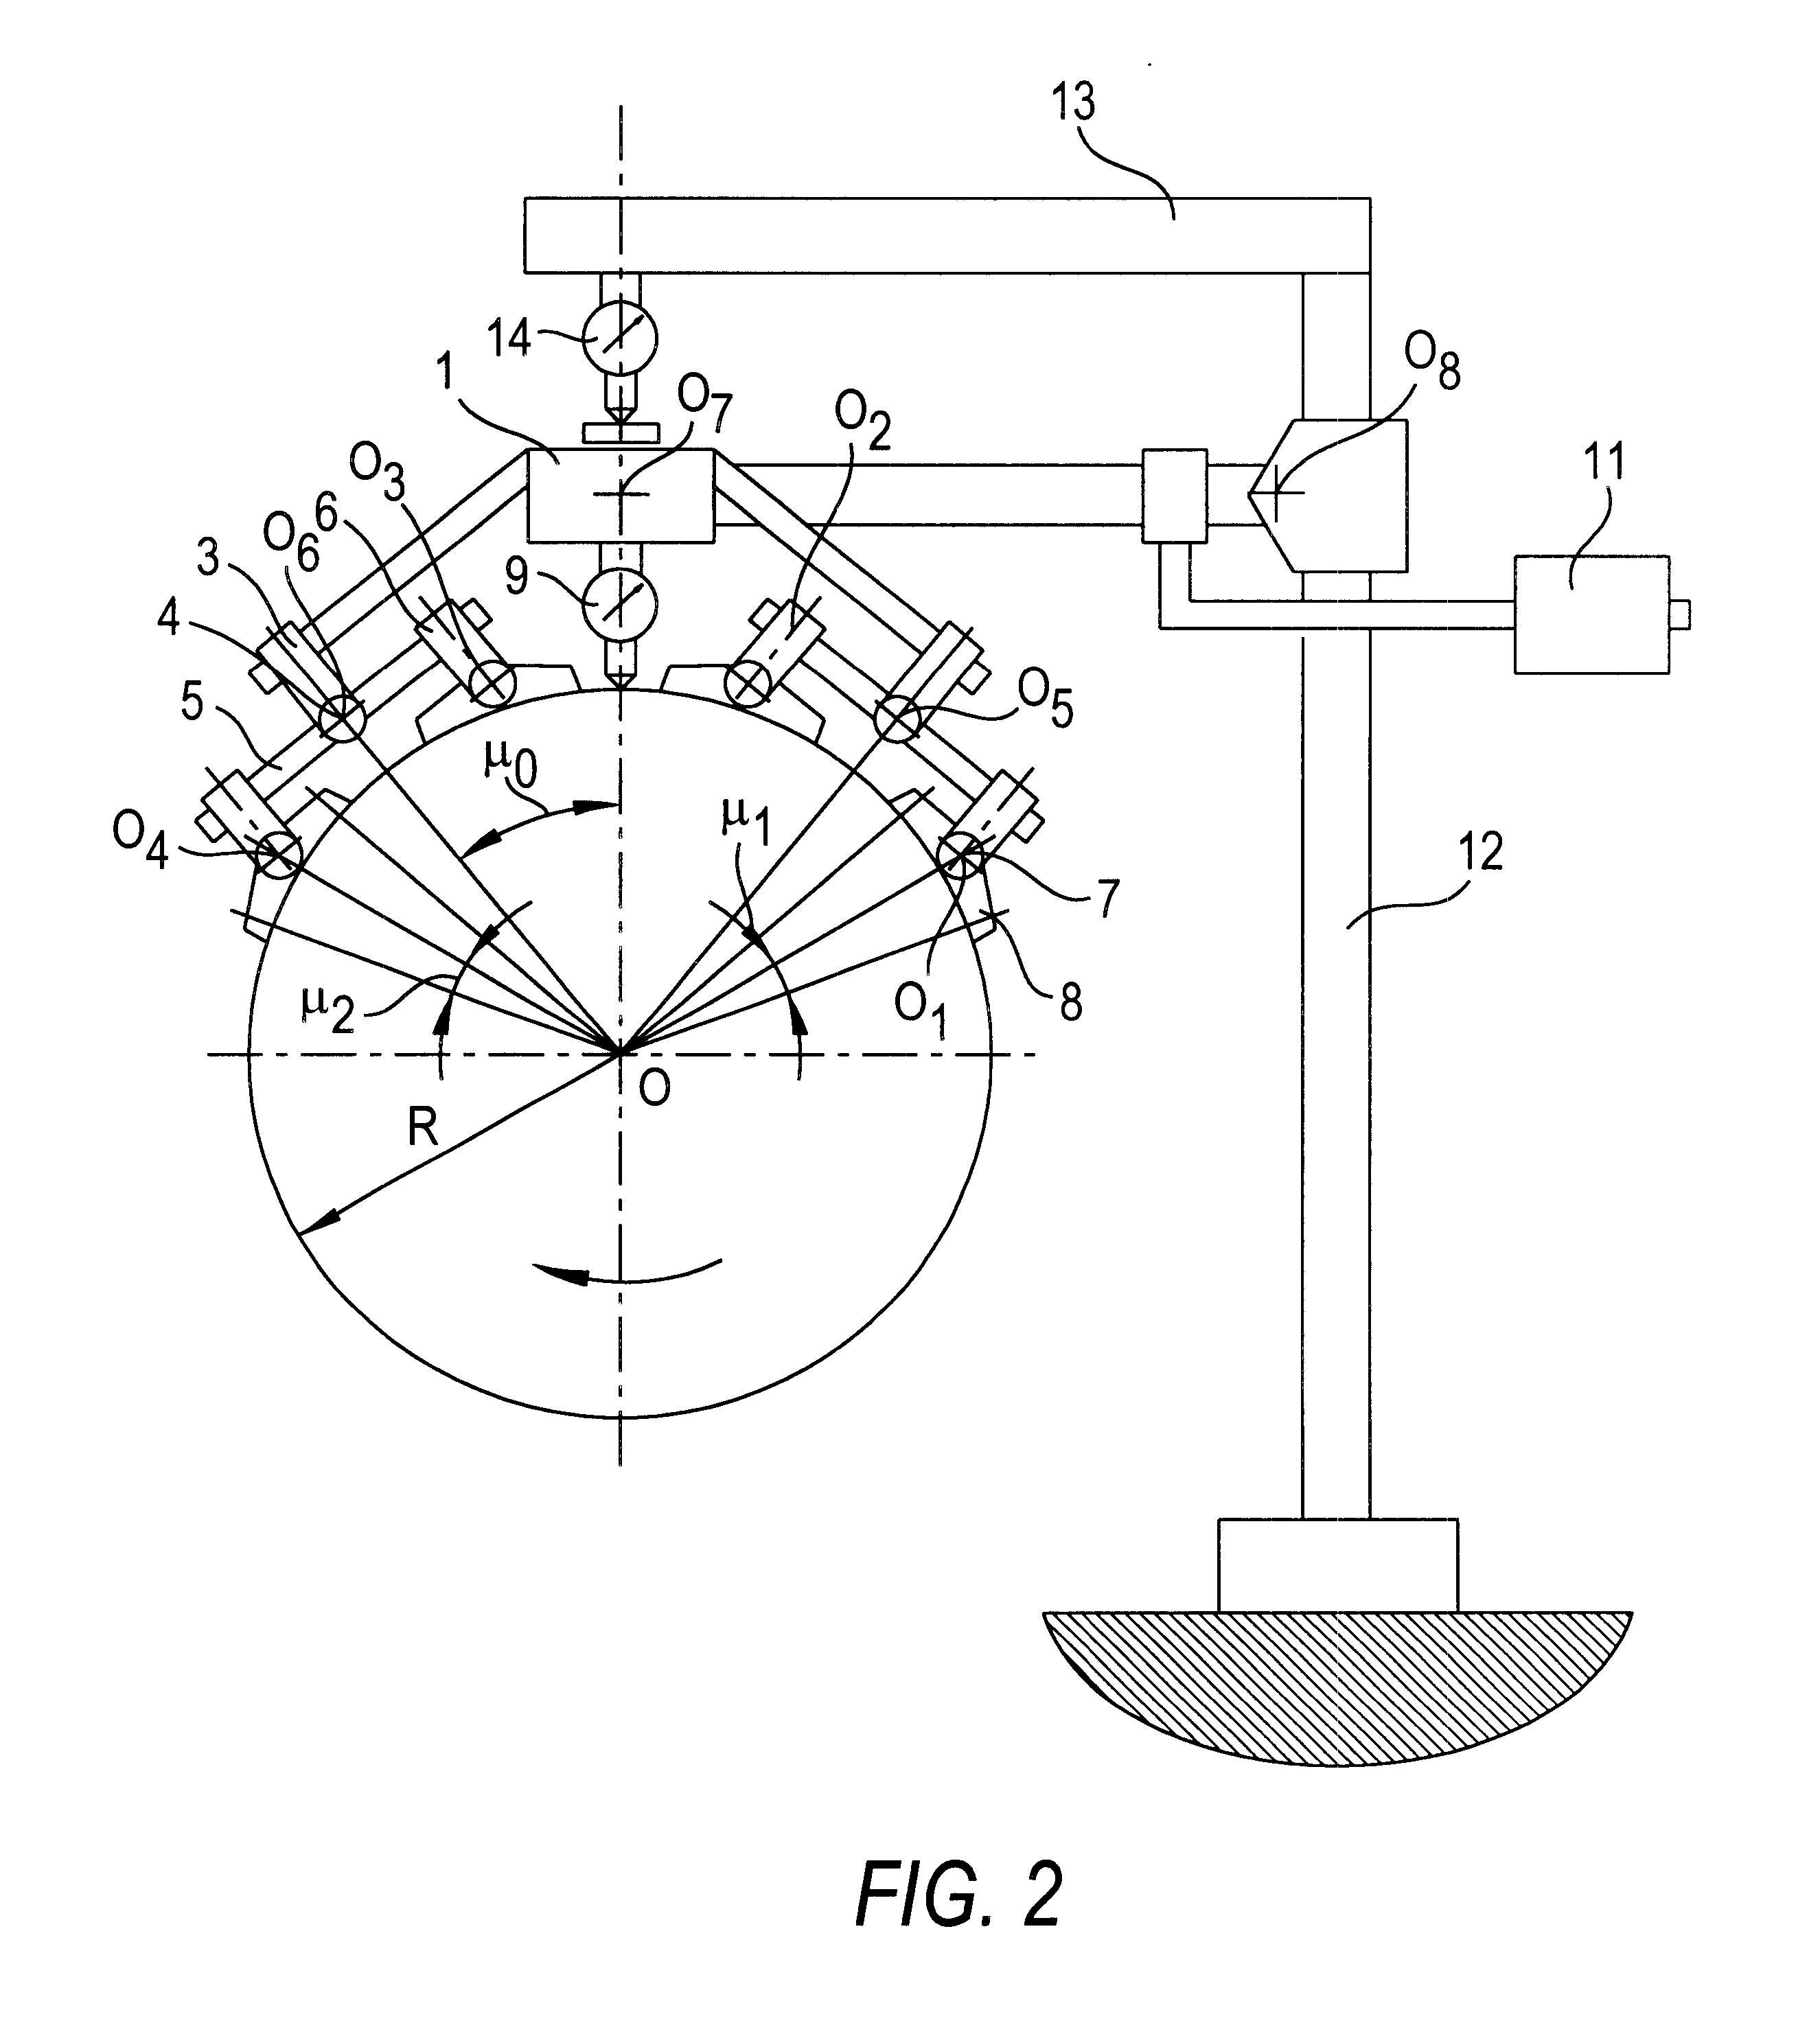
The above-described structures of devices according to the present invention are based on stabilizing the position of an object (for example, a measuring sensor or cutting tool) with respect to the main longitudinal central axis of a rotating workpiece by use of multi-stepped, self-adapting, inverted V-type support elements. The angles between the support elements and the workpiece are determined by a specially developed mathematical expression. Devices built in accordance with this expression have many points of contact with the rotating workpiece and many degrees of freedom. The result is high-precision position stabilization of a measuring sensor or a cutting tool with respect to the workpiece axis, irrespective of any deviations from roundness in the shape of the workpiece's surface.

Problems solved by technology

--it is technically complex, and is not completely protected against vibration, which affects the accuracy of its measurements; and
--the device is not suitable for use in measuring large workpieces, such as calenders or forming rolls, in which deviations from roundness may have an effect on the quality of paper, foil, rolled products, etc. produced on machines incorporating such workpieces.
This device of this reference also has a major limitation in that it can measure only one parameter of a cylindrical piece, namely the deviation from roundness.
Measurement of only the deviation does not, however, give a full indication of the workpiece's shape, and so does not enable a complete determination of the precision of machining of a cylindrical workpiece, since other shape-related parameters along the axial length of the workpiece cannot be properly measured.
Precision machining of long cylindrical workpieces creates a number of problems because of the presence of steadying elements or rests positioned along the length of the workpiece or object, which are used for holding the workpiece steady and in place on a machining tool used to cut a cylindrically-shaped object from a workpiece blank .
The presence of such steadying rests prevents precise positioning of the longitudinal axis of rotation of the workpiece with respect to the cutting tool.
In fact, the presence of such steadying rests often leads to a transfer of deviations from roundness from a reference object to the machined object.
In addition, the steadying rest of this reference does not allow for the machining of large, heavy pieces, thereby severely limiting its use.
A limitation of this device is the spring-loaded horizontal stop, which presses the workpiece against self-adjusting bearings.
A still further limitation of this device is that it also does not allow for machining of large, heavy workpieces, thereby severely limiting its use.
The device of this reference has a limitation in that the force of pressing the shoes and the tool against the workpiece surface depends on the elastic strain of a spring, which is not constant.
This circumstance has a negative effect on the machining accuracy.
Furthermore, the device does not allow for a run-out greater than 10 mm, as the bracket with the shoes cannot track such large displacements of the workpiece, and the device will not work in such situations.

Method used


Image

  • Device and method for measuring shape deviations of a cylindrical workpiece and correcting steadying element and correcting follower for use therewith
  • Device and method for measuring shape deviations of a cylindrical workpiece and correcting steadying element and correcting follower for use therewith
  • Device and method for measuring shape deviations of a cylindrical workpiece and correcting steadying element and correcting follower for use therewith

Examples


Embodiment Construction

As a rule, when controlling the shape of a nominally round cylindrical workpiece (hereinafter "workpiece"), a person of skill in the art needs to know not only the value the deviation from cylindricity .DELTA., but also more detailed, very specific geometrical parameters, such as lateral deviations from roundness in cross section; shape in a longitudinal direction (conicity, barrel, etc.), deviation from straightness of the workpiece's main central longitudinal axis; run-out of the surface of the workpiece with respect to a reference surface, such as, for example, a bearing journal.

The following is a detailed description of the nature of deviations in shape of a geometrical form workpiece that are measurable with the device and method of the present invention:

1. Deviation from roundness in cross section of the workpiece, .DELTA.1

.DELTA.1 is the distance from a point on the outer edge of an average ("least squares") circle cross sectional profile of the workpiece, measured at a parti...


PUM


Abstract

A device and method for measuring deviations in shape of a generally cylindrical workpiece is disclosed. The device enables measurement of a number of shape-defining parameters while the workpiece is positioned in a machine tool, so that the workpiece does not have to be removed from the machine tool in order for the measurements to be taken. A steadying rest, for use on machine tools to hold a workpiece, especially one having a longitudinal central axis that is rotationally unsymmetrical or unstable with respect to the machining tool, in position to enable measurement of the shape defining parameters and shape deviations while the workpiece is mounted on the machine tool, is also disclosed.

Description

This invention relates generally to the field of measurement engineering and to the machine-working of workpieces to produce cylindrically-shaped workpieces; more particularly to the measurement of deviations of shape or form of nominally cylindrical, including conical and barrel-shaped, workpieces; and still more particularly to the machine-working or cutting of cylindrically-shaped workpieces from blanks having a longitudinal central axis that is unsymmetrical and / or positionally unstable with respect to a machining or cutting tool.Precision cylindrical workpieces, such as shafts and axles, are extensively used in present-day machines and mechanisms. Very often, deviations from roundness of these cylindrical parts greatly affects the effectiveness and efficiency of the machines incorporating such workpieces. For example, deviations from from roundness of journals causes vibration, noise, heating and other adverse phenomena in ball and roller bearings, and so greatly shortens their...

Claims


Application Information

Patent Timeline
IPC IPC(8): B23Q17/20B23Q1/76B23Q1/00G01B5/24G01B5/20G01B5/252
CPCB23Q1/76B23Q17/20G01B5/252G01B5/201Y10T82/2593B23Q2017/001
Inventor SVITKIN, MARK MIKHAILOVICHGEBEL, IOSIF DAVYDOVICHNEFEDOV, ASKOLD IVANOVICHBINDER, YAKOV ISAKOVICH
Owner OBSCHESTVO S OGRANICHENNOI OTVETABTVENNOSTIJU TEKHNOMASH
Learn More