Method for Eliminating Deviation of Thermal Imager Installation Datum Plane
A technology for eliminating installation datum and deviation, which is applied in the technical field of eliminating the deviation of the installation datum plane of thermal imagers. It can solve the problems of scrapping the main shell, difficult operation, and damage to the flatness of the four installation surfaces of the thermal imager.
- Summary
- Abstract
- Description
- Claims
- Application Information
AI Technical Summary
Problems solved by technology
Method used
Image
Examples
Embodiment 1
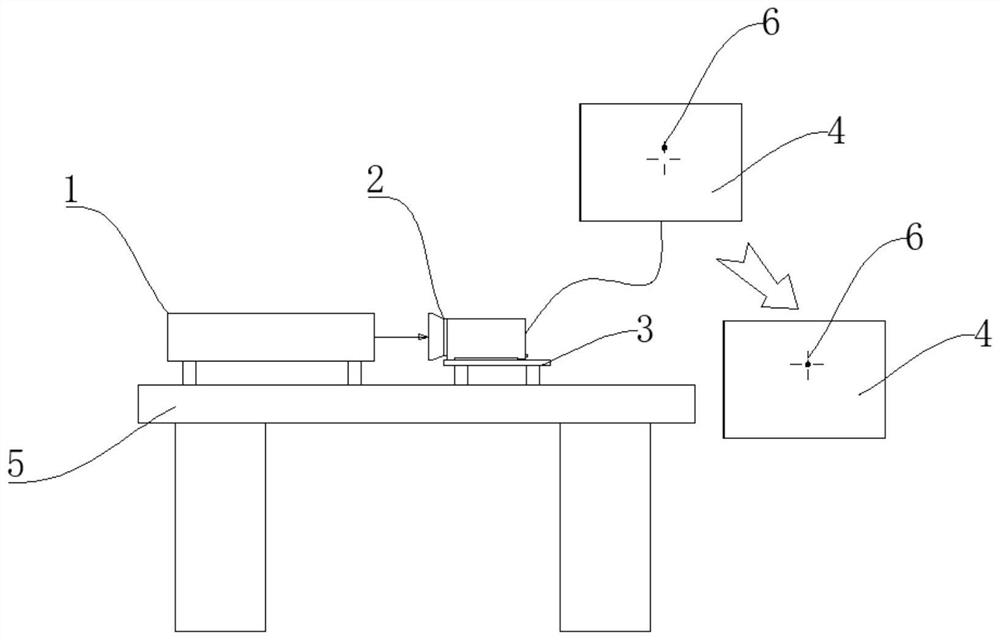
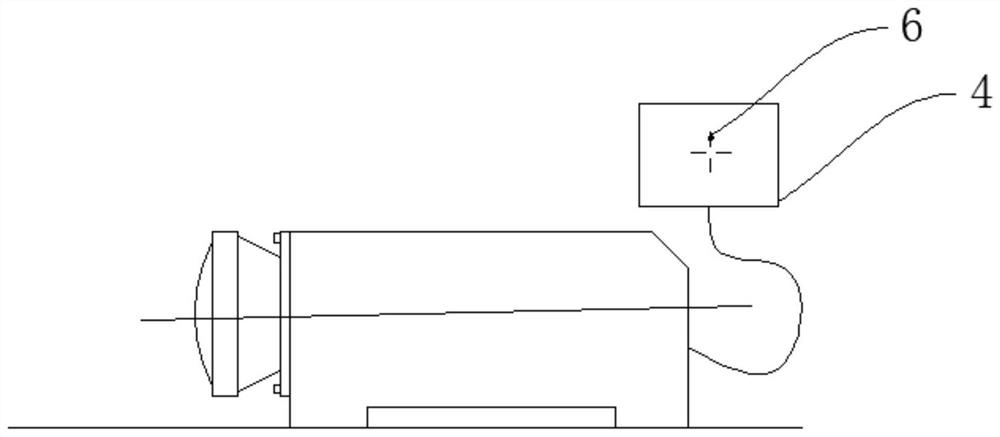
[0038] Example 1: When the type A product measures the deviation of the installation reference plane, the imaging point 6 of the small field of view deviates 34 steps upward from the center of the reticle, and the index is unqualified, such as image 3 As shown, it needs to be adjusted.
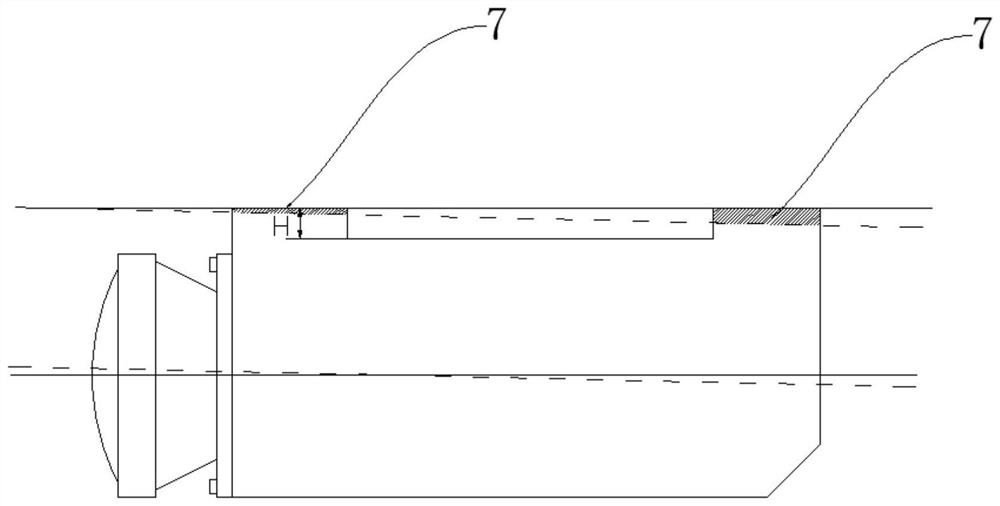
[0039] The small field of view imaging point 6 deviates upward relative to the moving reticle line. The gasket 8 is specifically installed between the objective lens holder and the main housing under the objective lens. Copper gaskets 8 are respectively placed under the two screws. Figure 4 shown. Refer to Table 1, step 34 is about to pad 0.25mm thick gasket 8. After the gasket is measured, the deviation index of the installation reference plane is 0.05mrad, which meets the index requirement of <0.5mrad, and the inspection is qualified.
Embodiment 2
[0040] Example 2: When the type B product measures the deviation of the installation reference plane, the imaging point 6 of the small field of view deviates 21 steps downward from the center of the reticle, and the index is unqualified, such as Figure 5 As shown, it needs to be adjusted.
[0041] The small field of view imaging point 6 deviates downward relative to the moving reticle line. The gasket 8 is specifically installed between the objective lens holder and the main housing on the objective lens. Copper gaskets are respectively placed on the two screws. Image 6 shown. Look up Table 1, step 21 needs to pad about 0.15mm thick gasket 8. Measure the deviation of the installation datum plane in 3 steps after the copper sheet, that is, the deviation of the index is 0.15mrad, which meets the index of <0.5mrad, and the inspection is qualified.
PUM
 Abstract
Description
Claims
Application Information


