Method for ultrasonic inclusion detection of train wheels
A technology of inclusions and ultrasound, which is applied to the analysis of solids using sound waves/ultrasonic waves/infrasonic waves, material analysis using sound waves/ultrasonic waves/infrasonic waves, and measuring devices. It can solve wheel subsurface fatigue damage, insufficient effectiveness of risk prevention and control, Uncertain correspondence and other issues, to achieve the effect of improving effectiveness, wide application range, and simple steps
- Summary
- Abstract
- Description
- Claims
- Application Information
AI Technical Summary
Problems solved by technology
Method used
Image
Examples
Embodiment 1
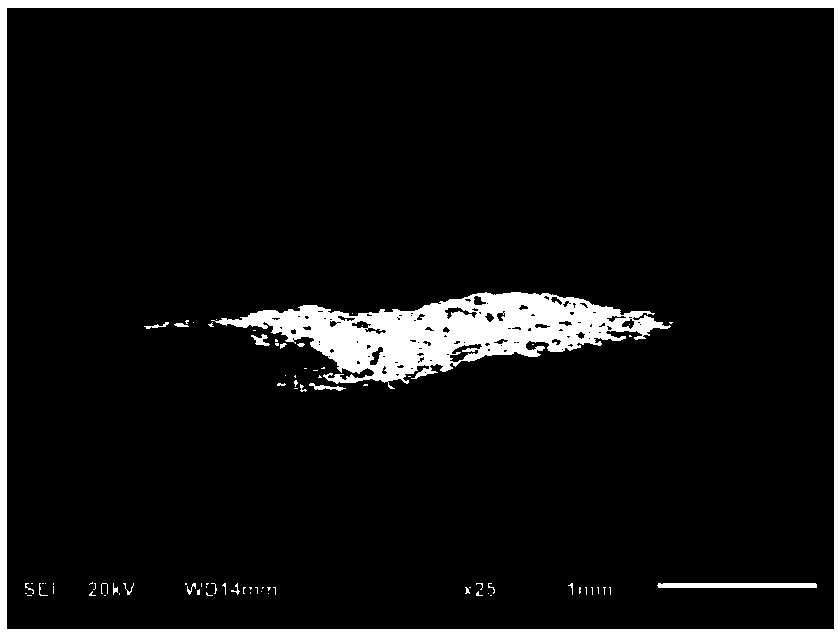
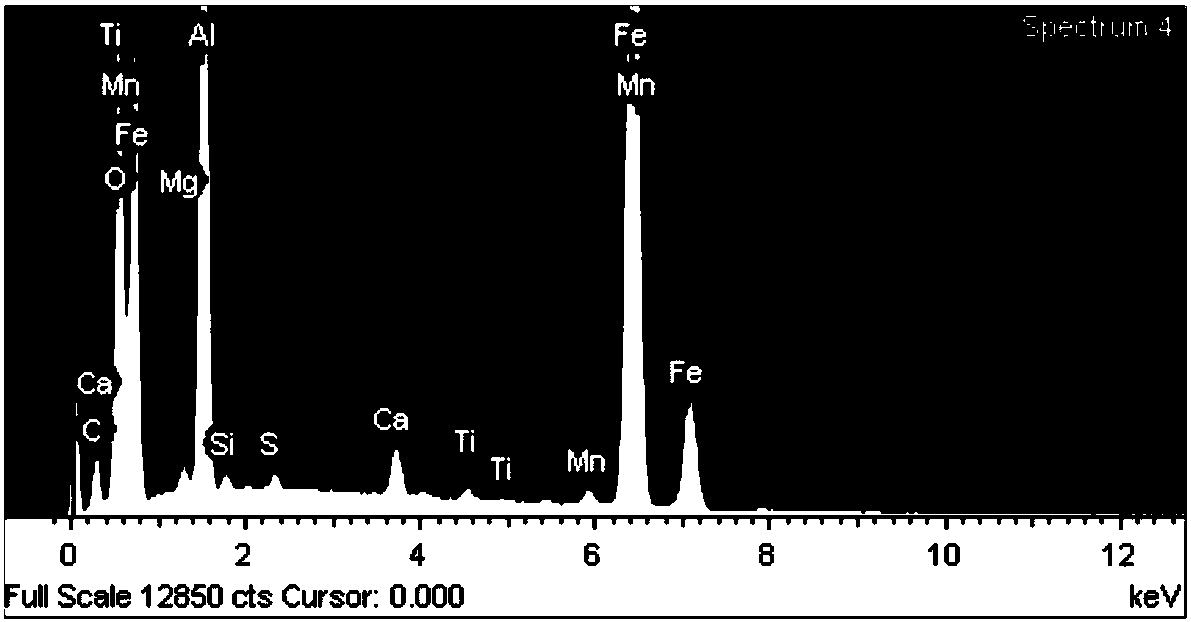
[0025] Example 1: An ER8 wheel (the chemical composition and rim tensile strength of which are shown in Table 1) whose rim was found to have defects during the on-line ultrasonic flaw detection inspection was subjected to manual ultrasonic flaw detection to determine its orientation and position. Inspection from the inner side shows that the defect equivalent is Φ1dB, and inspection from the tread surface shows that the defect equivalent is Φ1-8dB, so it can be judged that the defect is a strip defect along the circumferential direction of the rim. The defect is located on the inside of the rim, approximately 60 mm from the inside of the rim. After cutting off the cross-sectional test block, use wire cutting method to cut a 120mm length from the inner surface along the axial direction, and the cross-sectional size is 25×25mm square bar, and the positioning point of the defect is located at the center of the square bar section. The square bar (sample square bar) sample is proce...
Embodiment 2
[0026] Embodiment 2: AAR C wheel (its chemical composition and rim tensile strength such as figure 1 Shown), cut off the cross-sectional test block and conduct ultrasonic flaw detection to judge its orientation and position. Inspection from the inner side shows that the defect equivalent is Φ1+4dB, and inspection from the rim tread surface shows that the defect equivalent is extremely small, so it can be judged that the defect is a strip defect along the radial direction of the rim. Locate the defect on the inside of the rim, approximately 55mm from the tread. After cutting off the cross-section test block, use wire cutting method to cut a square bar with a length of 110mm and a cross-sectional size of 25×25mm in the radial direction from the surface of the tread. The positioning point of the defect is located at the center of the square bar section. The square bar is processed into a test sample, and the four long-diameter surfaces of the sample are ground and subjected to m...
PUM
| Property | Measurement | Unit |
|---|---|---|
| length | aaaaa | aaaaa |
Abstract
Description
Claims
Application Information


