Semi-intelligent position searching and machining method of digitally controlled machine tool
A CNC machine tool and intelligent technology, applied in metal processing equipment, metal processing mechanical parts, manufacturing tools, etc., can solve the problems of expensive machine tools and complex machine tool structures, and achieve the effect of saving money, simple process equipment, and concentrated processes
- Summary
- Abstract
- Description
- Claims
- Application Information
AI Technical Summary
Problems solved by technology
Method used
Image
Examples
Embodiment 1
[0037] The method of semi-intelligent positioning processing of CNC machine tools is carried out according to the following specific steps:
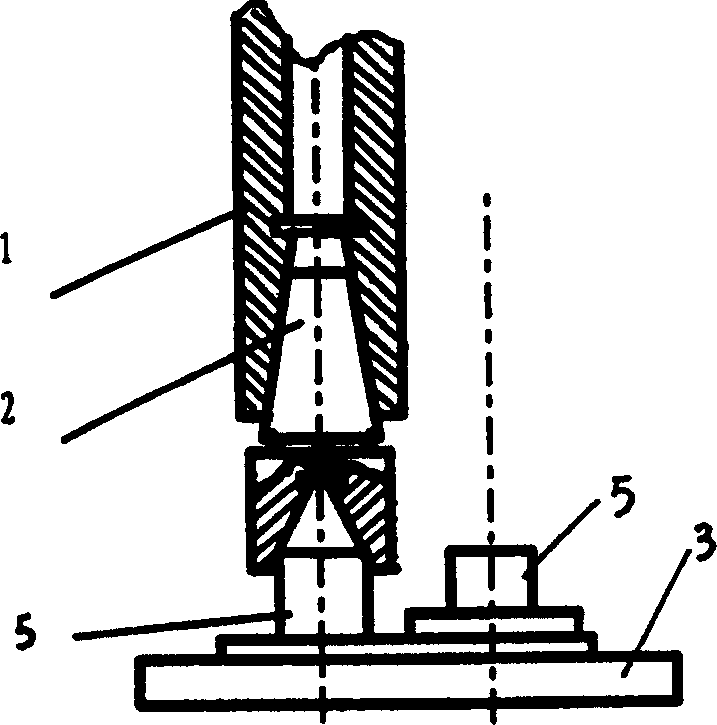
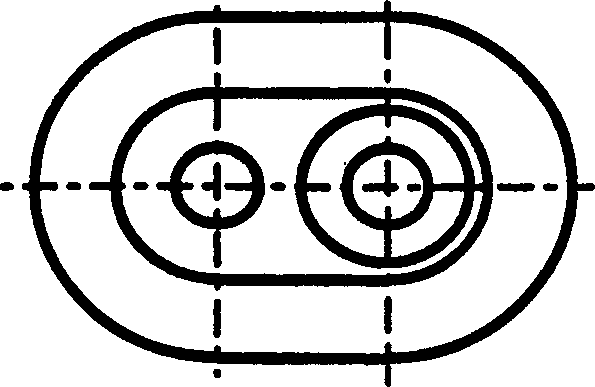
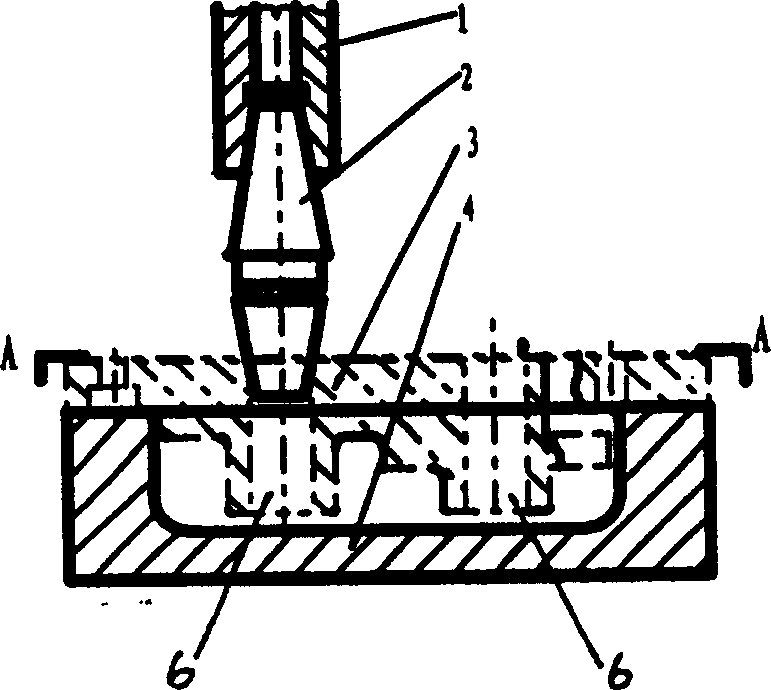
[0038] Test sample: gear pump cover, such as figure 1 and figure 2 as shown,
[0039] 1) Input the NC program prepared in advance for workpiece processing into the NC machine tool system.
[0040] 2) First place the large plane of the workpiece blank on the machine table at random, and fix the workpiece on the table with a pressure plate, T-slot screws (or magnetic chuck).
[0041] 3) Set the position finder with inner cone on the machine tool spindle 1, jog the worktable, so that the inner cone of the position finder 2 is correctly set on the first boss 5 of the workpiece 3, and record it by the CNC system Its coordinate value (X 1 , Y 1 ). Raise the taper sleeve to pull it out from boss 5. Such as figure 1 , figure 2 shown.
[0042] 4) Jog the workbench again, so that the inner taper sleeve of the finder is correctly set ...
Embodiment 2
[0057] Embodiment 2: basically the same as Embodiment 1, the difference is that the workpiece is placed randomly on the machine tool, so the Φ angle at this time is different from that of Example 1.
[0058] The second wax model test: if figure 1 , figure 2 as shown,
[0059] Place the second gear pump wax model blank on the machine table at will, and fix it on the table with T-slot screws and pressure plates, and repeat the above process. Get the following data:
[0060] x 1 =-10.564Y 1 =-66.252
[0061] x 2 =-70.348Y 2 =-67.196
[0062] ΔX=X 2 -X 1 =-59.784
[0063] ΔY=Y 2 -Y 1 =-0.94
[0064] Φ=arc tgΔY / ΔX=0.9(degrees)
[0065] Enter the Φ angle into the program, load the corresponding tool on the spindle, turn on the working cycle button, the machine tool executes the program, and completes all processing.
Embodiment 3
[0066] Embodiment 3: It is basically the same as Embodiment 2, except that the Φ angle is different. Second trial of the second wax pattern test:
[0067] Loosen the wax pattern processed above, move the workpiece, and re-press and fix it on the machine table. Repeat the test. Get the following data:
[0068] x 1 =-10.560Y 1 =-71.892
[0069] x 2 =-70.344Y 2 =-66.252
[0070] ΔX=X 2 -X 1 =-59.784
[0071] ΔY=Y 2 -Y 1 =5.64
[0072] Φ=arc tgΔY / ΔX=-5.389(degree)=354.611(degree)
[0073] Input the Φ angle into the program, load the corresponding tool on the spindle, turn on the working cycle button, and the machine tool executes the program. Since the surface required by the workpiece has been processed, during the second processing, the machine tool’s The cutting process is basically chipless machining.
PUM
 Abstract
Description
Claims
Application Information


