Automatic optic inspection method for surface defects of metal cylindrical workpieces
An automatic optical inspection and metal cylinder technology, which is applied in image data processing, instruments, calculations, etc., can solve the problems of many human interference factors, low detection efficiency, and reduced product performance, so as to realize automatic optical defect detection and overcome poor illumination. The effect of reducing the misjudgment rate
- Summary
- Abstract
- Description
- Claims
- Application Information
AI Technical Summary
Problems solved by technology
Method used
Image
Examples
Embodiment Construction
[0027] The specific implementation steps are illustrated in conjunction with the accompanying drawings:
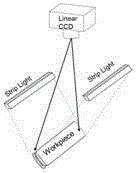
[0028] Step 1: First, the linear array CCD is used to collect the unfolded image on the surface of the metal cylindrical workpiece, such as Pic 4-1 , and grayscale the image.
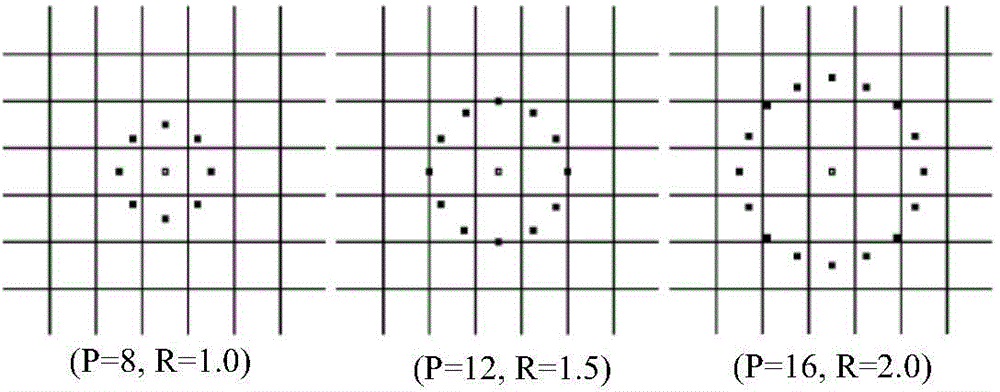
[0029] Step 2: The local binary pattern is defined in a circular area with a radius of R (R>0), and P pixels are evenly distributed on the circumference. The texture of the central pixel in this neighborhood is recorded as T, and T can use this area P The relational expression of +1 pixel is defined, and the defined texture operator is not affected by the monotonous change of image grayscale, so the sign of the difference is used for calculation:
[0030] T=t(S(g 0 -g c ), S(g 1 -g c )...,S(g P-1 -g c ))
[0031] S ( x ) = 1 x ...
PUM
 Abstract
Description
Claims
Application Information


