Alloy cast iron glass mold material
A technology of glass mold materials and alloy cast iron, which is applied in the field of glass mold materials, can solve the problems of increased production costs of mold materials, and achieve the effects of delaying oxidation growth, improving thermal fatigue resistance, and good thermal conductivity
- Summary
- Abstract
- Description
- Claims
- Application Information
AI Technical Summary
Problems solved by technology
Method used
Image
Examples
Embodiment 1
[0013] 3.0% carbon (C), 2.1% silicon (Si), 0.3% manganese (Mn), 0.02% sulfur (S), 0.04% phosphorus (P), 0.1% titanium (Ti), 0.30% Chromium (Cr) and the rest iron (Fe).
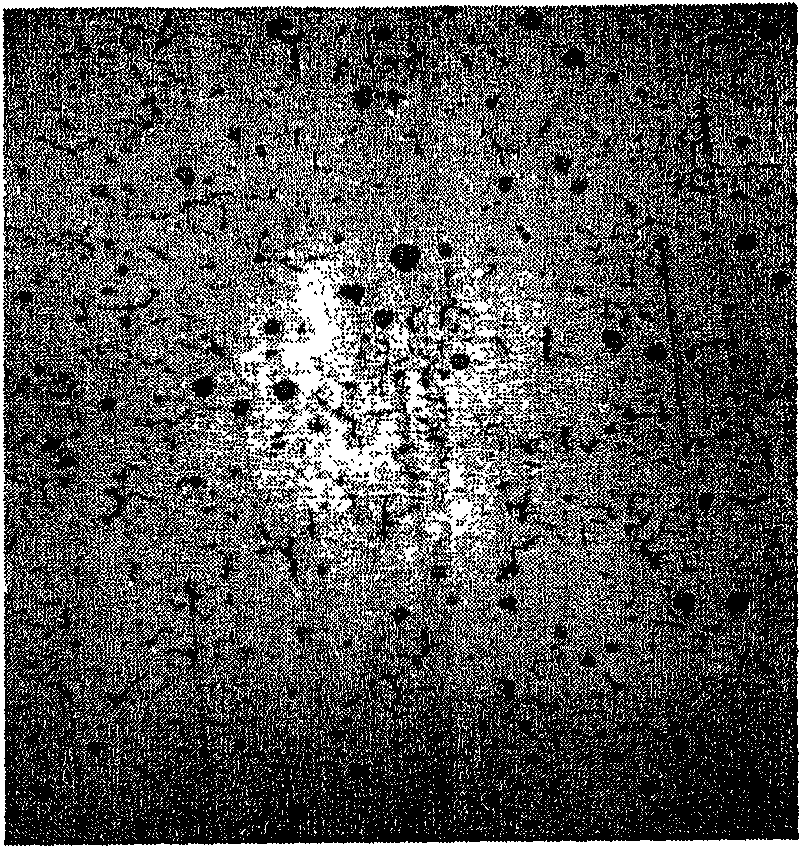
[0014] The applicant tested the mold obtained by the ratio of the ingredients in this example, and the results showed that the matrix structure is ferrite, the graphite shape is spherical + worm-like graphite, and the thermal fatigue test at 750°C shows that the number of visible cracks first appeared 34 times. The crack length at the 50th time was 5.4mm. After the same number of cycles, the maximum deformation of the sample diameter was 0.32mm, and the relative wear of the sample was 73%. The same batch of molds was handed over to the customer for use. It is reported that the service life of the same batch of molds reaches 640,000 times / pair, and the photo of the as-cast metallographic structure is shown in figure 1 .
Embodiment 2
[0016] 3.8% carbon (C), 2.4% silicon (Si), 0.3% manganese (Mn), 0.03% sulfur (S), 0.04% phosphorus (P), 0.05% titanium (Ti), 0.10% Chromium (Cr) and the rest iron (Fe).
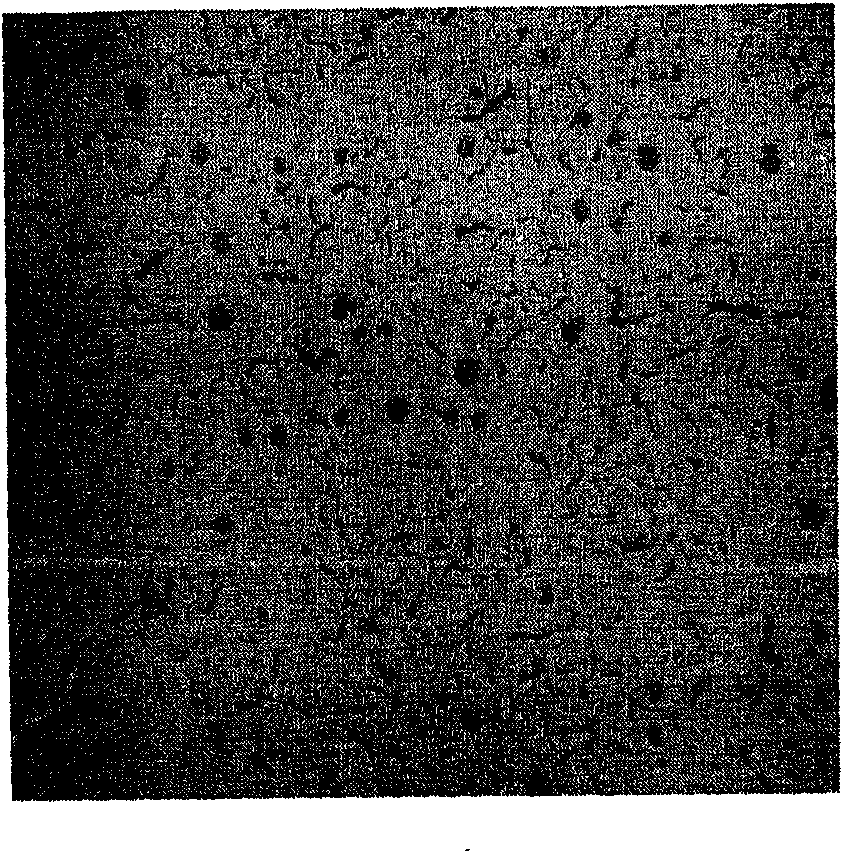
[0017] The applicant tested the mold obtained from the ratio of ingredients in this example, and the results showed that the matrix structure was ferrite, and the graphite was in the form of fine spherical + worm-like graphite. In the thermal fatigue test at 750°C, the number of visible cracks first appeared was 30 times. , the crack length at the 50th time was 5.8mm. After the same number of cycles, the maximum deformation of the sample diameter was 0.36mm, and the relative wear of the sample was 78%. The same batch of molds was handed over to the customer for use. The customer feedback that the service life of the same batch of molds reached 610,000 times / pair, and the photo of the as-cast metallographic structure is shown in figure 2 . All the other are the same as the description of embodiment 1.
Embodiment 3
[0019] 3.5% carbon (C), 2.8% silicon (Si), 0.2% manganese (Mn), 0.03% sulfur (S), 0.04% phosphorus (P), 0.2% titanium (Ti), 0.30% Chromium (Cr) and the rest iron (Fe).
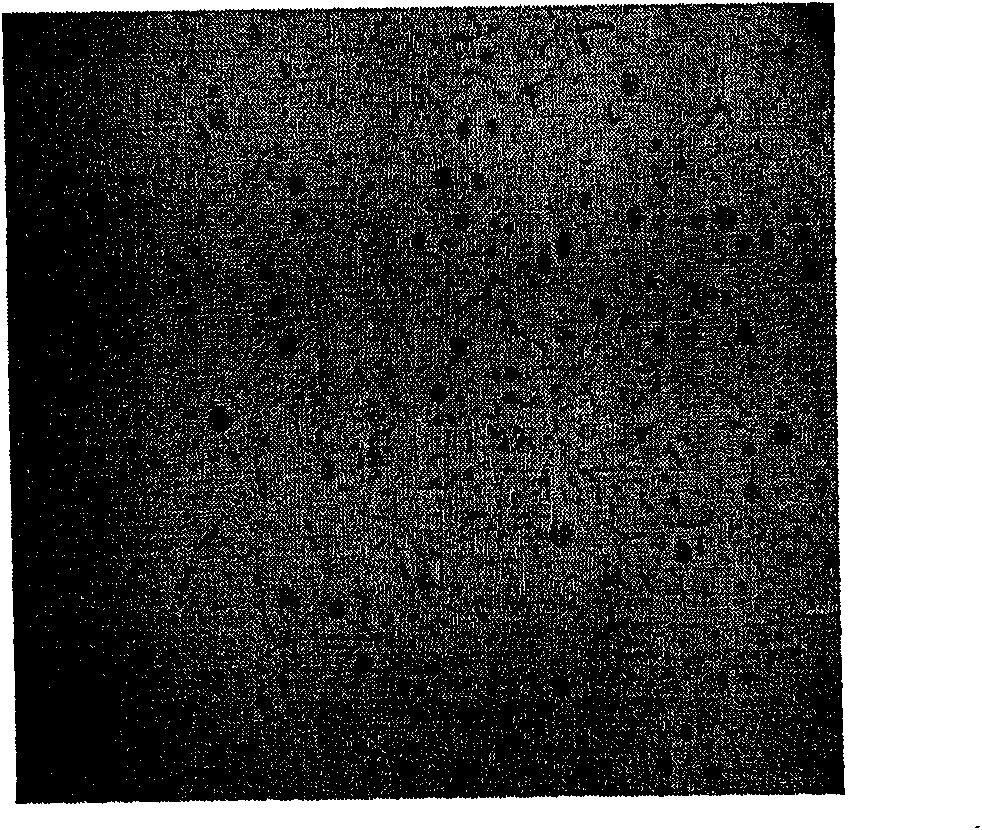
[0020] The applicant tested the mold obtained by the ratio of ingredients in this example, and the results showed that the matrix structure was ferrite, and the graphite morphology was fine spherical + worm-like graphite. In the thermal fatigue test at 750°C, the number of visible cracks first appeared was 38 times. , the crack length at the 50th time is 4.5mm. After the same number of cycles, the maximum deformation of the sample diameter is 0.21mm, and the relative wear of the sample is 70%. The same batch of molds is handed over to the user for use. The user feedback that the service life of the same batch of molds reached 690,000 times / pair, and the photo of the as-cast metallographic structure is shown in image 3 . All the other are the same as the description of embodiment 1.
PUM
| Property | Measurement | Unit |
|---|---|---|
| Crack length | aaaaa | aaaaa |
| Crack length | aaaaa | aaaaa |
| Crack length | aaaaa | aaaaa |
Abstract
Description
Claims
Application Information
 - R&D Engineer
- R&D Manager
- IP Professional
- Industry Leading Data Capabilities
- Powerful AI technology
- Patent DNA Extraction
Browse by: Latest US Patents, China's latest patents, Technical Efficacy Thesaurus, Application Domain, Technology Topic, Popular Technical Reports.
© 2024 PatSnap. All rights reserved.Legal|Privacy policy|Modern Slavery Act Transparency Statement|Sitemap|About US| Contact US: help@patsnap.com


