Method for detecting residual stress based on inverse problem
A residual stress and detection method technology, applied in the direction of measuring force, measuring device, special data processing application, etc., can solve the problem of not taking into account the different calibration coefficients of residual stress, not considering the influence of removing residual stress, and insufficient residual stress data. Accuracy and other issues, to achieve the effect of easy operation and promotion, low cost and strong practicability
- Summary
- Abstract
- Description
- Claims
- Application Information
AI Technical Summary
Problems solved by technology
Method used
Image
Examples
specific Embodiment 1
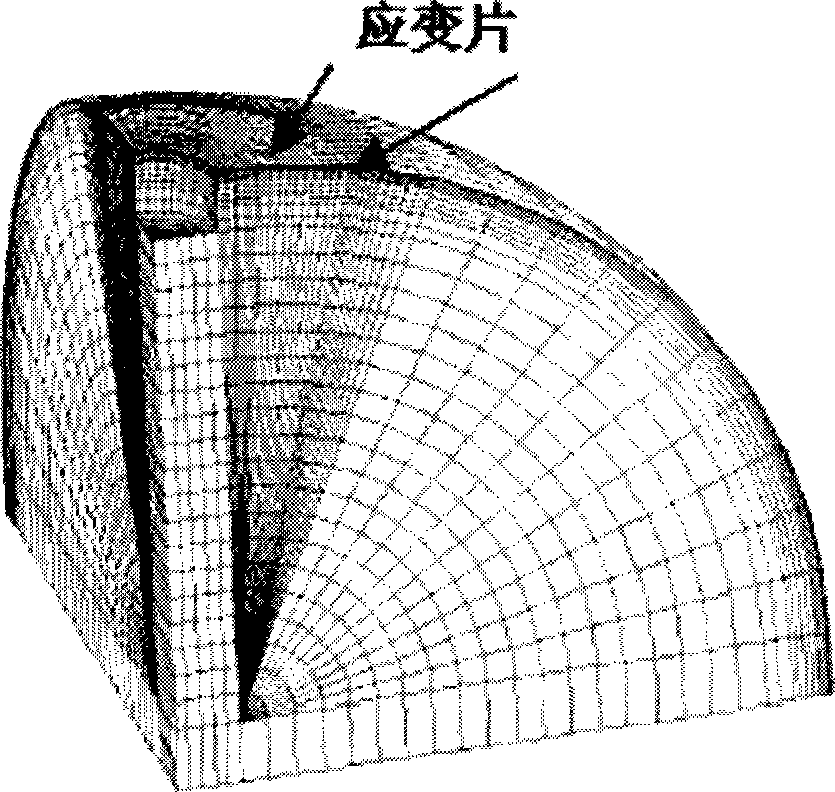
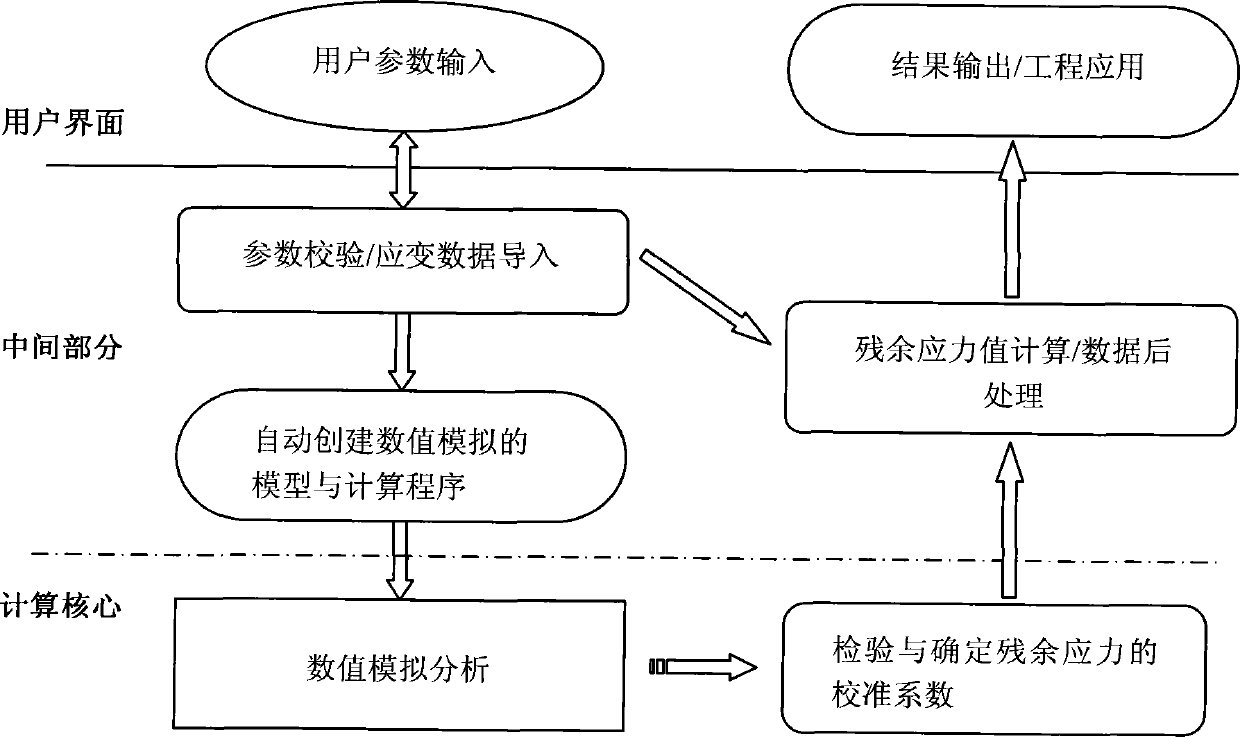
[0043] One-time drilling of planar structure workpiece to detect residual stress. It is a stainless steel laser-welded honeycomb panel with a length of 18cm, a width of 12cm, and a thickness of 2.0mm, and its welding residual stress value is measured. The residual stress value of the workpiece is detected by using the reverse thinking method to detect the residual stress. The residual stress calibration coefficients A=-5.87591418476E-07 and B=-1.41076852438E-06 of the material and structure are calculated by ANSYS or ABAQUS numerical simulation software. Then, the strain value at this position was measured by the actual small hole stress release method. According to the residual stress calibration coefficient and the measured strain value, the detected welding residual stress is σ 1 =-516.98MPa and σ 2 =-483.15MPa.
specific Embodiment 2
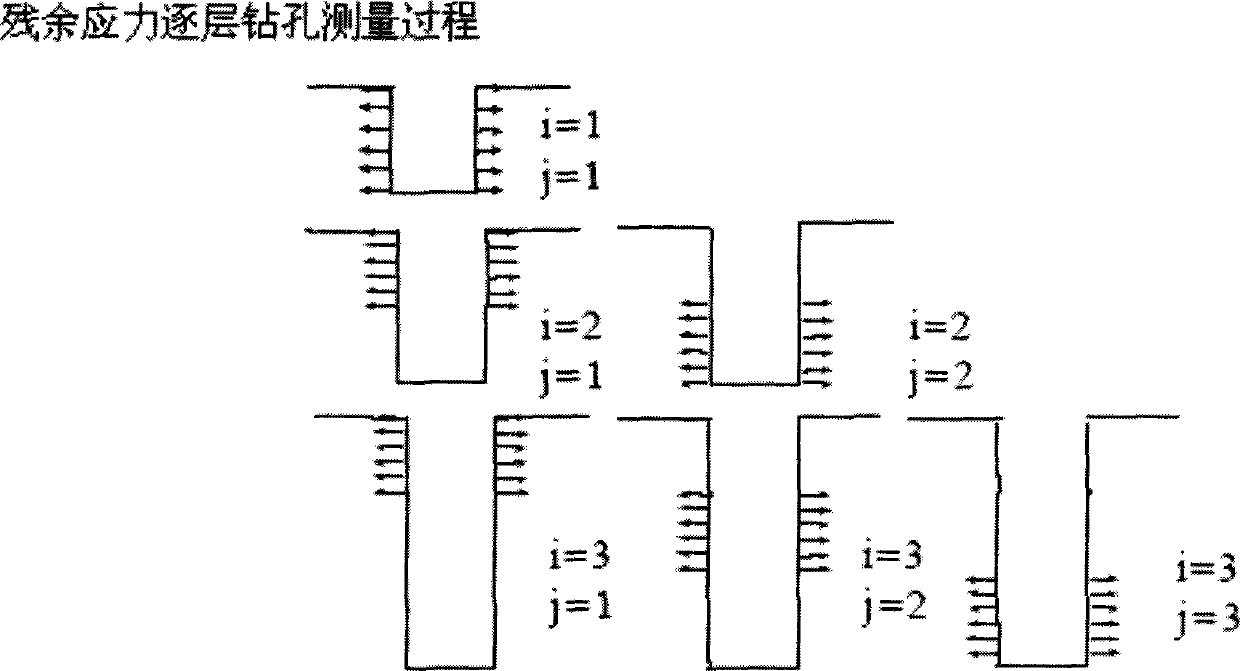
[0044] Detection of residual stress and its distribution along the thickness direction of non-planar structure workpiece. The test is a Q235 steel cylindrical structure. The diameter of the small hole is 2mm, and the holes are drilled layer by layer in 12 steps along the thickness direction. , 0.5mm, 0.6mm, 0.8mm, 1.0mm. The residual stress calibration coefficient A obtained by independent programming calculation using this method jj The relationship curve between the sequence and the diameter of the sample cylinder is as follows Figure 5 shown. The residual stress detected by this method using the planar element is different from the residual stress value detected by the cylindrical element. The residual stress value of the cylindrical structure detected by this method using the cylindrical element is more accurate, and the detection error is less than 5%. The relationship curve between the obtained residual stress value and the average drilling depth is as follows: Im...
PUM
 Abstract
Description
Claims
Application Information


