Full-automatic contact type measuring device and method
A contact measurement and contact technology, applied in the field of automatic contact measurement devices, can solve the problems of interference of optical measurement results, inability to measure the side and bottom surfaces, and inability to fully reflect the geometric dimensions of the workpiece, etc., to achieve the effect of improving efficiency.
- Summary
- Abstract
- Description
- Claims
- Application Information
AI Technical Summary
Problems solved by technology
Method used
Image
Examples
Embodiment 1
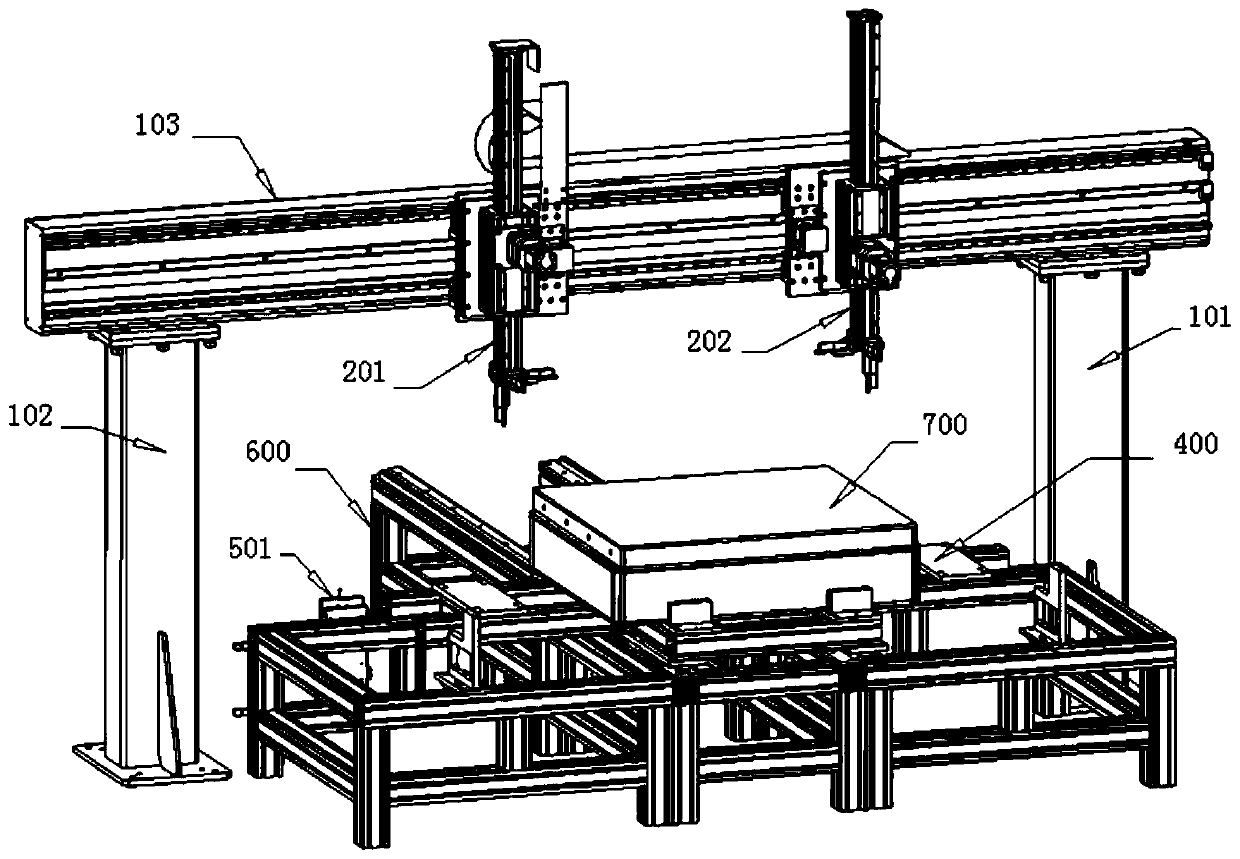
[0155] Typical measurement workpieces are attached Figure 7As shown, the thickness direction of the workpiece 700 to be measured is the A surface and the B surface, and there are 9 measuring points arranged opposite to each other, which are respectively A1-A9; the length direction is the E surface and the F surface, and there are four measuring points arranged relatively, namely E3- E6; The direction perpendicular to the E surface and the F surface pointing to the inner side of the workpiece is recorded as L-, and the direction pointing to the outer side of the workpiece is recorded as L+; the width direction is the C surface and the D surface, and there are four measuring points relative to each other, namely C3~C6; In addition, at the corner of the length and width of the workpiece, parallel to the length and width, the surface is offset by a certain distance inside the workpiece, thus forming four missing corners. The depth is recorded as the angle width, and the angle len...
Embodiment 2
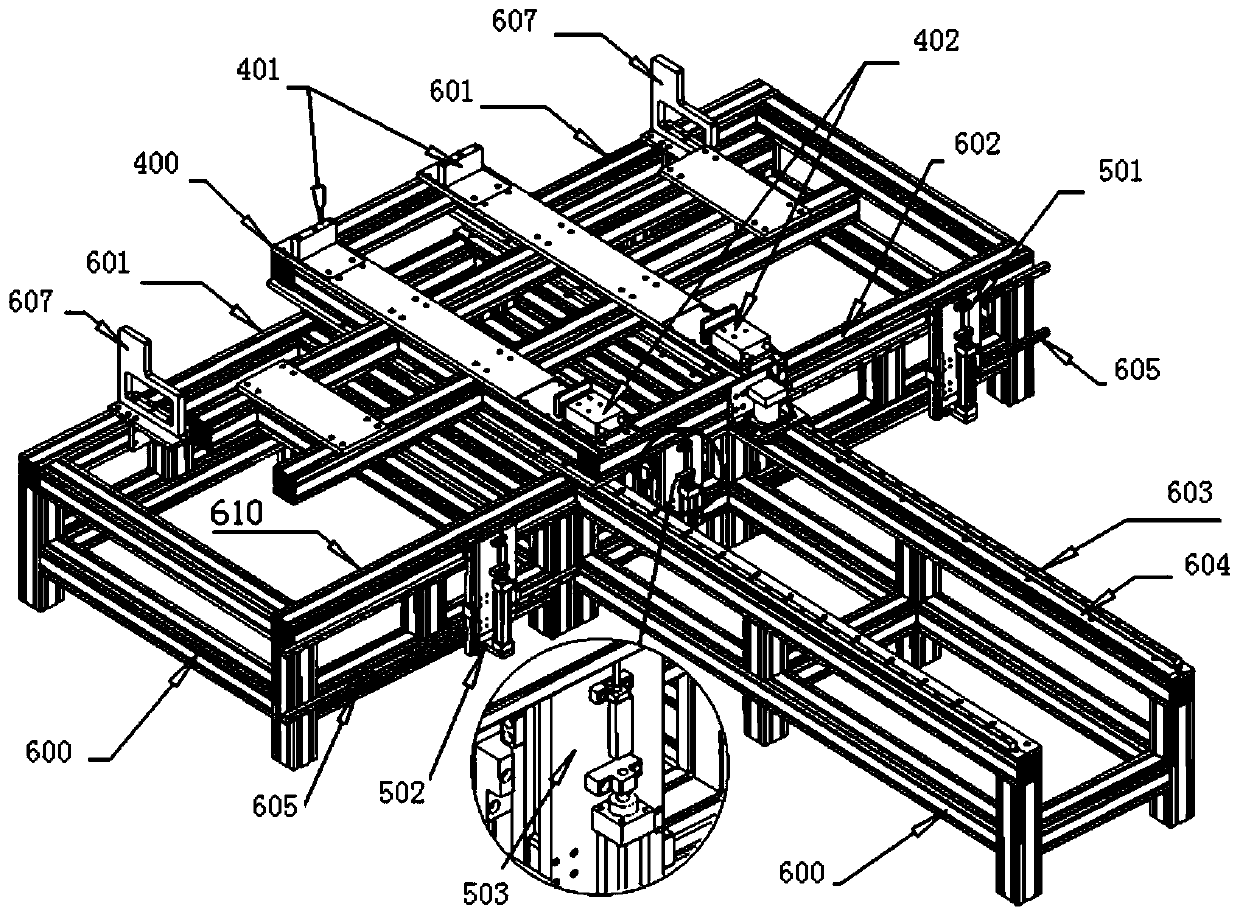
[0258] A single measuring arm is arranged on the beam 103 of the automatic contact measuring machine, and five contact displacement sensors 303 in Z-, L+, L-, Y+, and Y-directions are arranged on the measuring arm. There is a jacking measuring part in the middle of the platform, and the jacking measuring part also includes a traverse drive assembly 205, and the traverse drive assembly 205 uses a servo motor to drive the jacking measuring part to traverse the guide rail group 605 along the X direction within the length range of the workpiece. It can accurately locate the position of any measurement point on the B surface of the workpiece. A contact displacement sensor 303 in the Z+ direction is arranged on the jacking measuring part. The material of the workpiece is pine board, which is shaped by cutting, and there are a few air holes with a diameter of no more than 4mm on the surface and burr-like protrusions of wooden fibers.
[0259] The upper part of the first measuring ar...
PUM
 Abstract
Description
Claims
Application Information


