Method for determining relationship between defects and fatigue performance based on nondestructive testing
A fatigue performance, non-destructive testing technology, applied in the direction of testing metals, measuring devices, strength characteristics, etc., to achieve the effect of improving accuracy, design avoidance, and high accuracy
- Summary
- Abstract
- Description
- Claims
- Application Information
AI Technical Summary
Problems solved by technology
Method used
Image
Examples
Embodiment 1
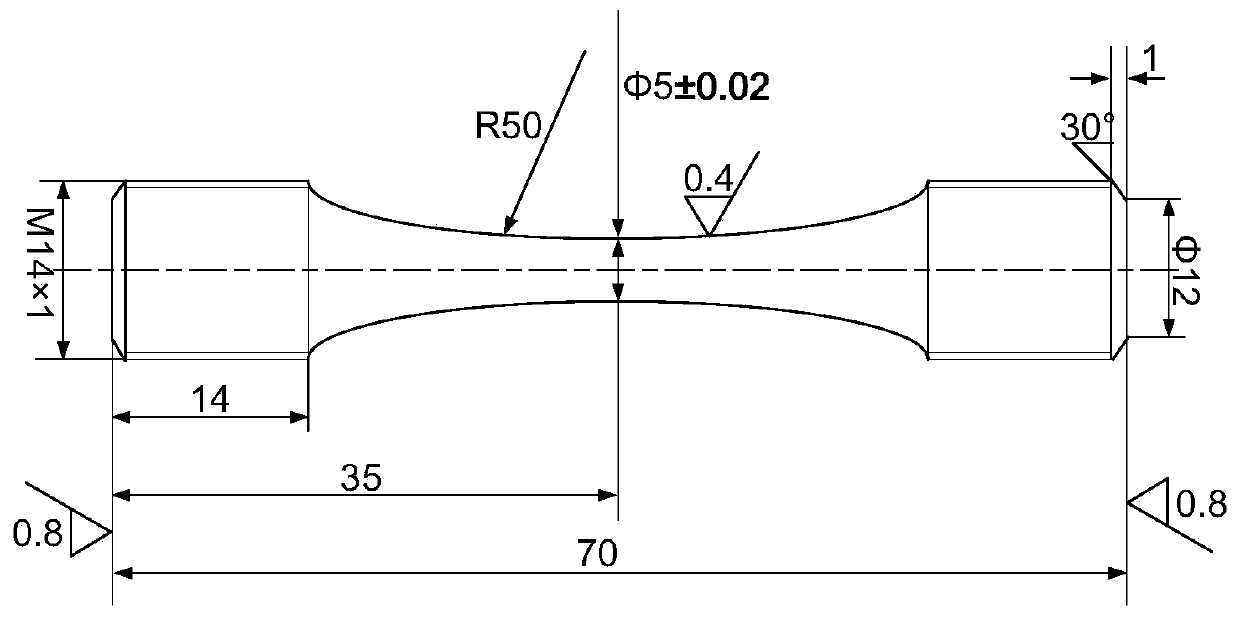
[0039] The titanium alloy laser additive manufacturing material with the brand name TC11 is formed by direct deposition process, and the determination method of the relationship between defects along the fusion deposition direction and fatigue performance is as follows:
[0040] Step 1. Collection of typical defect samples
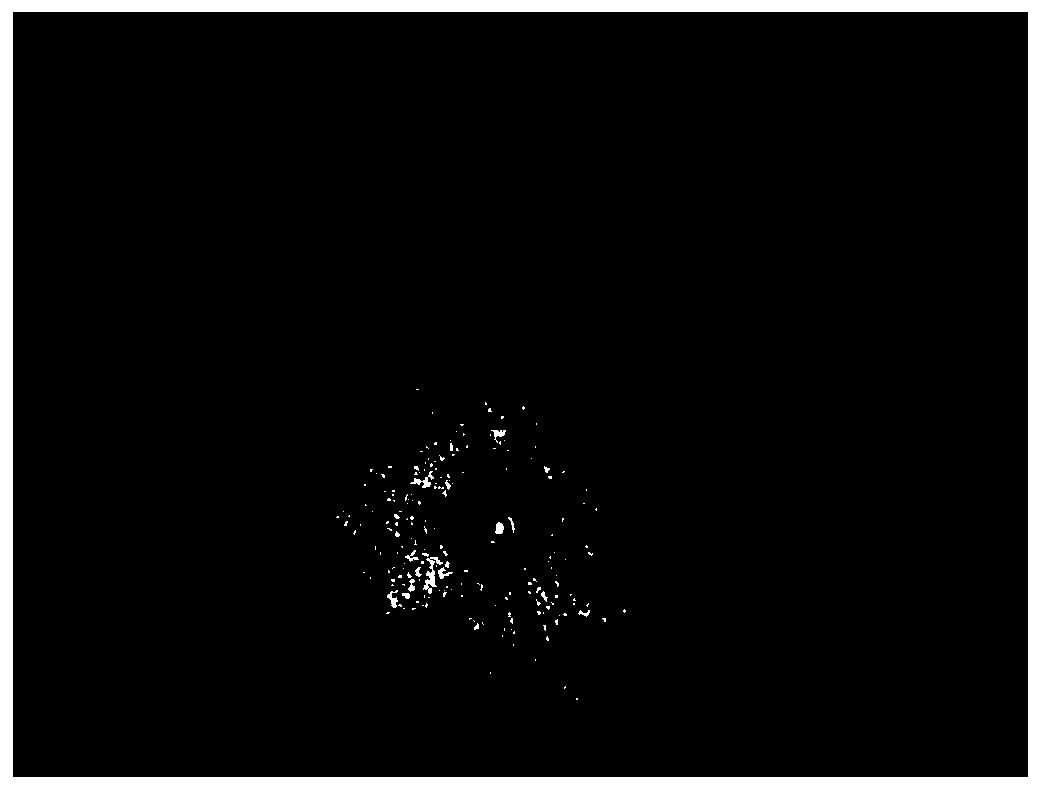
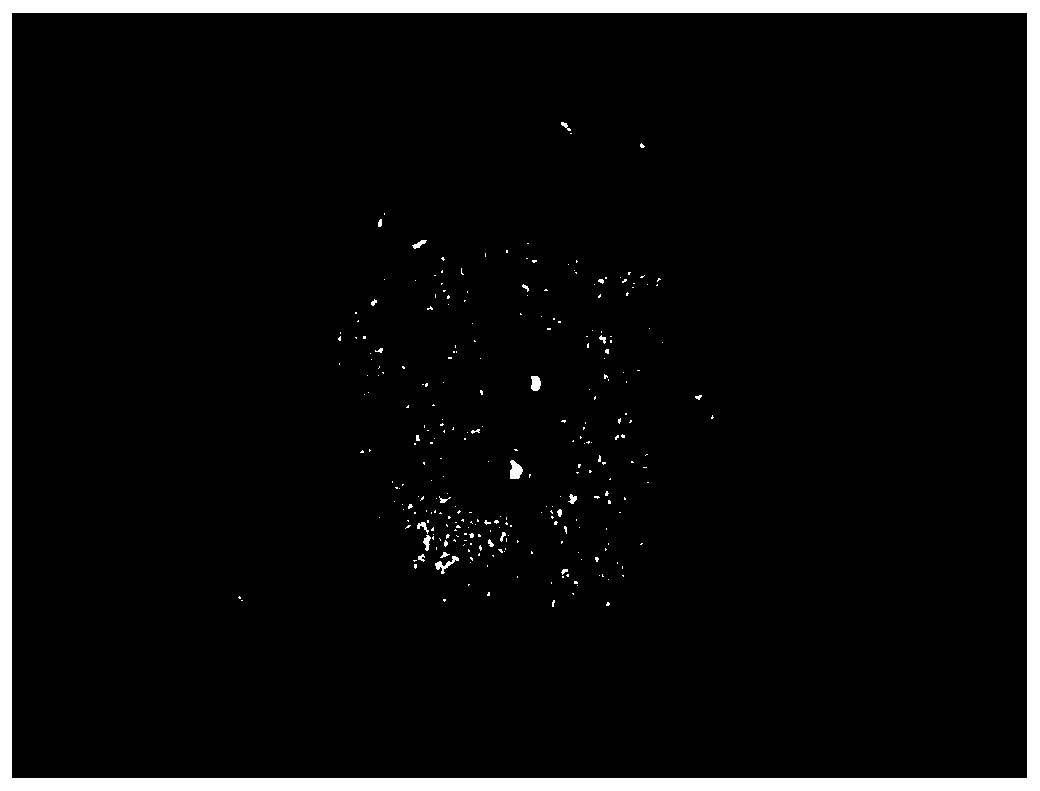
[0041] For 3 pieces of laser additive manufacturing TC11 materials with a size of 200mm×150mm×180mm, a 10MHz water immersion focusing probe is used, and under the detection sensitivity of Φ0.4mm, the sound beams are vertically incident from 6 surfaces respectively, and the internal defects of the materials are detected. Detection, to obtain C-scan images in different detection directions, and mark the corresponding parts of the defect signal on the material at the same time;
[0042] According to the C-scan image obtained by scanning and combined with the defect equivalent and buried depth information, select defects of different sizes and positions and pr...
Embodiment 2
[0068] For a SiC particle-reinforced aluminum matrix (SiCp / Al) composite material with a SiC volume fraction of 15%, the method for determining the relationship between defects and fatigue properties is as follows:
[0069] Step 1. Collection of typical defect samples
[0070] For two pieces of SiCp / Al composite materials with a size of 800mm×300mm×80mm, a 10MHz water immersion focusing probe is used to detect the internal defects of the material by making the sound beam vertically incident from the upper and lower surfaces under the detection sensitivity of Φ0.4mm , get the C-scan image, and mark the part corresponding to the defect signal on the material at the same time;
[0071] According to the C-scan image obtained by scanning and combined with the defect equivalent and buried depth information, select defects of different sizes and positions and process a cuboid sample with a size of 25mm×25mm×100mm centered on the defect;
[0072] Using the longitudinal wave direct in...
PUM
 Abstract
Description
Claims
Application Information
 - R&D
- Intellectual Property
- Life Sciences
- Materials
- Tech Scout
- Unparalleled Data Quality
- Higher Quality Content
- 60% Fewer Hallucinations
Browse by: Latest US Patents, China's latest patents, Technical Efficacy Thesaurus, Application Domain, Technology Topic, Popular Technical Reports.
© 2025 PatSnap. All rights reserved.Legal|Privacy policy|Modern Slavery Act Transparency Statement|Sitemap|About US| Contact US: help@patsnap.com


