Alloy coated workpieces
a technology of alloy coating and workpieces, applied in the direction of coatings, metal material coating processes, pressure inorganic powder coating, etc., can solve the problems of high capital investment, no longer satisfactory era, and high cost of electroplating and hot dipping
- Summary
- Abstract
- Description
- Claims
- Application Information
AI Technical Summary
Benefits of technology
Problems solved by technology
Method used
Image
Examples
example 1
ing
[0069]A quantity of components comprising 1.3 Kg of 12×50 Hexagon head T17 steel roofing screws was processed in 2 liters of impact media (40% 5 mm, 40% 3 mm and 20% 0.7 mm) using the above standard procedure. 90 grams of zinc powder with a nominal particle size 4.5 μm was used to achieve a desired plating thickness. The zinc powder was added in 6×15 gram increments at intervals of 3 minutes. A period of 10 to 12 minutes was allowed after last addition of zinc for plating completion and polishing. The components then were rinsed and separated without any additional treatments. The coating thickness achieved was approximately 55 μm.
example 2
[0070]A quantity of components comprising 1.2 Kg of 12×50 Hexagon head T17 steel roofing screws and 200 grams of 5 mm×10 mm long flat head semi tubular steel rivets were processed in 2 liters of impact media (40% 5 mm, 40% 3 mm & 20% 0.7 mm) using the above standard procedure. 60 grams of blended zinc and tin powders were used to achieve desired plating thickness. The zinc powder had a nominal particle size 4.5 μm while the tin powder grade was −325 mesh. The composition of the blended powder was Zn-80% and Sn-20%. The blended powder was added in 6×10 gram increments at intervals of 3 minutes. About 10-12 minutes was allowed after last addition of powder for plating completion and polishing. The components then were rinsed and separated with no additional treatment. The coating thickness achieved was approximately 35 μm.
example 3
re
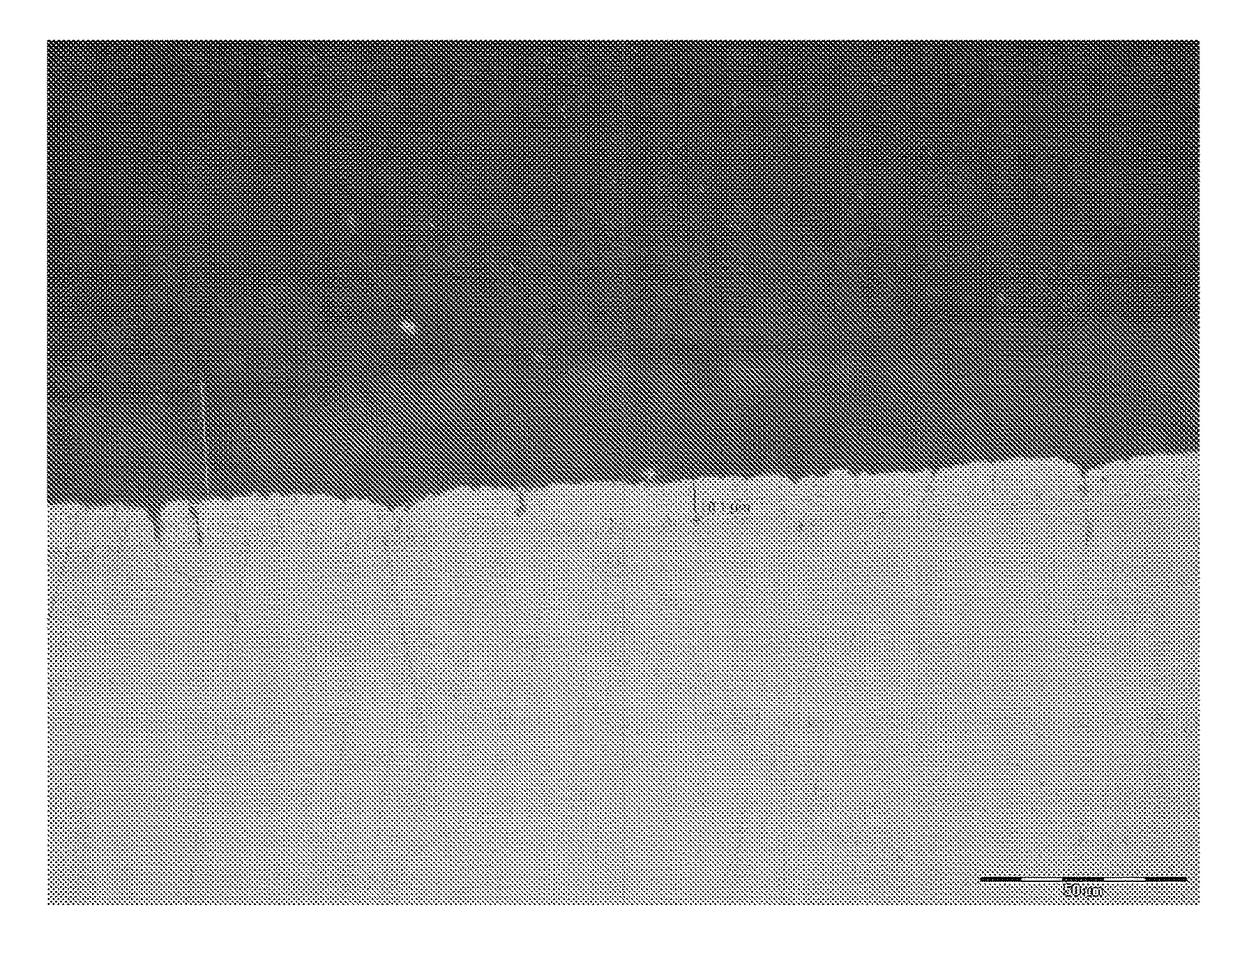
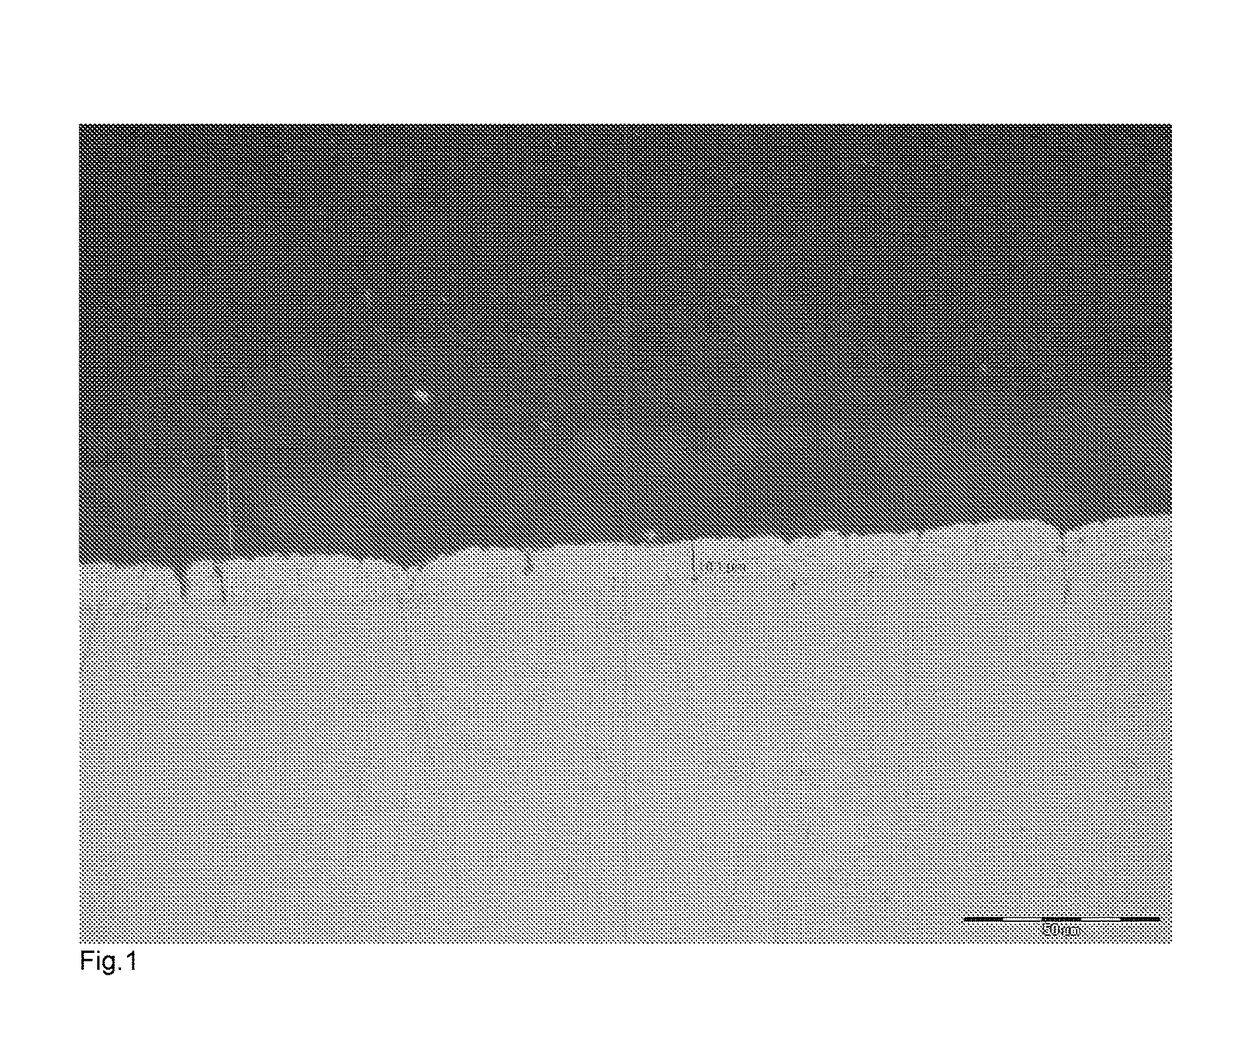
[0071]Ten samples of zinc coated components produced by Example 1 were placed in a 1 m diameter fan-forced oven that was preheated to a temperature of 320° C. The components were supported in a steel mesh cage. The parts were held for 120 minutes and then removed with the cage and allowed to cool in air. The screws were cross-sectioned, polished to 1 μm abrasive and etched in a mild caustic solution. There was a clear intermetallic layer formed, as illustrated in FIG. 1 of the accompanying drawings.
PUM
| Property | Measurement | Unit |
|---|---|---|
| thickness | aaaaa | aaaaa |
| time | aaaaa | aaaaa |
| temperature | aaaaa | aaaaa |
Abstract
Description
Claims
Application Information


