
Segmented field sensors

Inactive Publication Date: 2005-11-10
JENTEK SENSORS
View PDF15 Cites 13 Cited by
  • Summary
  • Abstract
  • Description
  • Claims
  • Application Information

AI Technical Summary

Benefits of technology

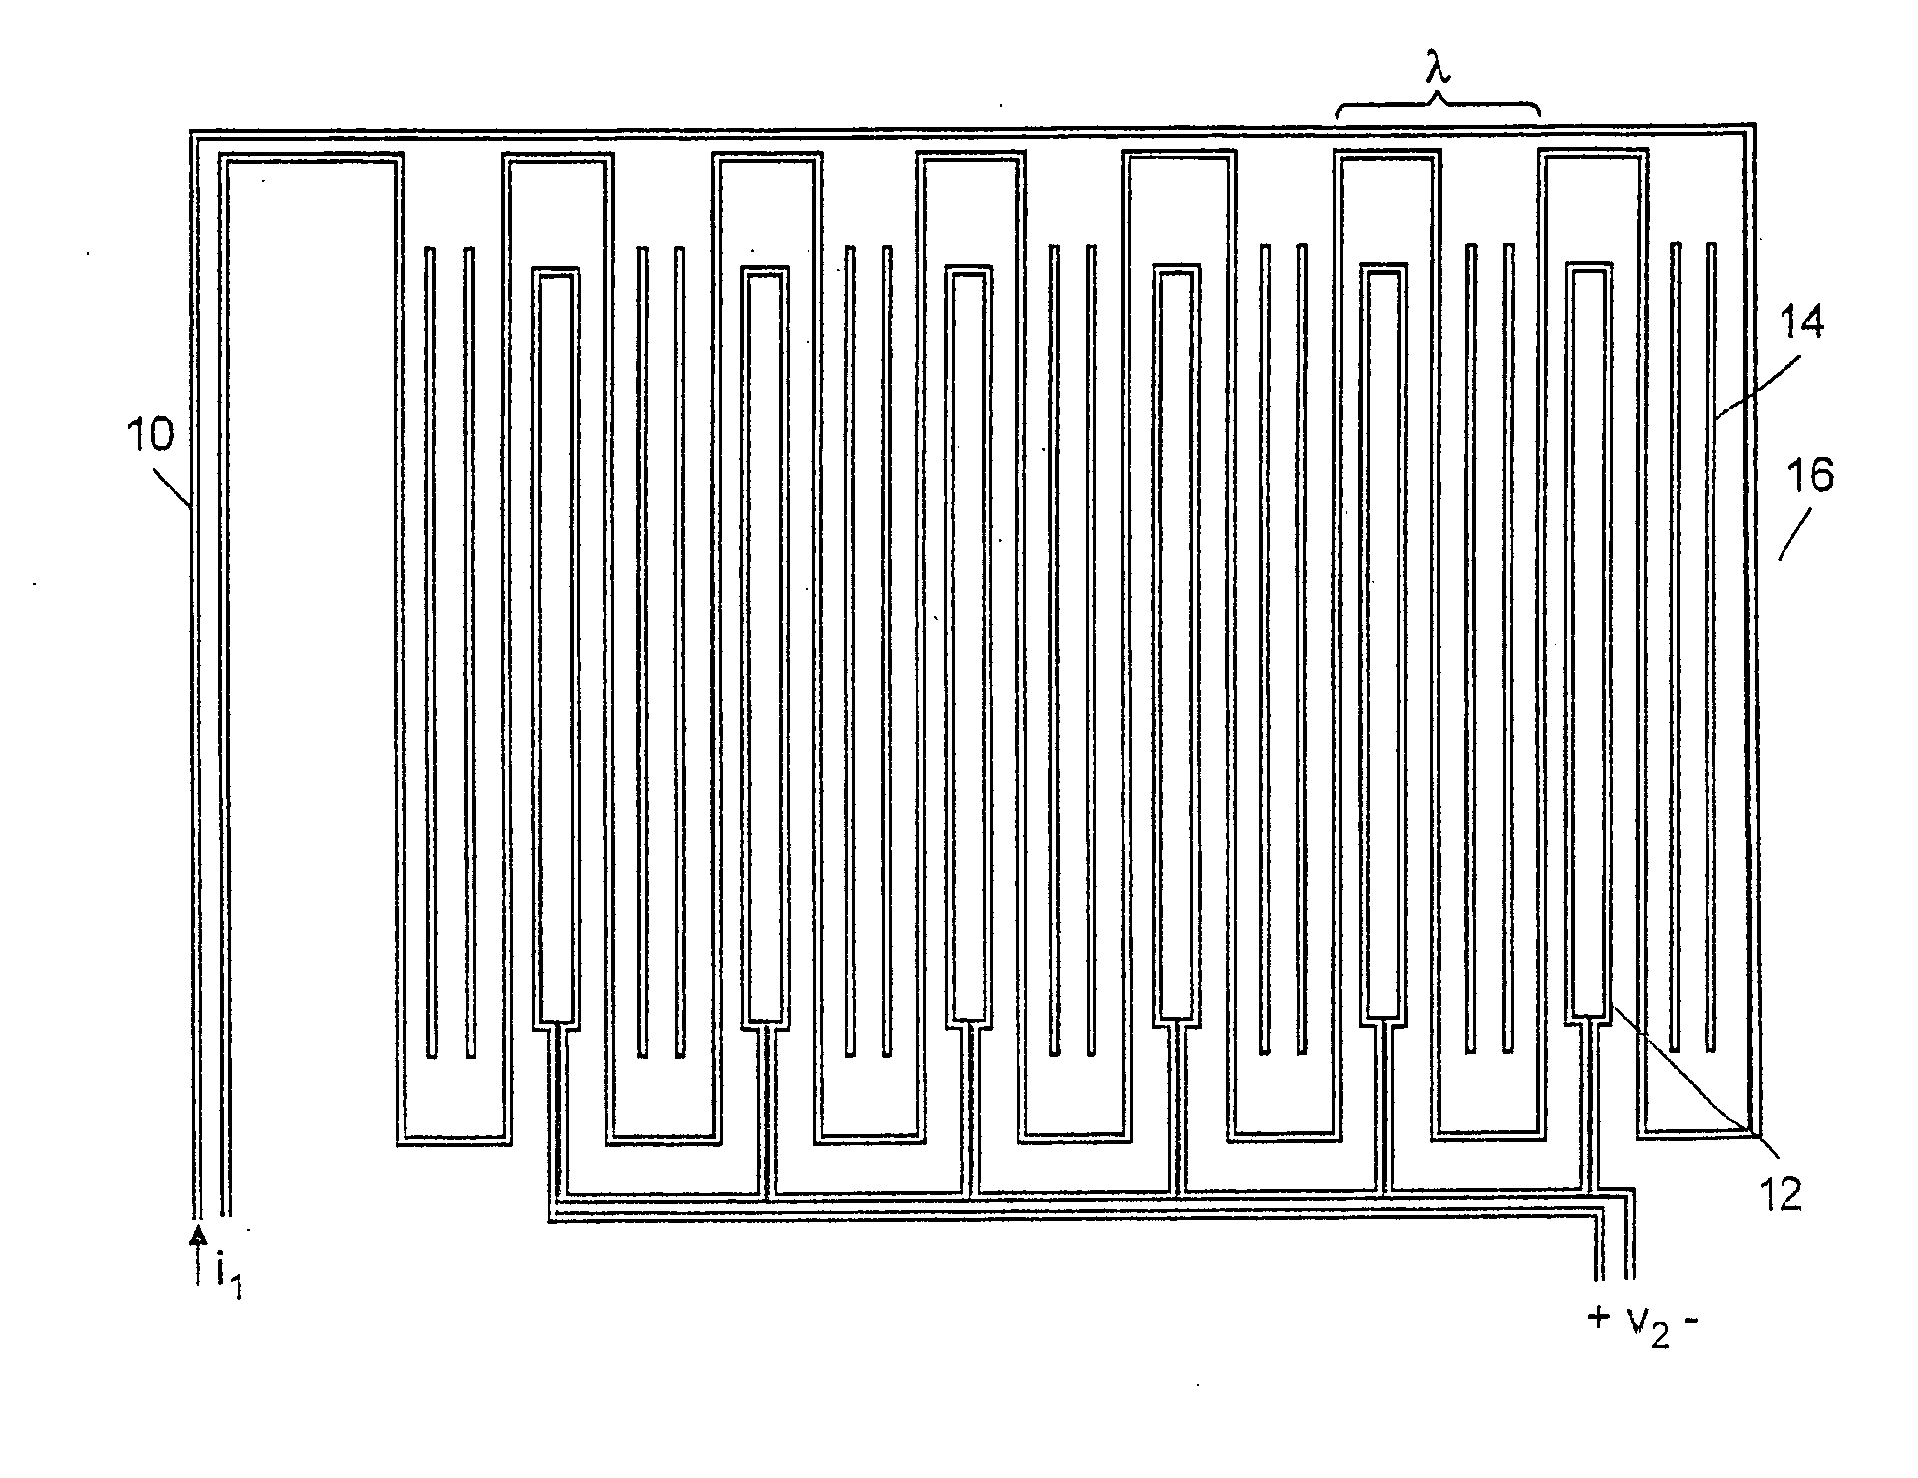
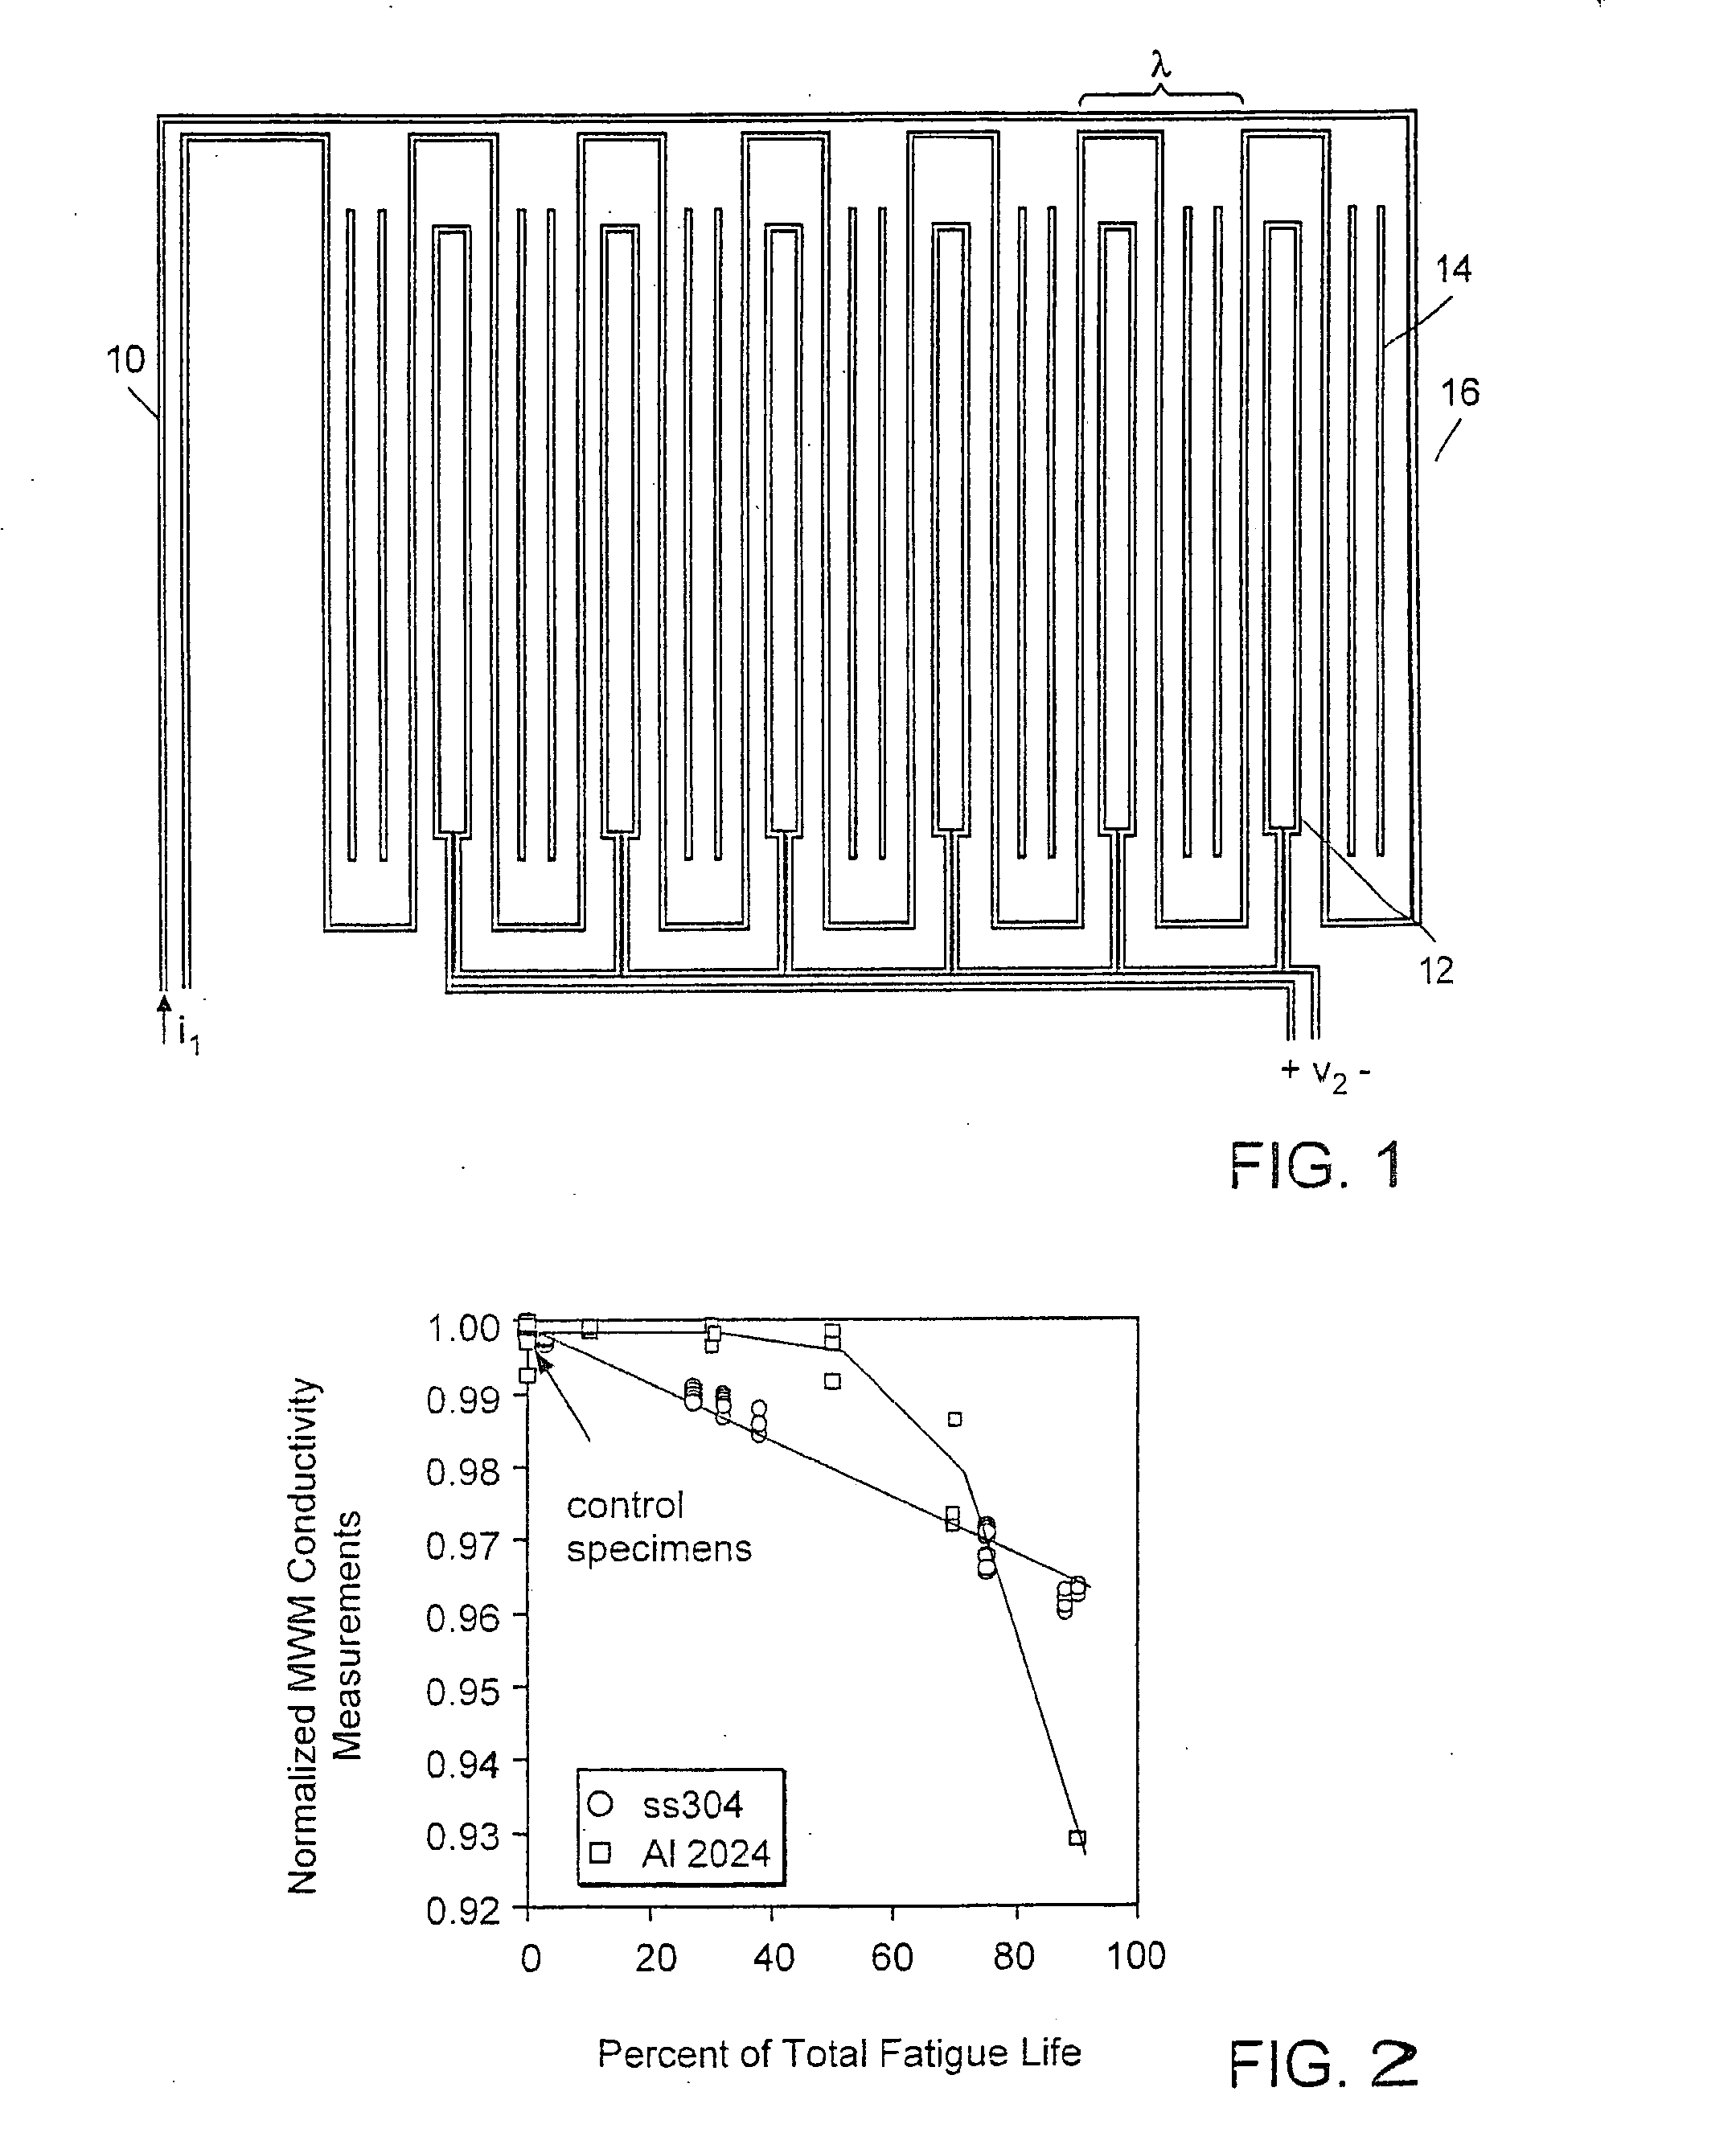
[0016] Aspects of the inventions described herein involve novel inductive sensors for the measurement of the near surface properties of conducting and magnetic materials. These sensors use novel winding geometries that promote accurate modeling of the response, eliminate many of the undesired behavior in the response of the sensing elements in existing sensors, provide increased depth of sensitivity by eliminating the coupling of spatial magnetic field modes that do not penetrate deep into the material under test (MUT), and provide enhanced sensitivity for crack detection, localization, crack orientation, and length characterization. The focus is specifically on material characterization and also the detection and monitoring of precrack fatigue damage, as well as detection and monitoring of cracks, and other material degradation from testing or service exposure.
[0022] Another embodiment of an imaging sensor includes a primary winding of parallel extended winding segments that impose a spatially periodic magnetic field, with at least two periods, in a test substrate when driven by electric current. The array of sensing windings for sensing the response of the MUT includes at least two of the sensing windings in different half-wavelengths of the primary winding. These sensing windings link incremental areas of the magnetic flux and are offset along the length of the parallel winding segment to provide material response measurements over different locations when the circuit is scanned over the test material in a direction perpendicular to the extended winding segments. To minimize unmodeled effects on the response, extra conductors can be placed at the ends of the sensing elements and within the endmost primary winding meanders, and the sensing elements can be spaced at least a half-wavelength from the ends of the primary winding. In addition the distance from the sensing elements to the ends of the primary winding can be kept constant as the offset spacing between sensing elements within a single meander is varied.
[0026] In one embodiment, damage near fasteners can be monitored with spatially periodic field eddy-current sensors. The sensor should be mounted near the fastener so that damage in the MUT can be detected through changes in the electrical properties measured with the sensor. The sensor can be mounted beneath the fastener head, between structural layers attached by the fastener, or at both ends of the fastener. The damage may be in the form of a crack. Circular spatially periodic sensors having hollow center regions can surround fasteners to detect and locate damage that may emanate radially. Mounted on, or within a cylindrical support material in the form of a washer facilitates mounting under a fastener head. The support material may also support compressive loads. The damage from nearby fasteners can be monitored simultaneously with multiple sensors. Each sensor can have a single, absolute output, or pairs of sensor responses can be used to provide differential responses. Similarly, for multiple sensors, the drive conductors may be connected with a common drive signal or the sense conductors may be connected together for a common output connection.

Problems solved by technology

This requires increased inspection, maintenance, and repair of aircraft components, which also leads to escalating costs.
The corresponding accumulation of fatigue damage in critical structural members of these aging aircraft, however, is an increasingly complex and continuing high priority problem.
Many components that were originally designed to last the design life of the aircraft without experiencing cracking (i.e., safe life components) are now failing in service, both because aircraft remain in service beyond original design life and, for military aircraft, because expanded mission requirements expose structures to unanticipated loading scenarios.
New life extension programs and recommended repair and replacement activities are often excessively burdensome because of limitations in technology available today for fatigue detection and assessment.
Managers of the Aircraft Structural Integrity Program (ASIP) are often faced with difficult decisions to either replace components on a fleet-wide basis or introduce costly inspection programs.
Furthermore, there is growing evidence that (1) multiple site damage or multiple element damage may compromise fail safety in older aircraft, and (2) significant fatigue damage, with subsequent formation of cracks, may occur at locations not considered critical in original fatigue evaluations.
In application of damage tolerance, inspection schedules are often overly conservative because of limitations in fatigue detection capability for early stage damage.
Even so, limited inspection reliability has led to numerous commercial and military component failures.
However, there are also numerous examples of components originally designed on a safe-life basis that have failed prior to or near their originally specified design life on both military and commercial aircraft.
For safe-life components that must now be managed by damage tolerance methods, periodic inspections are generally far more costly than for components originally designed with planned inspections.
Often the highest cost is associated with disassembly and surface preparation.
Additionally, readiness of the fleet is directly limited by time out of service and reduced mission envelopes as aircraft age and inspection requirements become more burdensome.
Furthermore, the later an inspection uncovers fatigue damage the more costly and extensive the repair, or the more likely replacement is required.
In these tests, fatigue damage was found to be related to diffraction line broadening.
However, it is generally impractical to make such measurements in the field.
Electrical resistivity also provides a potential indication of cumulative fatigue damage.

Method used


Image

  • Segmented field sensors
  • Segmented field sensors
  • Segmented field sensors

Examples


Embodiment Construction

[0086] A description of preferred embodiments of the invention follows. To safely support life extension for aging structures and to reduce weight and maintenance / inspection costs for new structures requires both rapid and cost effective inspection capabilities. In particular, continuous monitoring of crack initiation and growth requires the permanent mounting of sensors to the component being monitored and severely limits the usefulness of calibration or reference standards, especially when placed in difficult-to-access locations on aging or new structures.

[0087] Permanent and surface mounting of conventional eddy-current sensors is not performed. One reason for this is the calibration requirements for the measurements and another is the variability between probes. Conventional eddy-current techniques require varying the proximity of the sensor (or lift-off) to the test material or reference part by rocking the sensor back and forth or scanning across a surface to configure the eq...


PUM


Abstract

Inductive sensors measure the near surface properties of conducting and magnetic material. A sensor may have primary windings with parallel extended winding segments to impose a spatially periodic magnetic field in a test material. Those extended portions may be formed by adjacent portions of individual drive coils. Sensing elements provided every other half wavelength may be connected together in series while the sensing elements in adjacent half wavelengths are spatially offset. Certain sensors include circular segments which create a circularly symmetric magnetic field that is periodic in the radial direction. Such sensors are particularly adapted to surround fasteners to detect cracks and can be mounted beneath a fastener head. In another sensor, sensing windings are offset along the length of parallel winding segments to provide material measurements over different locations when the circuit is scanned over the test material. The distance from the sensing elements to the ends of the primary winding may be kept constant as the offset space in between sensing elements is varied. An image of the material properties can be provided as the sensor is scanned across the material.

Description

RELATED APPLICATION(S) [0001] This application is a Continuation-in-Part of U.S. application Ser. No. 09 / 656,723 filed Sep. 7, 2000, which claims the benefit of U.S. Provisional Application Nos. 60 / 203,744 filed May 12, 2000 and 60 / 155,038 filed Sep. 20, 1999, the entire teachings of which are incorporated herein by reference.GOVERNMENT SUPPORT [0002] The invention was supported, in whole or in part, by a Contract Number DTRS57-96-C-00108 from the Department of Transportation, Federal Aviation Administration, by Contract Number N00421-97-C-1120 from the Department of the Navy. The Government has certain rights in the invention.BACKGROUND OF THE INVENTION [0003] The technical field of this invention is that of nondestructive materials characterization, particularly quantitative, model-based characterization of surface, near-surface, and bulk material condition for flat and curved parts or components using eddy-current sensors. Characterization of bulk material condition includes (1) ...

Claims


Application Information

Patent Timeline
IPC IPC(8): G01N27/82G01N27/90
CPCG01N27/904
Inventor GOLDFINE, NEIL J.SCHLICKER, DARRELL E.GRUNDY, DAVID C.WINDOLOSKI, MARK D.SHAY, IAN C.WASHABAUGH, ANDREW P.
Owner JENTEK SENSORS
Learn More