Recrystallized aluminum alloys with brass texture and methods of making the same
- Summary
- Abstract
- Description
- Claims
- Application Information
AI Technical Summary
Benefits of technology
Problems solved by technology
Method used
Image
Examples
example 1
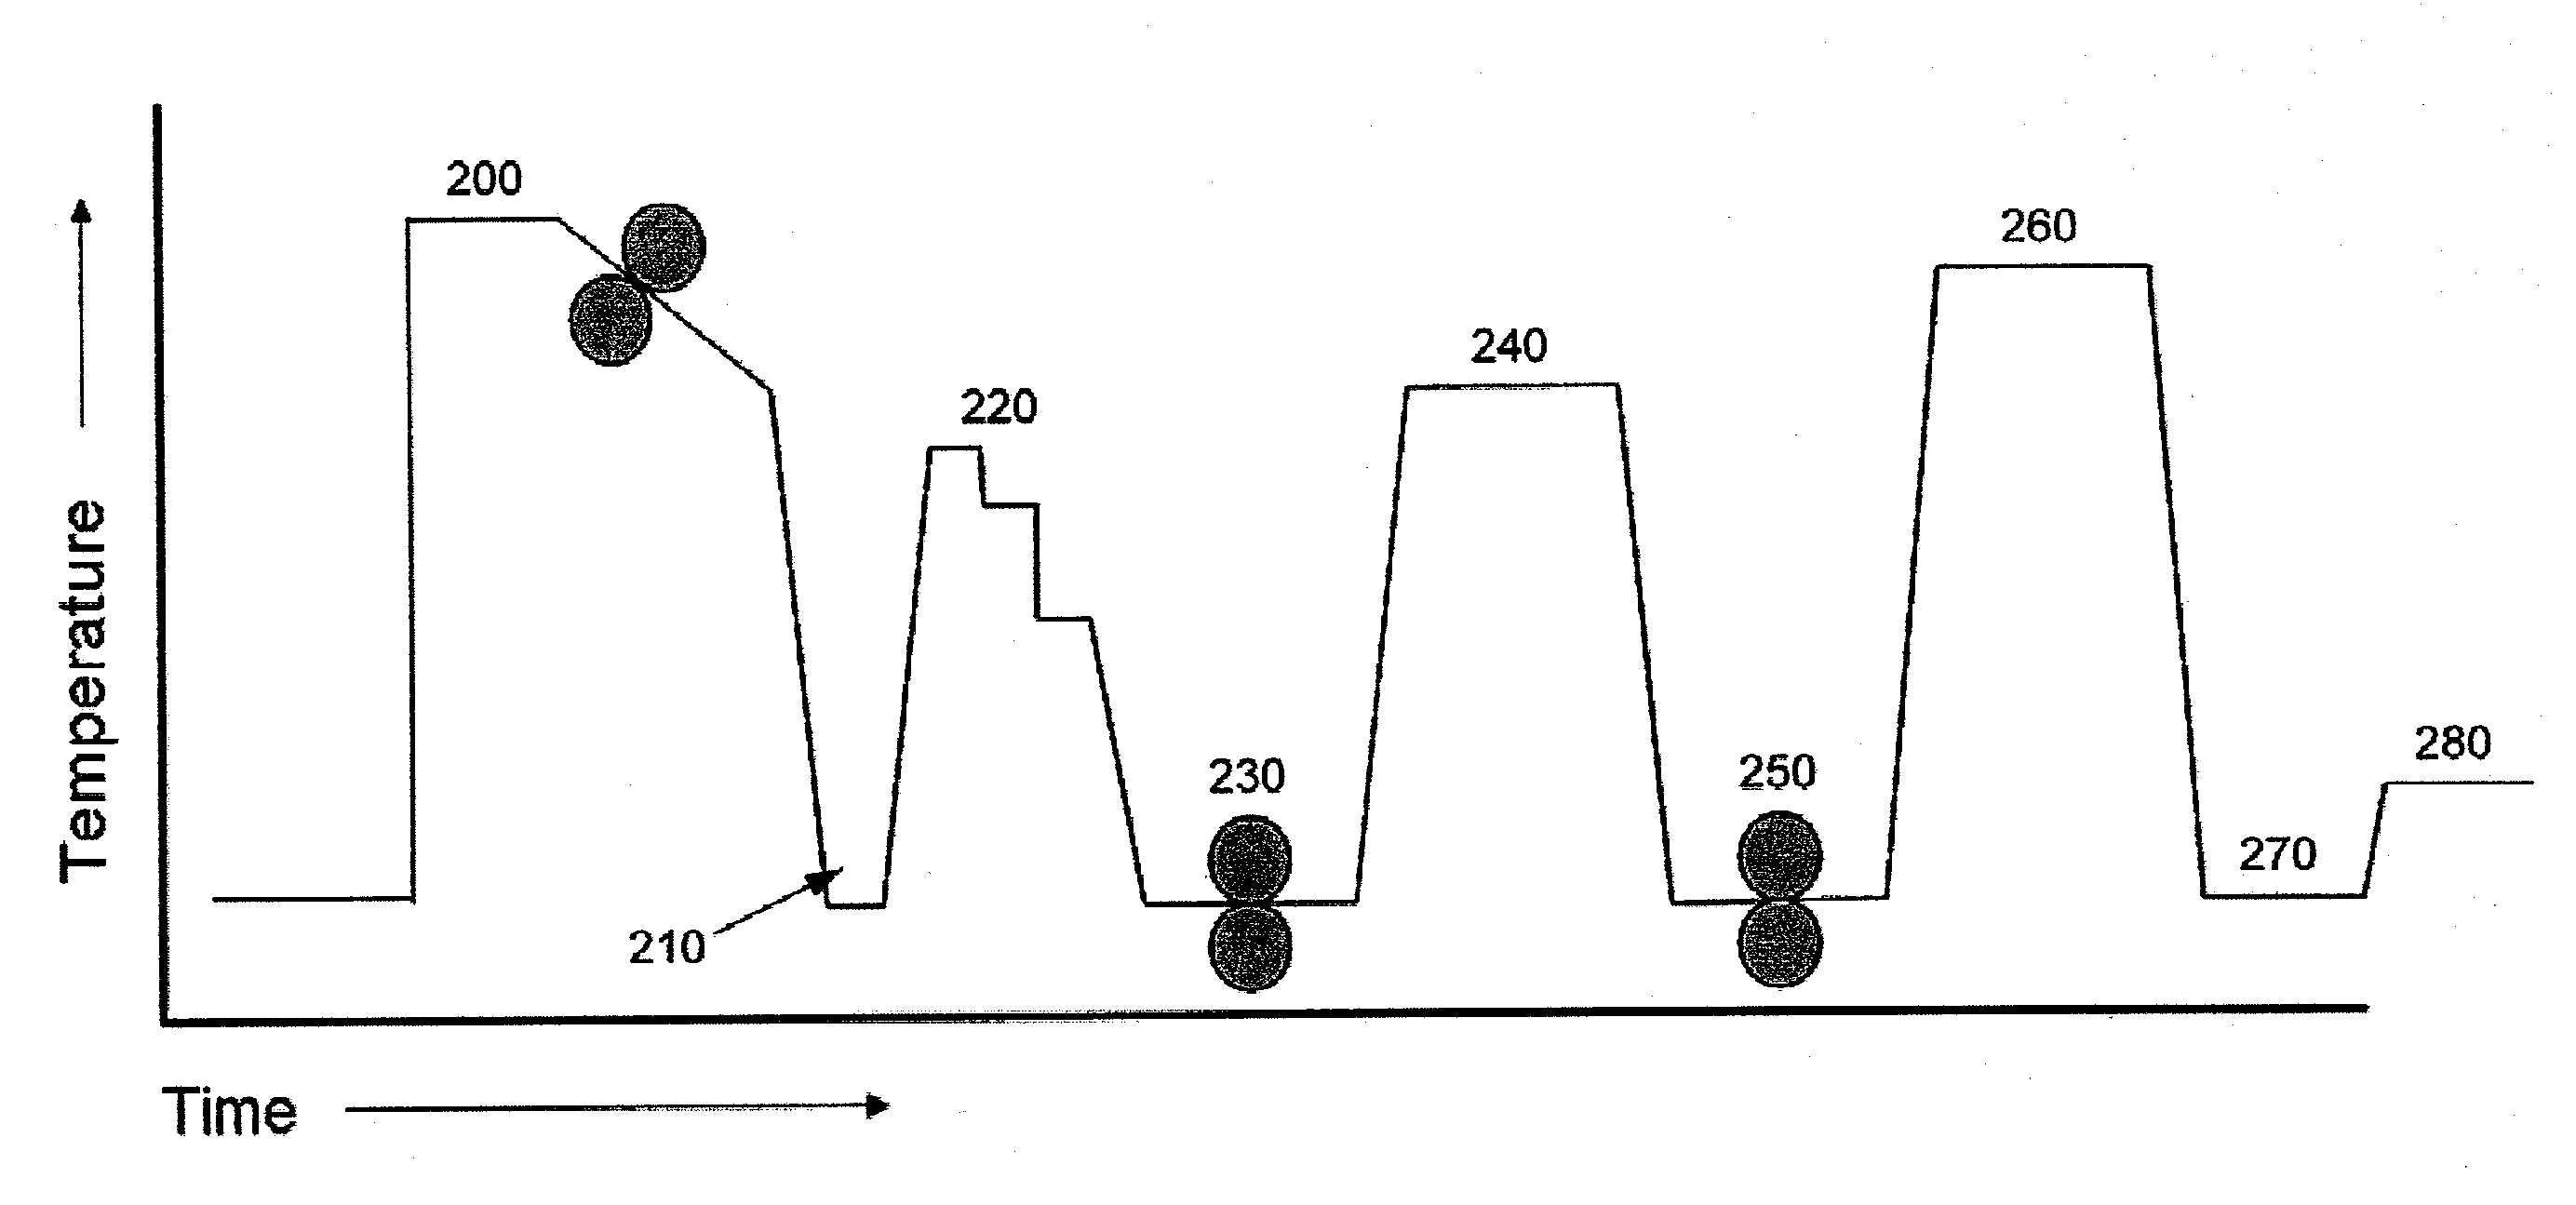
[0090]Two ingots of a 2199 aluminum alloy are direct chill (DC) cast. After stress relieving, the ingots are homogenized and scalped. The ingots are then heated to 950° F. and hot rolled into sheets having a thickness of 7.2 mm. These sheets are then recovery annealed by soaking at 371° C. for 4 hours, followed by soaking at 315° C. for 4 hours, followed by soaking at 204° C. for 4 hours. These sheets are further cold rolled with a 30% reduction in thickness. After the first cold rolling, a first sheet (Sheet 1) is subjected to a recrystallization anneal at 454° C. for 6 hours (after a 16 hour heat-up period) while a second sheet (Sheet 2) is subjected to a recovery anneal at 354° C. for 6 hours (after a 16 hour heat-up period). Subsequently, Sheet 1 and Sheet 2 are then both cold rolled to a final thickness of 3.5 mm. After cold rolling, both Sheet 1 and Sheet 2 are solution heat treated at about 521° C. for 1 hour and quenched in water at room temperature. Sheet 1 and Sheet 2 are ...
example 2
[0096]Various plant produced 2199 alloy recrystallized sheets (i.e., fabricated with a conventional, single recrystallization anneal process) are subjected to a variety of tests. For example, test samples are prepared as described above and both brass texture intensity and Goss texture intensity are measured as a function of gauge thickness of the sheet product. FIG. 11 illustrates brass texture intensity and Goss texture intensity as a function of gauge thickness for the conventional 2199 sheets. A noticeable trend is that the Goss intensity increases, but the brass intensity decreases as the gauge thickness gets thinner. Toughness and strength tests are also performed on the conventional sheet products. The sheets are subjected to tensile testing in the LT direction in accordance with ASTM B557M-06 (May 1, 2006) and T-L fracture toughness testing using a 16 in. wide M(t) specimen with an initial crack length to width ratio 2a / W=0.25 in accordance with ASTM B646-06a. The reported t...
example 3
[0097]A 2199 alloy DC cast ingot having a size of 381 mm×1270 mm×4572 mm (thickness×width×length) is scaled and homogenized. The ingots are then hot rolled to two different thickness, 5.08 mm and 11.68 mm, and recovery annealed via a 3-step recovery anneal process, which includes 4 hours of soaking at 371° C., 4 hours of soaking at 315° C., and 4 hours of soaking at 204° C. After this 3-step recovery anneal, coupons having a size of 50.8 mm×254 mm (width×length) from the hot rolled and annealed plates are produced. As illustrated in FIG. 14, after the 3-step recovery anneal, a coupon of each thickness (i.e., one 5.08 mm coupon and one 11.68 mm coupon) is cold roll reduced by one of 30%, 35%, 40% and 45%, thus producing eight coupons with varying cold work amounts and thicknesses. Each of these eight coupons is then processed via a recrystallization anneal at about 454° C. at 4 hours, with a 16 hour heat-up period. Each of the eight coupons is then cold roll reduced an additional 30%...
PUM
| Property | Measurement | Unit |
|---|---|---|
| Fraction | aaaaa | aaaaa |
| Fraction | aaaaa | aaaaa |
| Thickness | aaaaa | aaaaa |
Abstract
Description
Claims
Application Information


