Damage-tolerance testing method for lower wall panel of airplane outboard wing
A damage tolerance and test method technology, which is applied in measuring devices, instruments, measuring electrical variables, etc., can solve the problems of unclear crack propagation characteristics and imperfect damage tolerance analysis methods, and achieve the effect of ensuring authenticity
- Summary
- Abstract
- Description
- Claims
- Application Information
AI Technical Summary
Problems solved by technology
Method used
Image
Examples
Embodiment
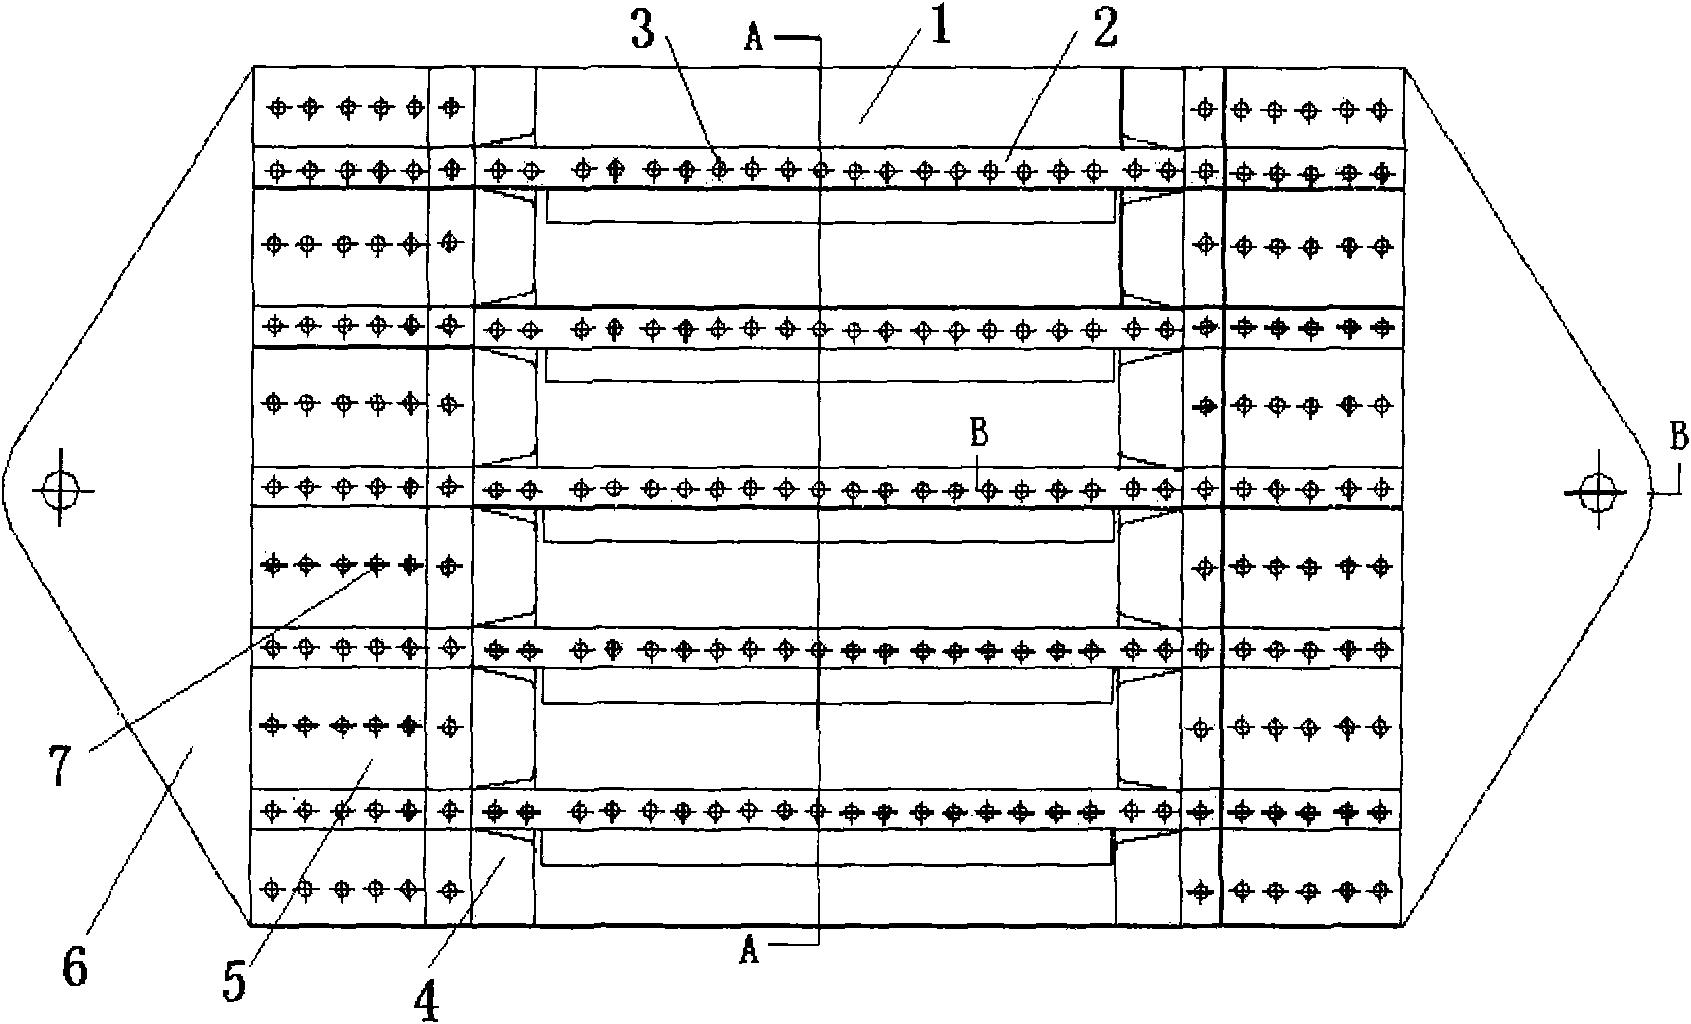
[0025] The specific design of the test piece is as follows: the test piece is composed of skin and five reinforced long stringers, the skin material is LY12CZ, its basic thickness is 1.5mm, and the skin thickness at the long stringer is 1.8mm, which needs to be processed by chemical milling process. processing. The reinforced long trusses are all 'Z' shaped profiles, and the grade is XC411-3. The reinforced long trusses need to be cut to transition to a flat state; Pad the leather with the bottom edge of the stringer, and then add a 1.5mm thick square backing plate and a 3mm rectangular backing plate on the finger backing plate; similarly, use a 1.5mm thick square backing plate and a 3mm rectangular backing plate to install Below the siding, the siding is bolted to these backing plates. Insert the splint in the middle, 8mm from the wall plate, also bolted. The cross-sectional schematic diagram of the test piece is shown in figure 1 , figure 2 and image 3 .
[0026] Ini...
PUM
 Abstract
Description
Claims
Application Information


