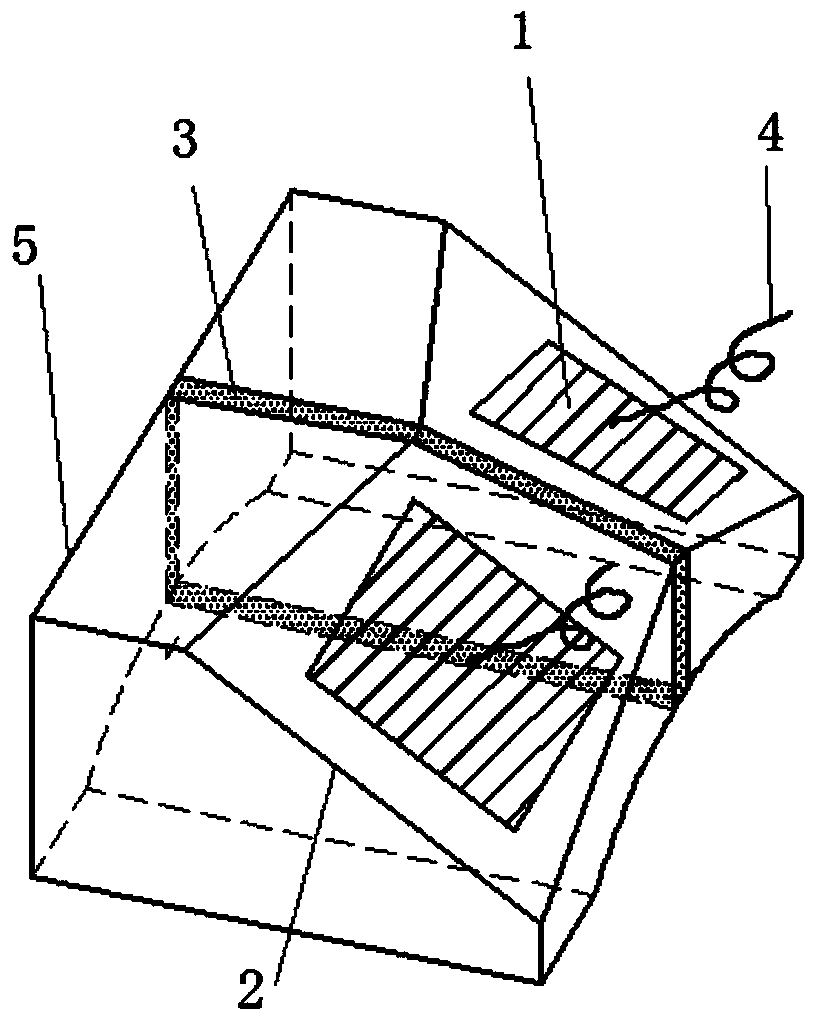
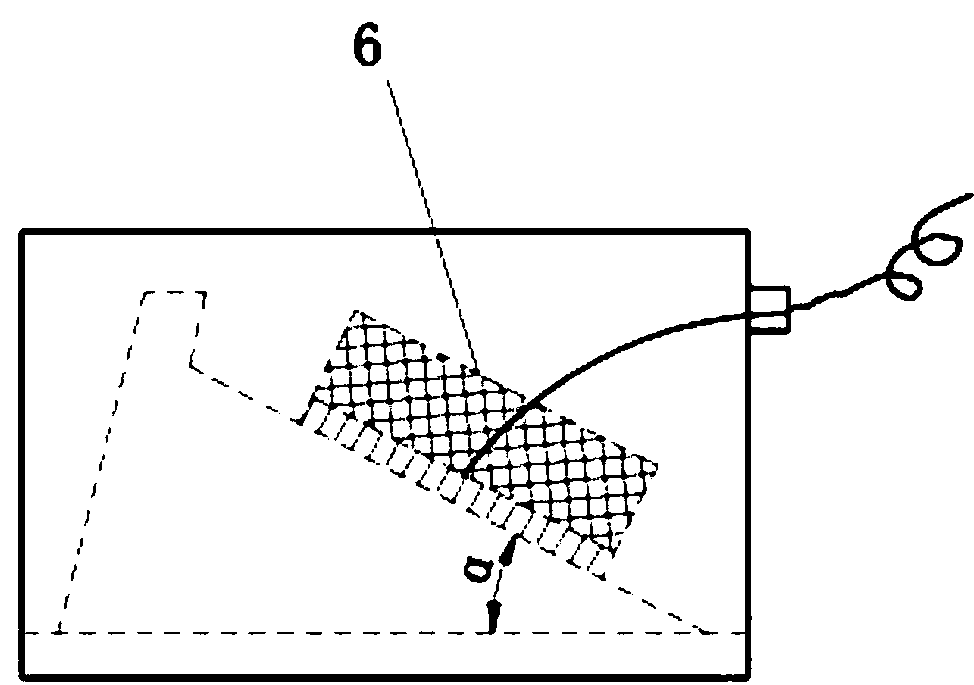
Ultrasonic testing special probe for butt girth welding of austenitic stainless steel pipe
An austenitic stainless steel and ultrasonic technology, which is applied in the direction of material analysis, measuring devices, and instruments using sound waves/ultrasonic waves/infrasonic waves, can solve problems such as poor consistency and repeatability of test results, great difficulty in application, and no effective detection. , to achieve the effects of defect quantification and positioning, less cluttered echoes, and enhanced reliability
- Summary
- Abstract
- Description
- Claims
- Application Information
AI Technical Summary
Problems solved by technology
Method used
Image
Examples
Embodiment 1
[0034] For the Φ34 probe test block combination with the smallest arc, the distance-amplitude curve was made and the system was tested. The 02# probe was selected with a specification of 2.5MPz (6×11)×2 / Φ34, and the arc surface of the comparison test block R25 and R50 was used. The front edge of the test probe is 6.5mm, the zero point of the test probe is 5.53μS, and the calibrated sound velocity is 5698m / s. The hole depth in the sound pressure 6dB linear attenuation zone is detected. The test results are shown in Table 2. The base line of the distance amplitude curve is as follows Figure 4 , H6mm horizontal through hole 80% wave height test signal-to-noise ratio up to 19dB.
[0035] Table 2 Φ34 arc top comparative test block horizontal through hole test
[0036]
Embodiment 2
[0038] 01#Φ114 radian special probe (probe specification is 2.5MPz (20×30)×2 / Φ114) was used to test the Φ108×16mm artificial defect simulation tubular test block. The artificial defects on the simulated test block are: two centerline grooves on the outer surface of the weld with a depth of 1mm / width 0.4mm / length 10mm and a depth of 2mm / width 0.4mm / length 10mm from the outer surface of the pipe wall, and two distances from the outer surface of the pipe wall Inner surface depth 1mm / width 0.4mm / length 10mm, depth 2mm / width 0.4mm / length 10mm centerline groove on the inner surface of the weld, such as Figure 5 . Select 3# special probe (the probe specification is 2.5MPz (9×16)×2 / Φ114) to test the Φ114 arc top comparison test block, use the comparison test block R25 and R50 arc surface to test the front edge of the probe is 12mm, and the zero point of the test probe is 14.71 μS, the calibrated sound velocity is 5685m / s, and the horizontal through hole close to the sound pressure 6...
PUM
| Property | Measurement | Unit |
|---|---|---|
| thickness | aaaaa | aaaaa |
Abstract
Description
Claims
Application Information


