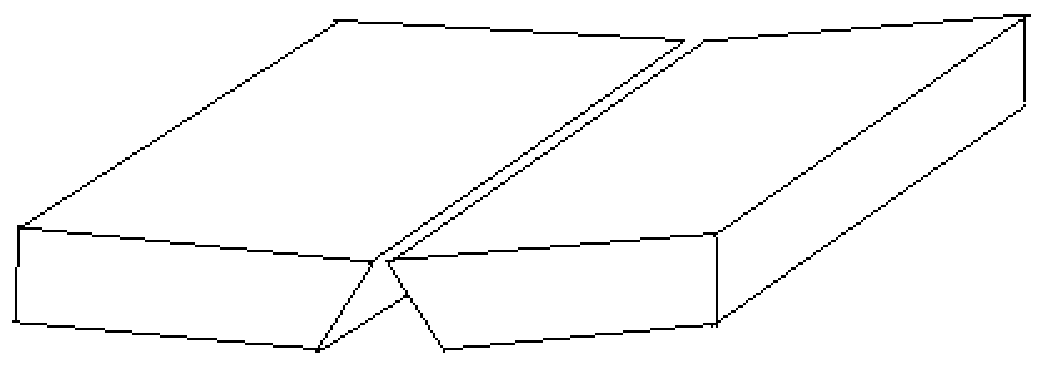
Welding method of full penetration overhead plate
A welding method and full penetration technology, applied in the field of steel material welding, can solve the problems of high labor intensity of welders, scalding probability, easy formation of welding flashes, etc., so as to reduce welding production cost and labor intensity of workers, improve welding efficiency, The effect of improving production efficiency
- Summary
- Abstract
- Description
- Claims
- Application Information
AI Technical Summary
Problems solved by technology
Method used
Image
Examples
Embodiment 1
[0031] 1. Welding groove preparation:
[0032] The size of the plate is 12mm×150mm×300mm, and the V-shaped groove is prepared by machining or flame cutting, the groove angle is 60°±5°, and the blunt edge is 0.5mm-1.0mm.
[0033] 2. Grinding and cleaning of test pieces
[0034] Use an angle grinder to remove oil stains, rust, water stains and other sundries within the range of 20mm-30mm on both sides of the groove surface and groove edge of the test piece, showing a metallic luster.
[0035] 3. Test piece assembly and tack welding
[0036]Assemble the polished test piece into a V-groove butt joint, the amount of misalignment is not more than 5% of the plate thickness, that is: ≤0.6mm, the assembly gap is 1.5mm-2.0mm at the beginning welding end, and the final welding end clearance is 2.0mm mm-2.4mm. After the test piece is assembled, the tack welds are welded at both ends of the test piece. The length of the tack welds is 10-15mm, and it is required to be firm. The test piec...
Embodiment 2
[0046] 1. Welding groove preparation:
[0047] The size of the plate is 12mm×150mm×300mm, and the V-shaped groove is prepared by machining or flame cutting, the groove angle is 60°±5°, and the blunt edge is 1.0mm-1.5mm.
[0048] 2. Grinding and cleaning of test pieces
[0049] Use an angle grinder to remove oil stains, rust, water stains and other sundries within the range of 20mm-30mm on both sides of the groove surface and groove edge of the test piece, showing a metallic luster.
[0050] 3. Test piece assembly and tack welding
[0051] Assemble the polished test piece into a V-groove butt joint, the misalignment amount is not more than 5% of the plate thickness, that is: ≤0.6mm, the assembly gap is 2.0mm-2.4mm at the beginning welding end, and the final welding end The gap is 2.4mm-3.5mm. After the test piece is assembled, the tack welds are welded at both ends of the test piece. The length of the tack welds is 10-15mm, and it is required to be firm. The test piece is re...
PUM
| Property | Measurement | Unit |
|---|---|---|
| length | aaaaa | aaaaa |
| diameter | aaaaa | aaaaa |
| diameter | aaaaa | aaaaa |
Abstract
Description
Claims
Application Information
